I was reading The American Marqueterian Summer 2012 edition which included the results of the Wooden Bridge completion. Dave Peck’s picture “We’ll be Down by the Bridge” was deservedly awarded the best picture title. In his posting Dave commented on the origins of the picture and how he came to do it. In his comments Dave mentioned that it may be a difficult picture to do by Marqueterians who use a knife to cut veneers.
In a previous edition of the American Marquetarian newsletter (Fall 2012), William Jevnikar wrote a description of the Picture Window Method that knife cutters use to complete a piece of Marquetry. There are many sources of information on knife cutting and the window method for example Peter White (peter@marquetry.org) has a number of DVD’s on the topic of Marquetry and one that describes in detail the window method while completing a sample picture. In this article I want to try and explain why I personal like using the knife and the window method for making Marquetry pictures.
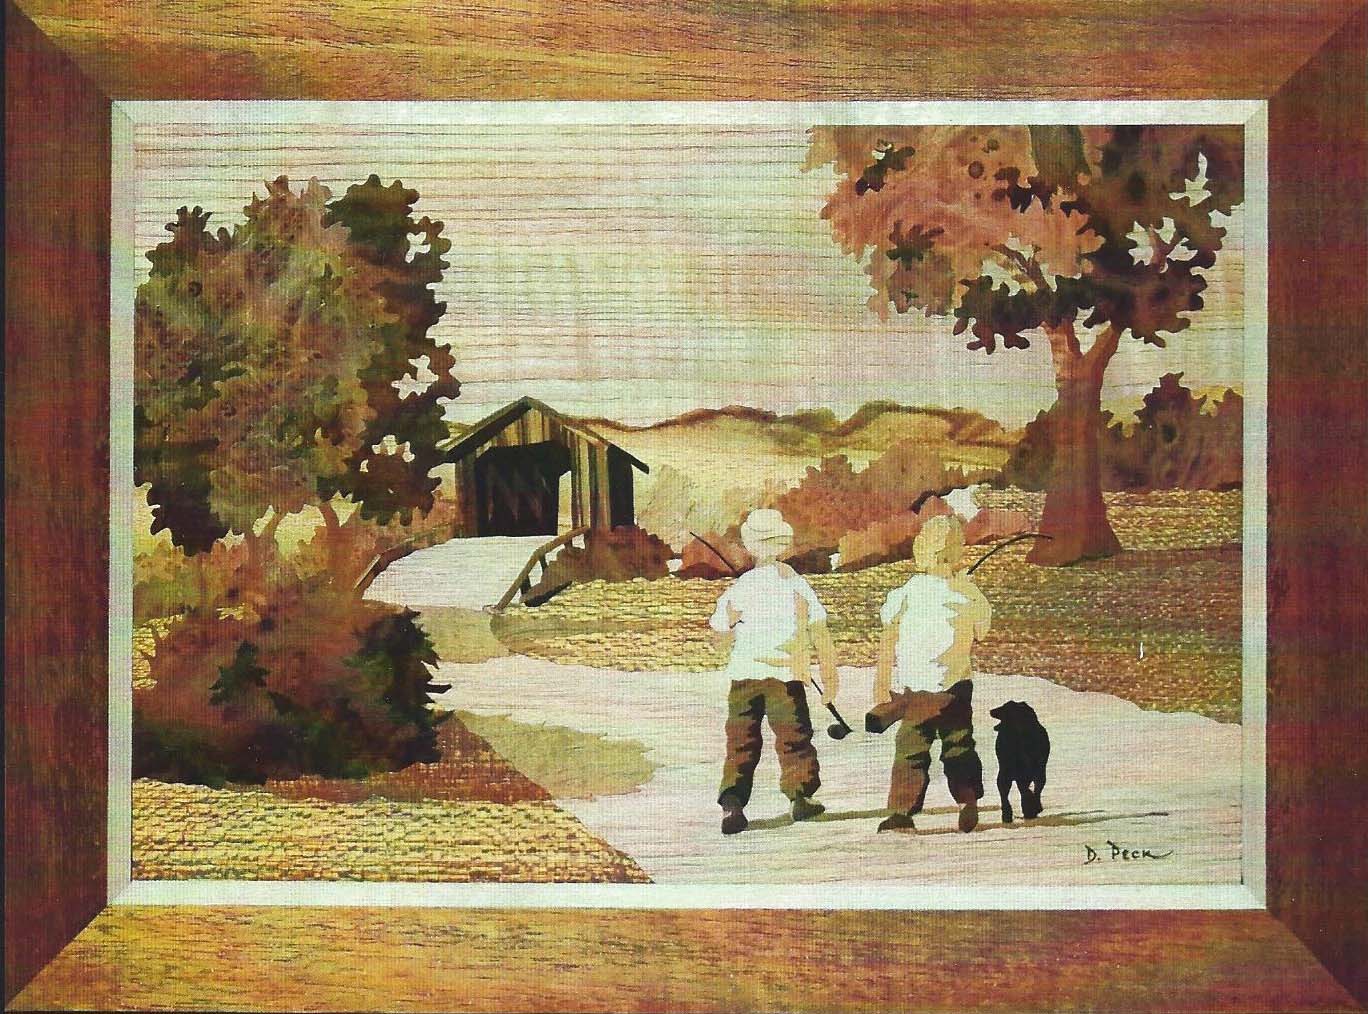
Figure 1
In writing the article I decided to try and rise to Dave’s challenge and attempt to re-produce his picture of the two boys “Gone Fishing”.
One of the main reason why I like the knife cutting method is because I only require a relatively small area in our home to work. I do all of my cutting on a desk. The process creates little dust or scrape materials, so the work area remain quite clean and tidy.
I do admit that the finishing process requires a well-ventilated work shop or garage to do the sanding and polishing. In this article I won’t spend too much time on the finishing process.
Another main reason why I like the knife cutting and window method is because the process of completing a marquetry picture using this method is similar to painting a picture. I start with a blank piece or pieces of veneer for the background and then build the picture in a similar manner to painting a picture starting with the background images and adding the foreground images later.

Figure 2 – Drawing on transparent paper
To demonstrate this I have a number of photographs that I took as I completed the picture in a number of stages.
I first created a drawing of the picture to the size I wanted and on a sheet of transparent paper. With this I will be able to transfer the image to the Marquetry picture as I build it.
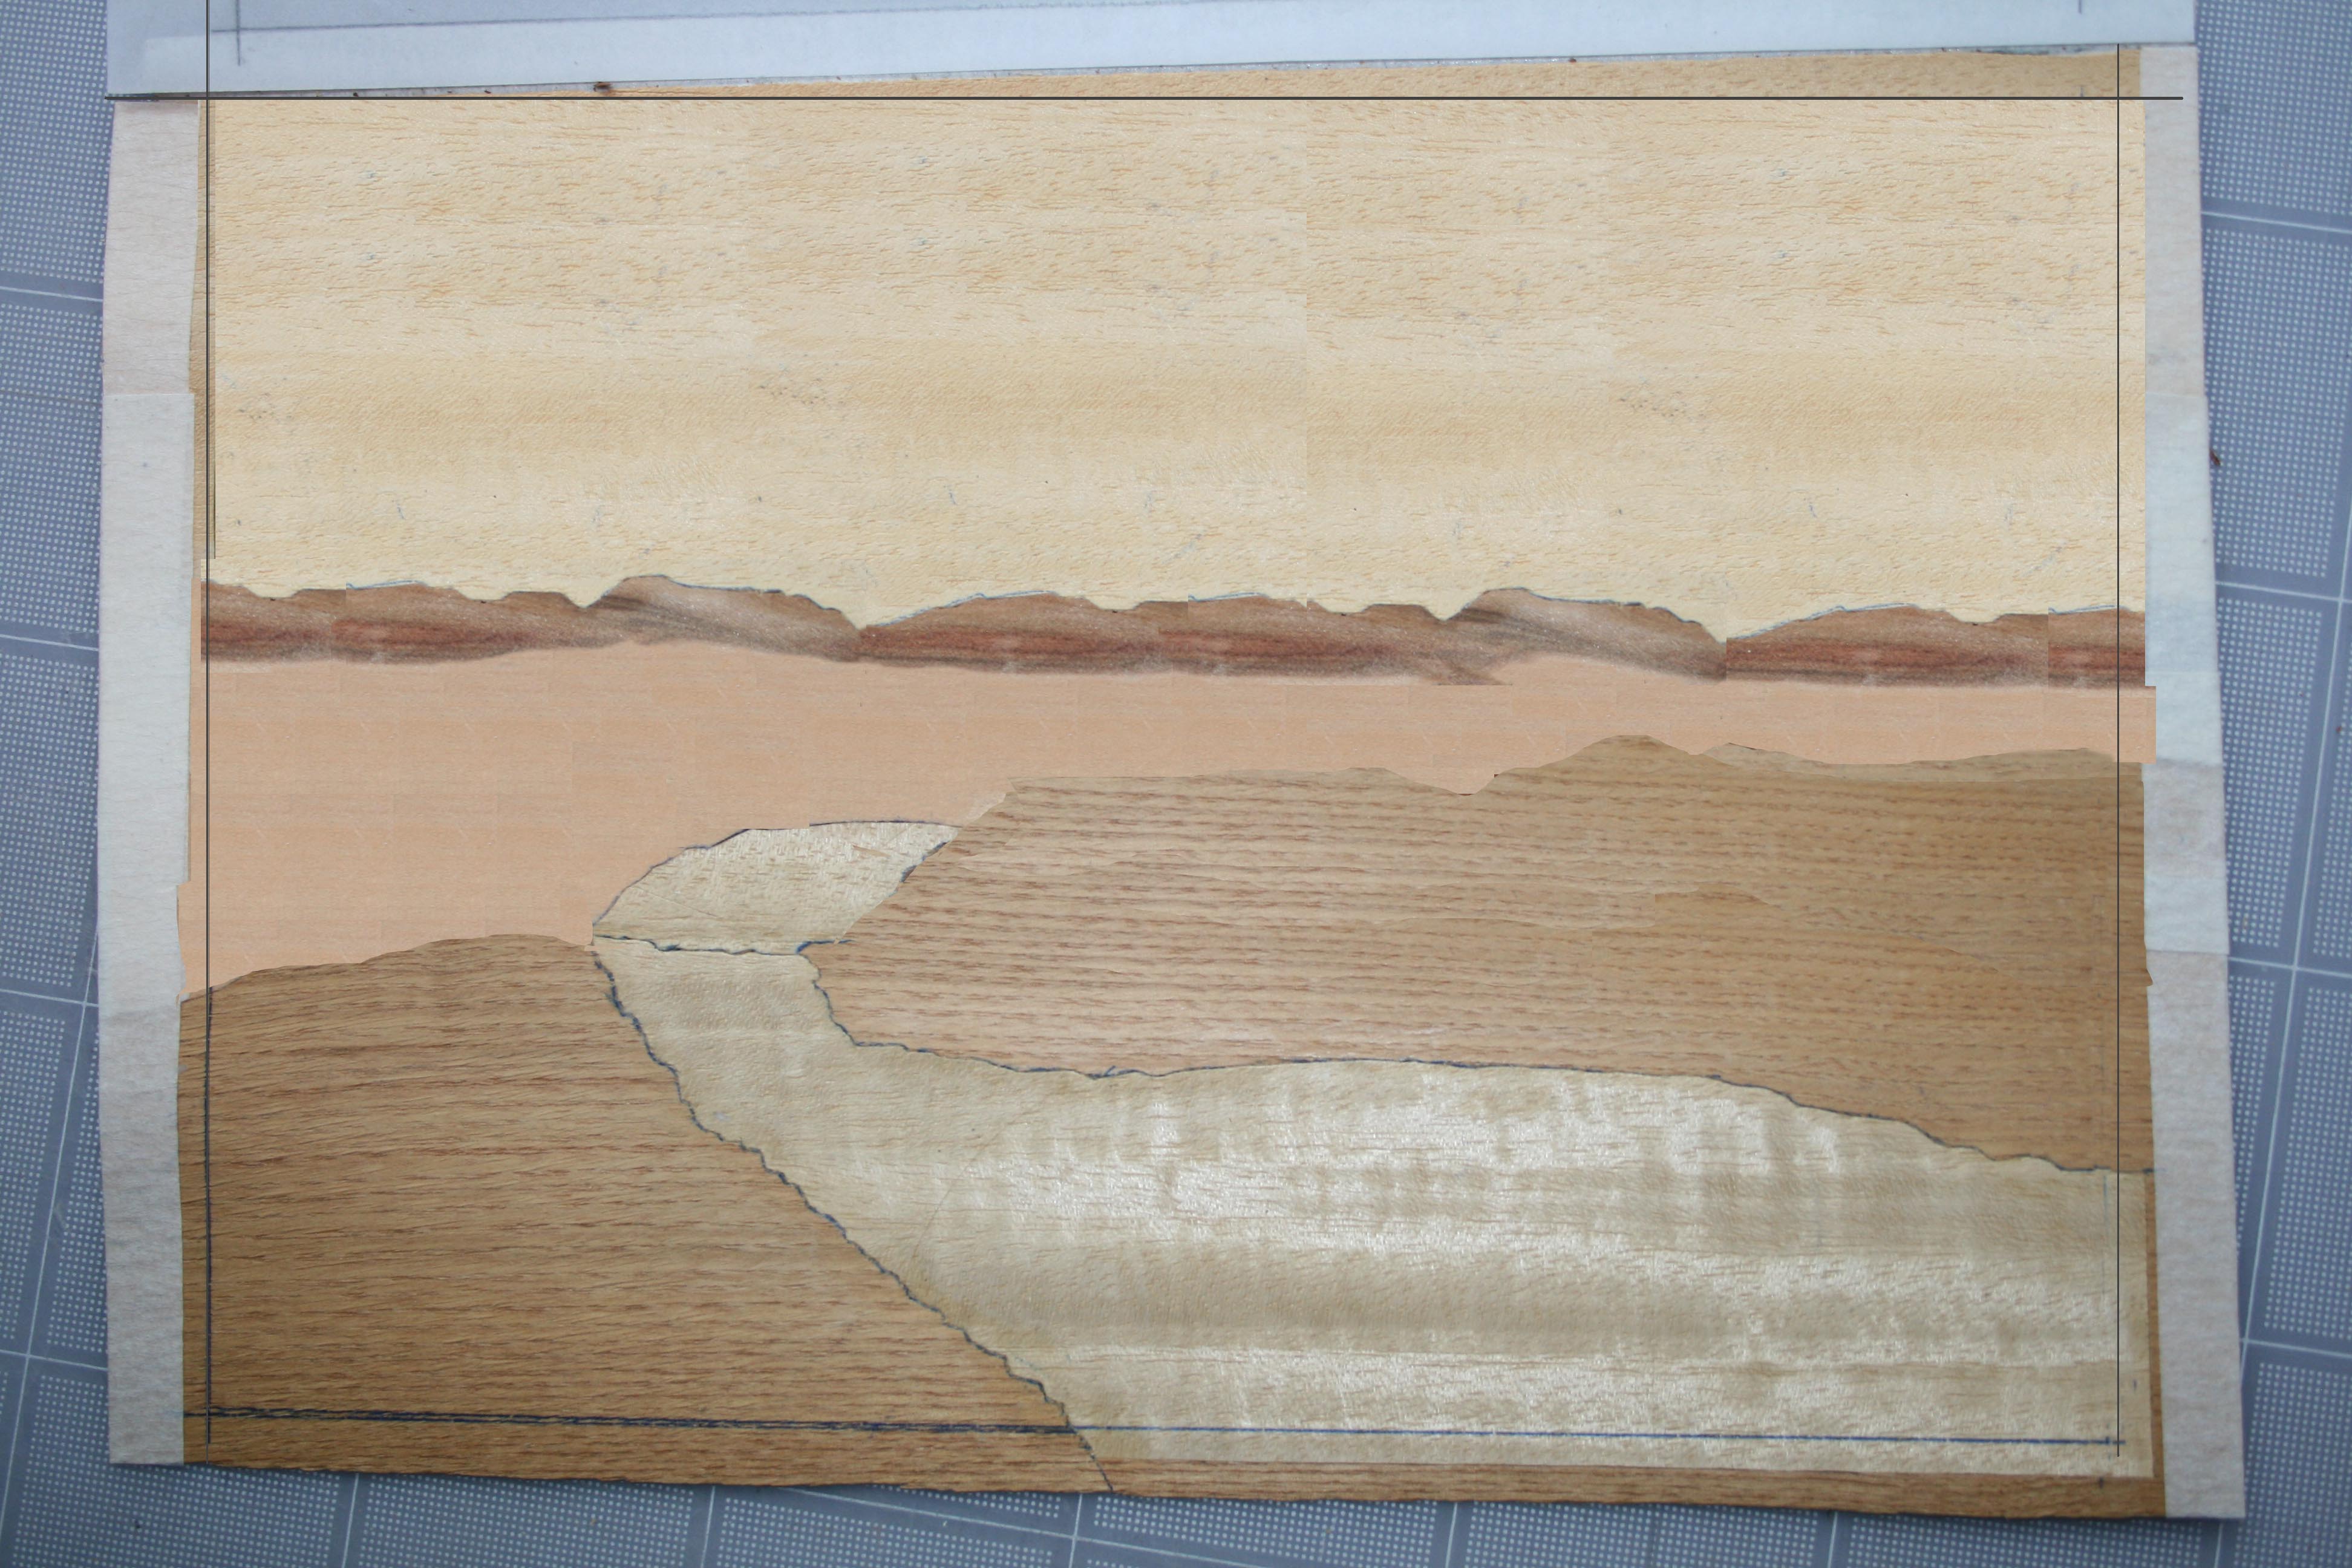
Figure 3 – Background veneers
I started by creating the background on to which I will add the details. In this picture I selected the sky (Obeche), the mountains (Red Gum), the road (Avodire) over the bridge to the foreground and the ground (Red Oak) on the left and right side of the road.
In the window method the pieces of veneer are joined together by gluing the edges. In this demonstration the background is now like a single piece of veneer.
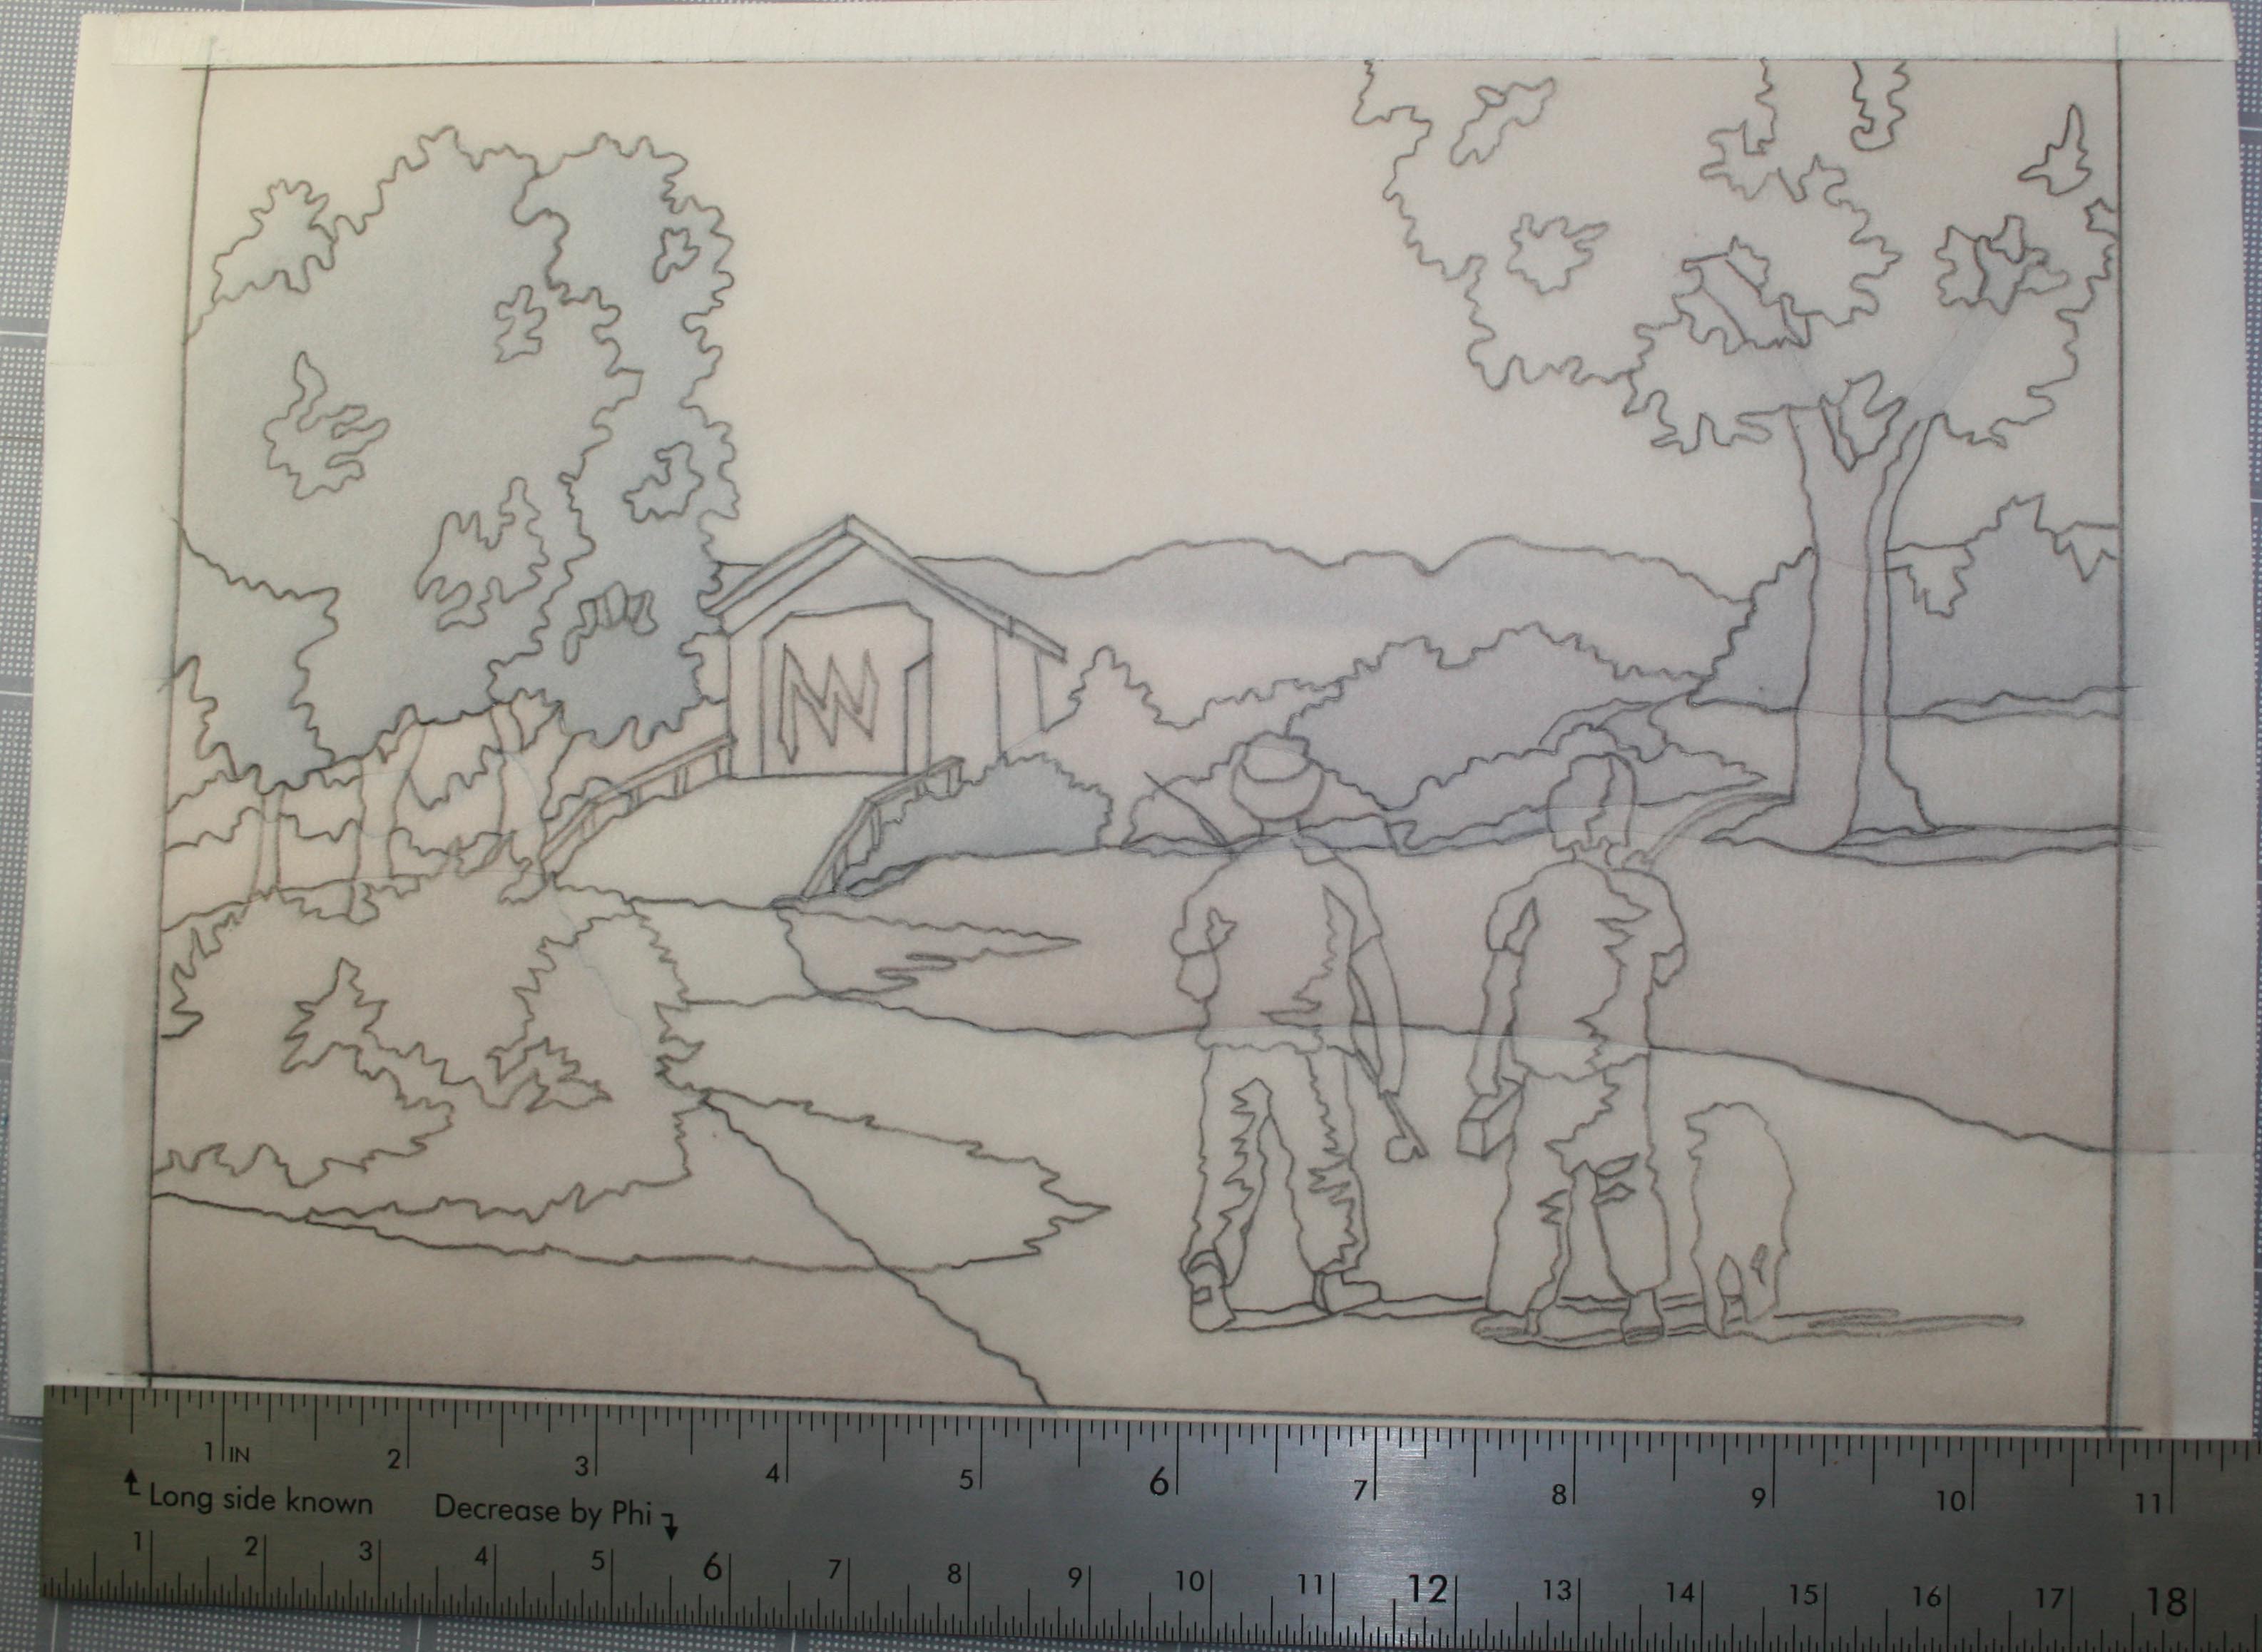
Figure 4 Transferring the drawing
I overlayed the background veneer with the transparent drawing of the picture. I drew over the trees on the left and the bushes on the right.
The transfer of the images occurs by inserting a piece of carbon paper between the transfer paper and the background veneers.
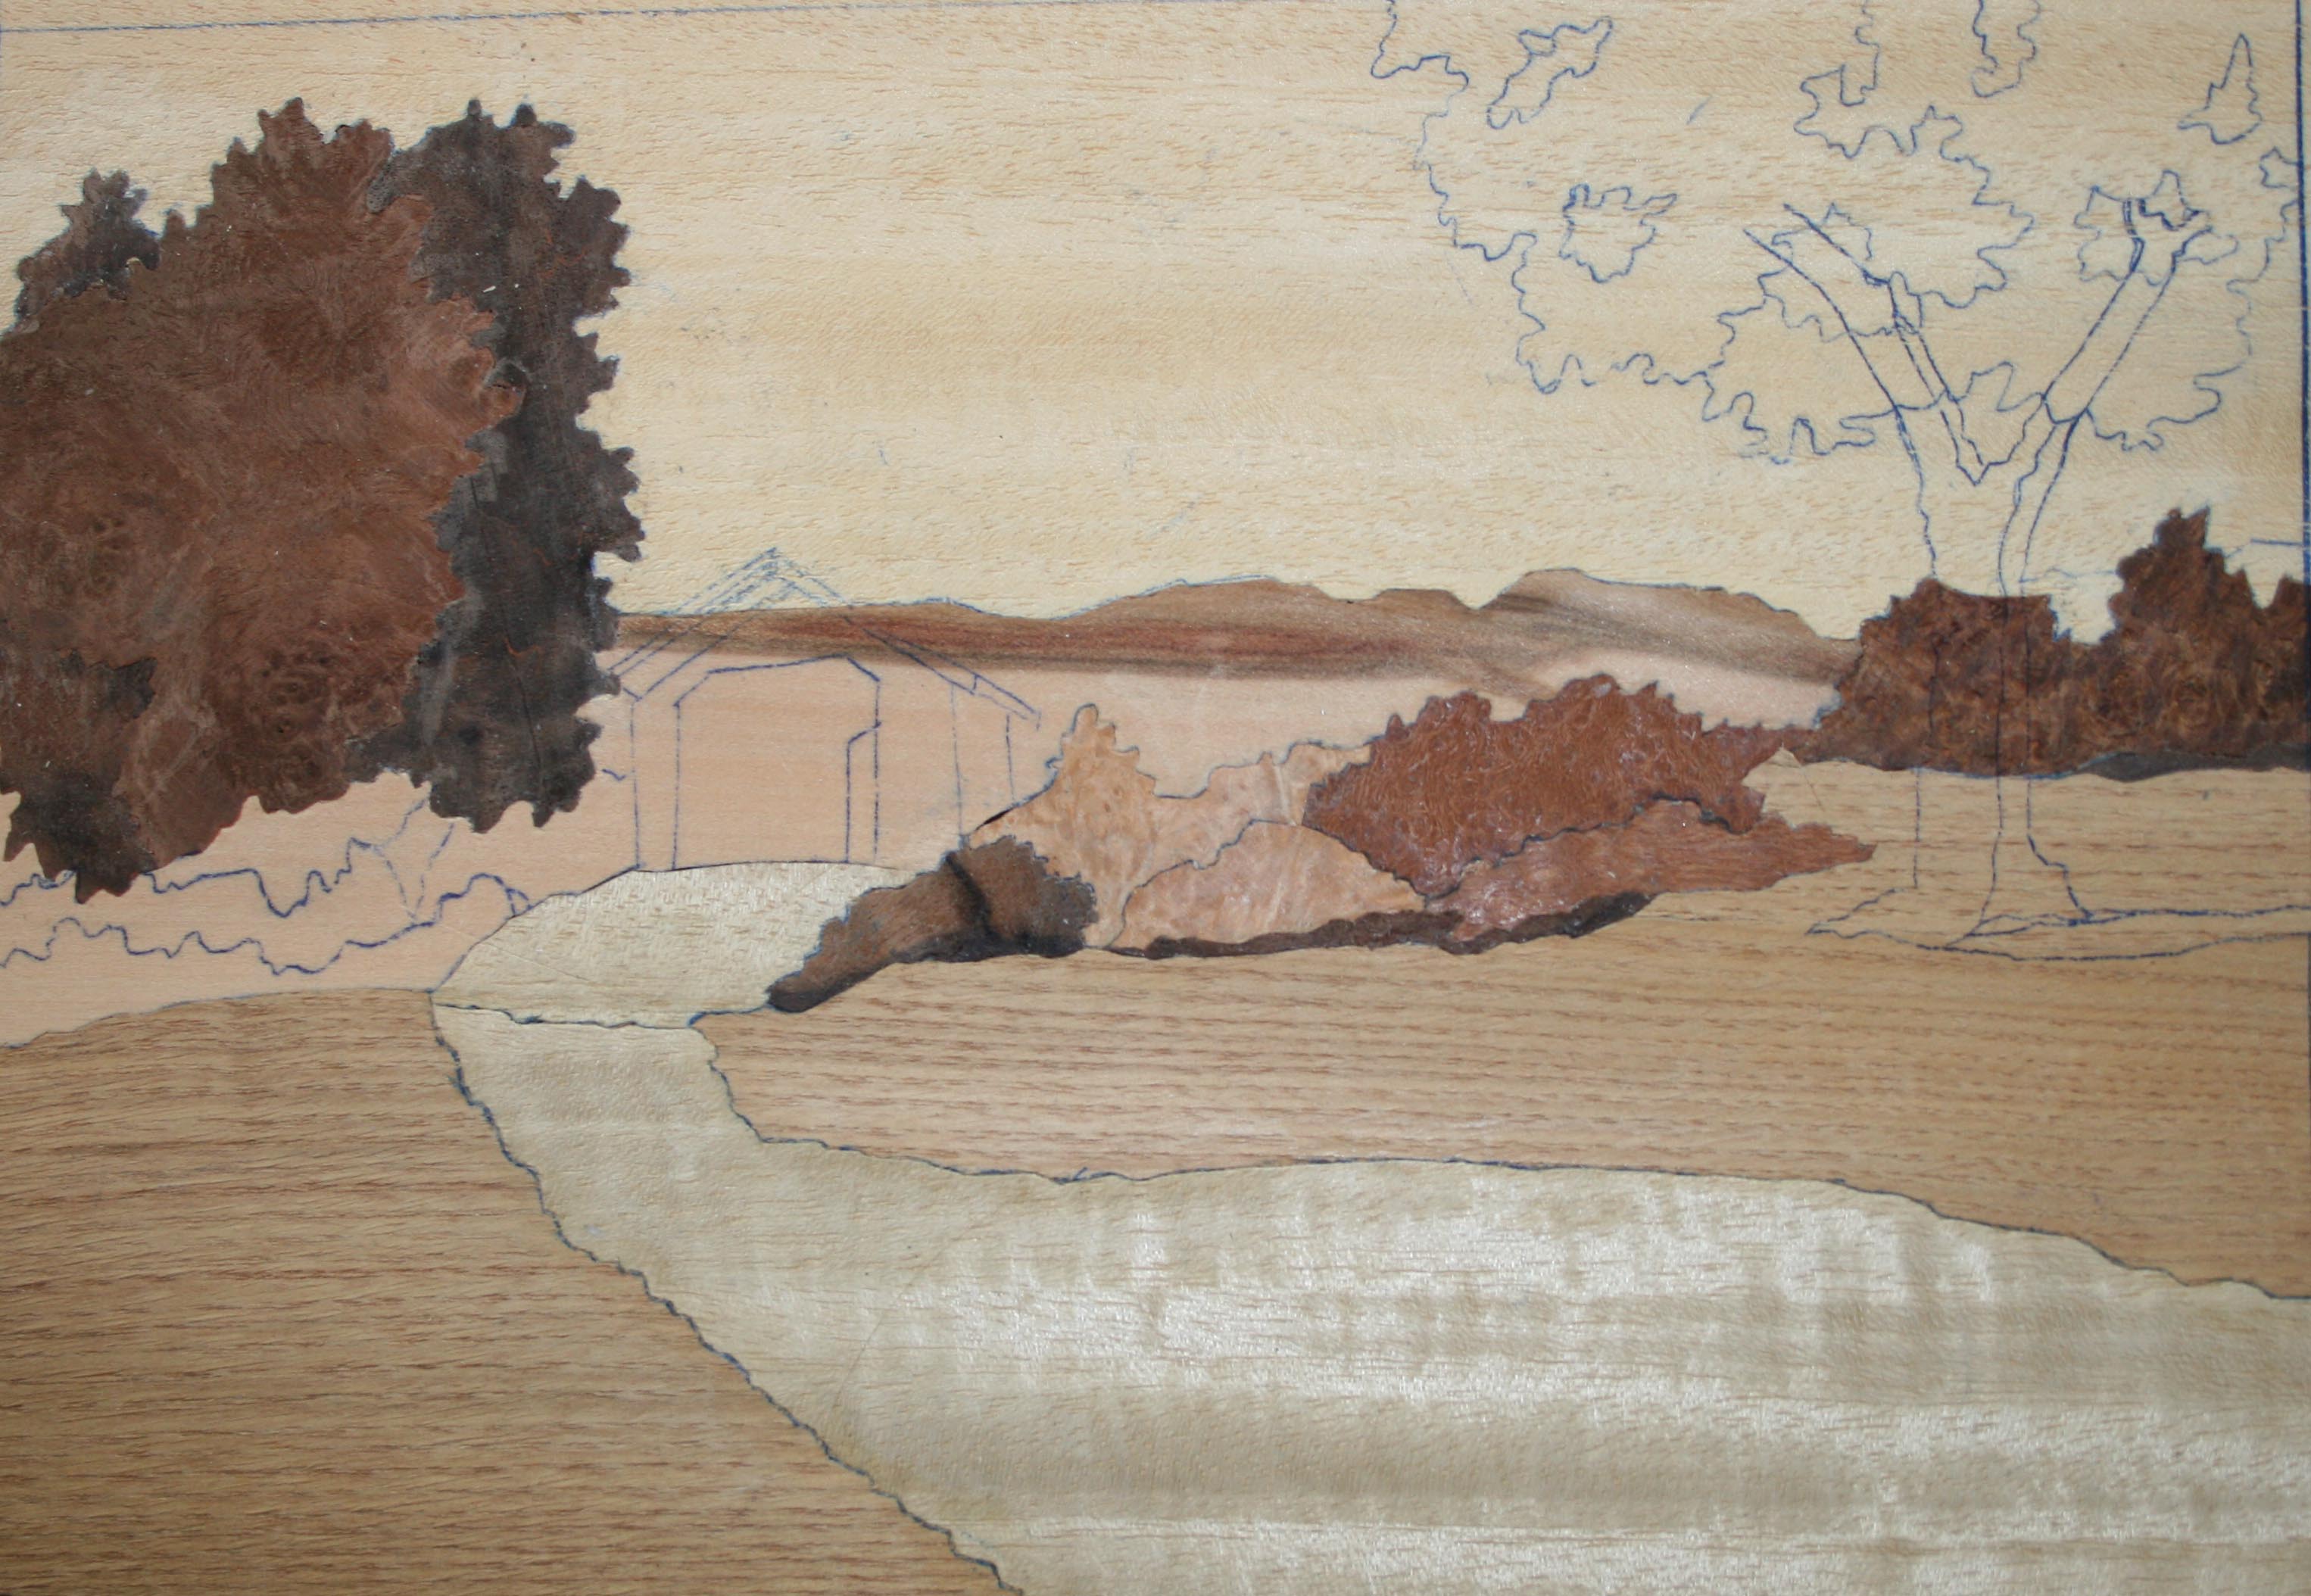
Figure 5 Trees and bushes
At this stage I cut and inserted the pieces that make up the trees on the left and the bushes on the right. I used a selection of different colored burls.
Notice that the bushed behind the right tree are complete and later the tree trunk will cut through them.
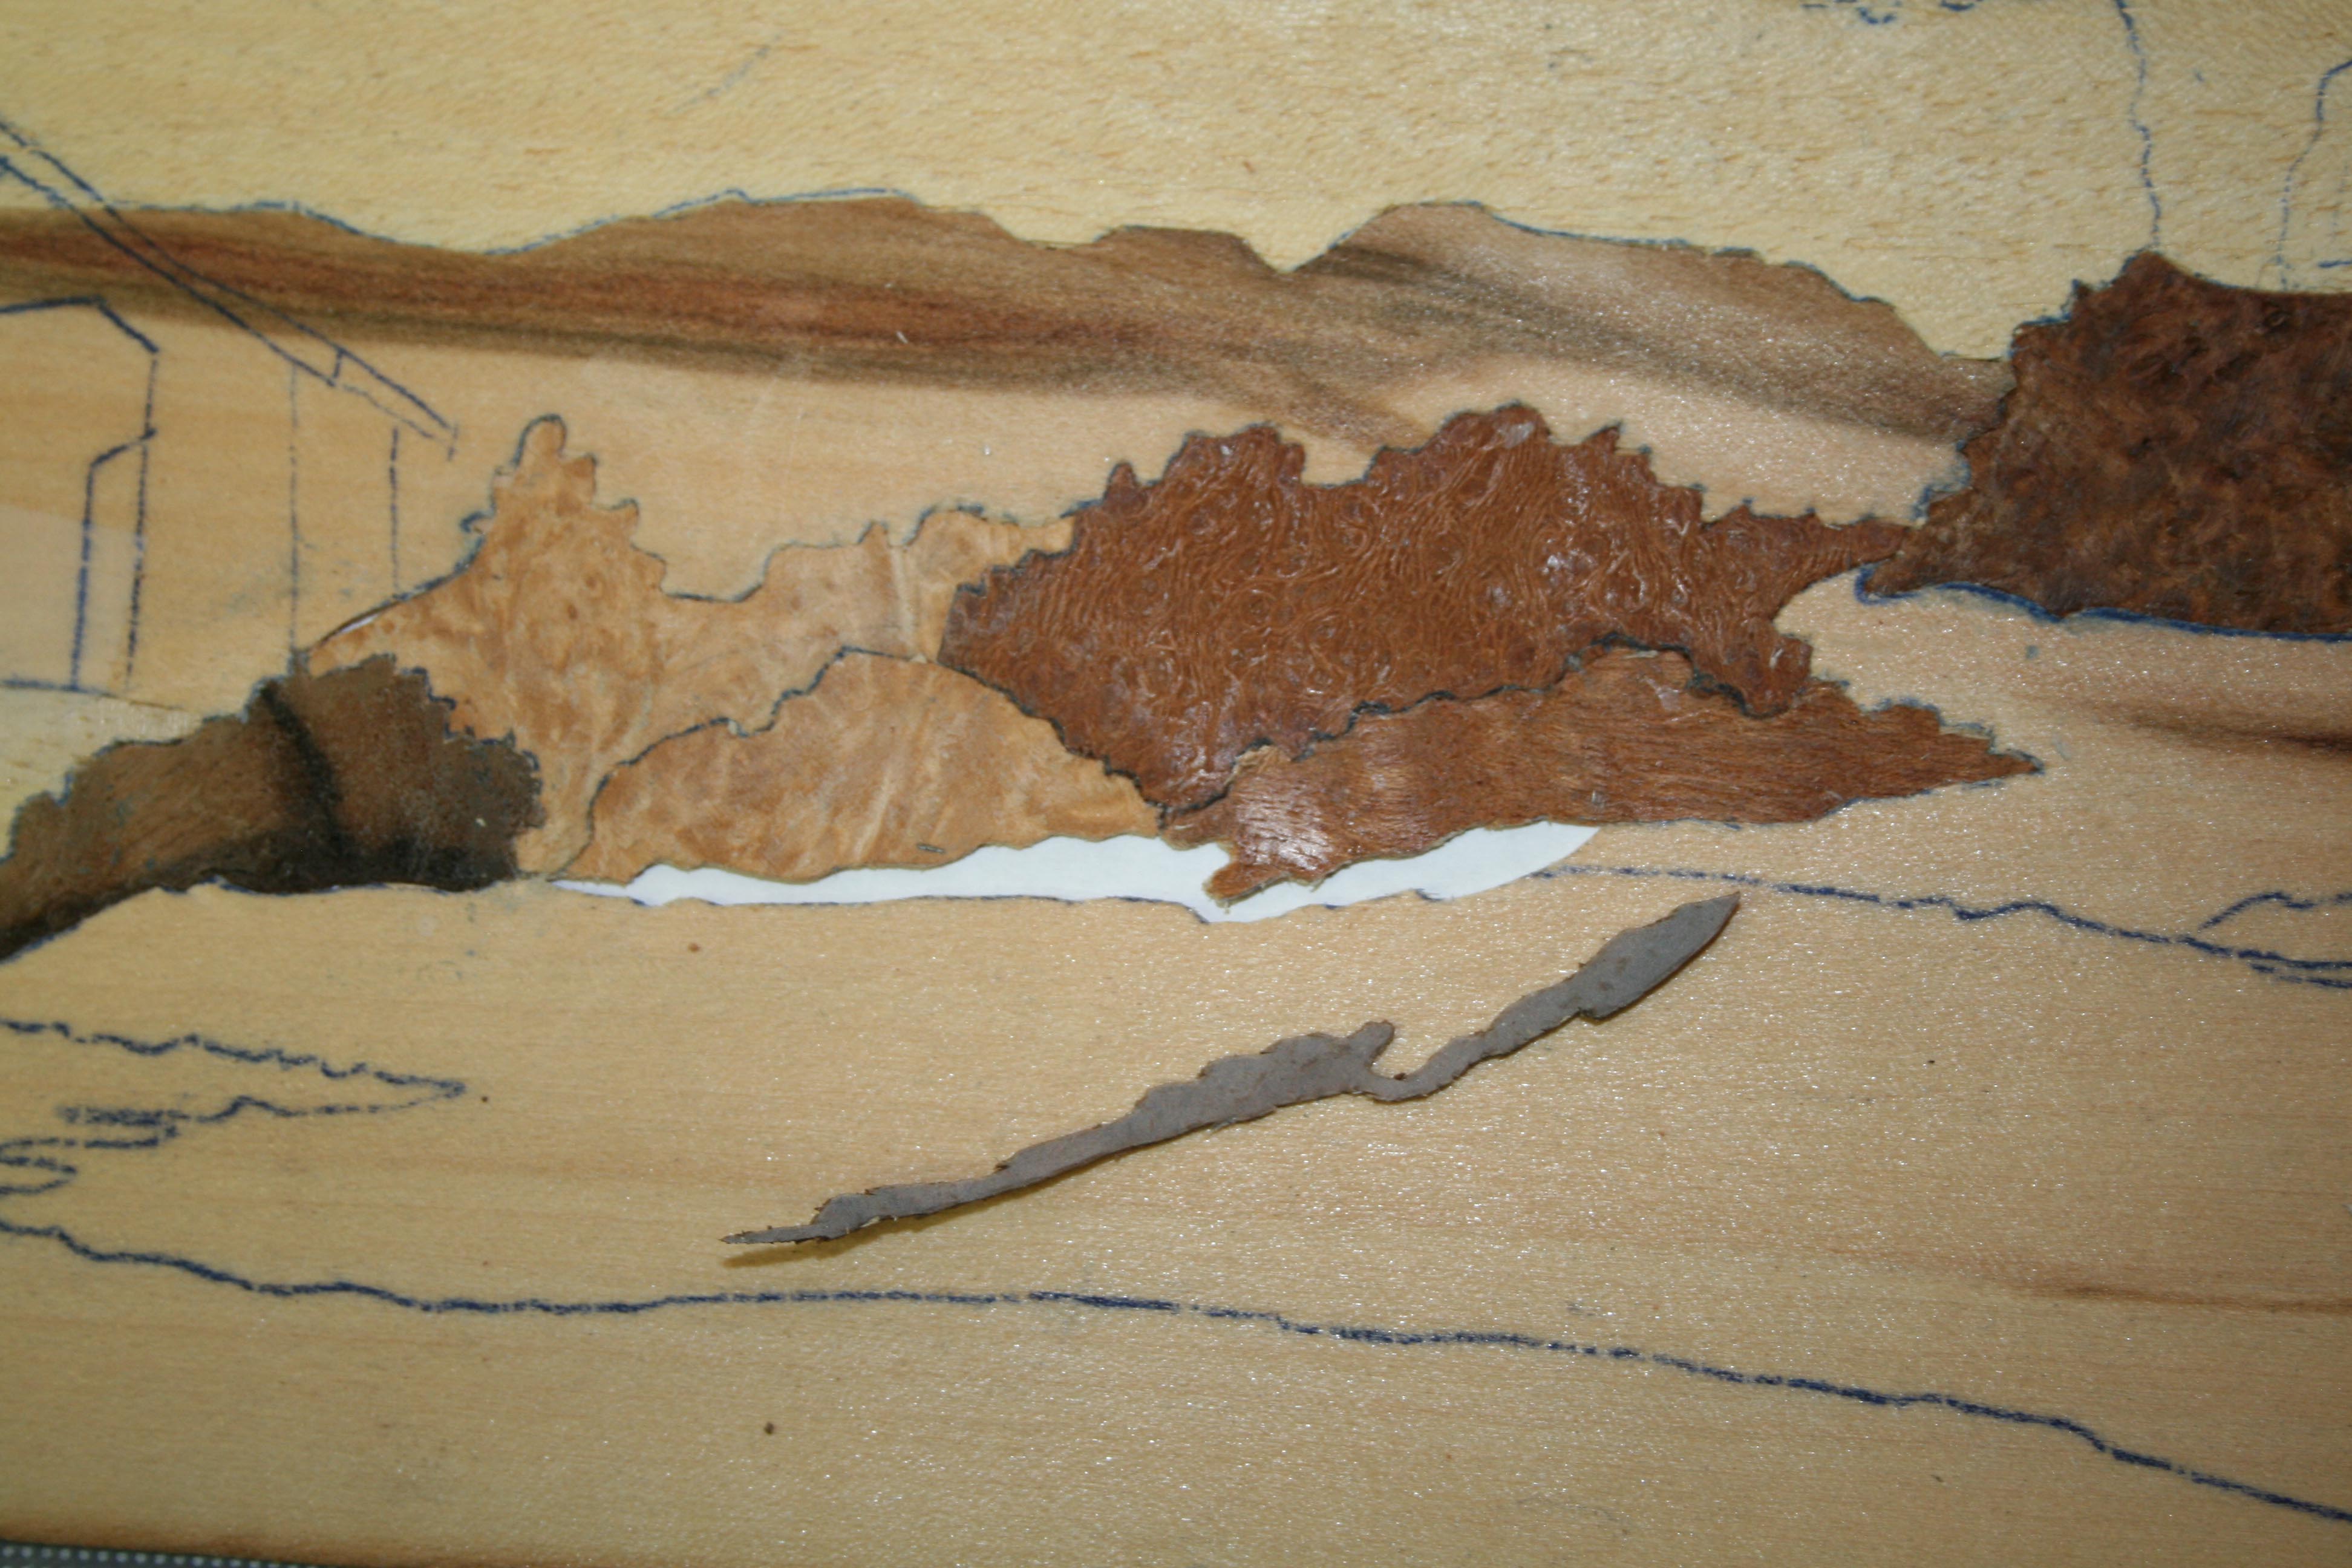
Figure 6 – Example of window method of cutting
Here I show an example of the window method. I cut out part of the background veneer where the shadow of the bushes will be. I then put the veneer I have chosen for the shadow behind the picture. I used the cut-out as a template to cut the shadow insert piece.
In this photograph I show the shadow piece lying on top of the background ready to insert into the open window.

Figure 7 – Tree trunk on right with shadows
At this stage I completed the tree on the right. This included the trunk with the shadows. The leaves on the tree are cut from a burl and then the openings cut to show part of the branches and the sky.
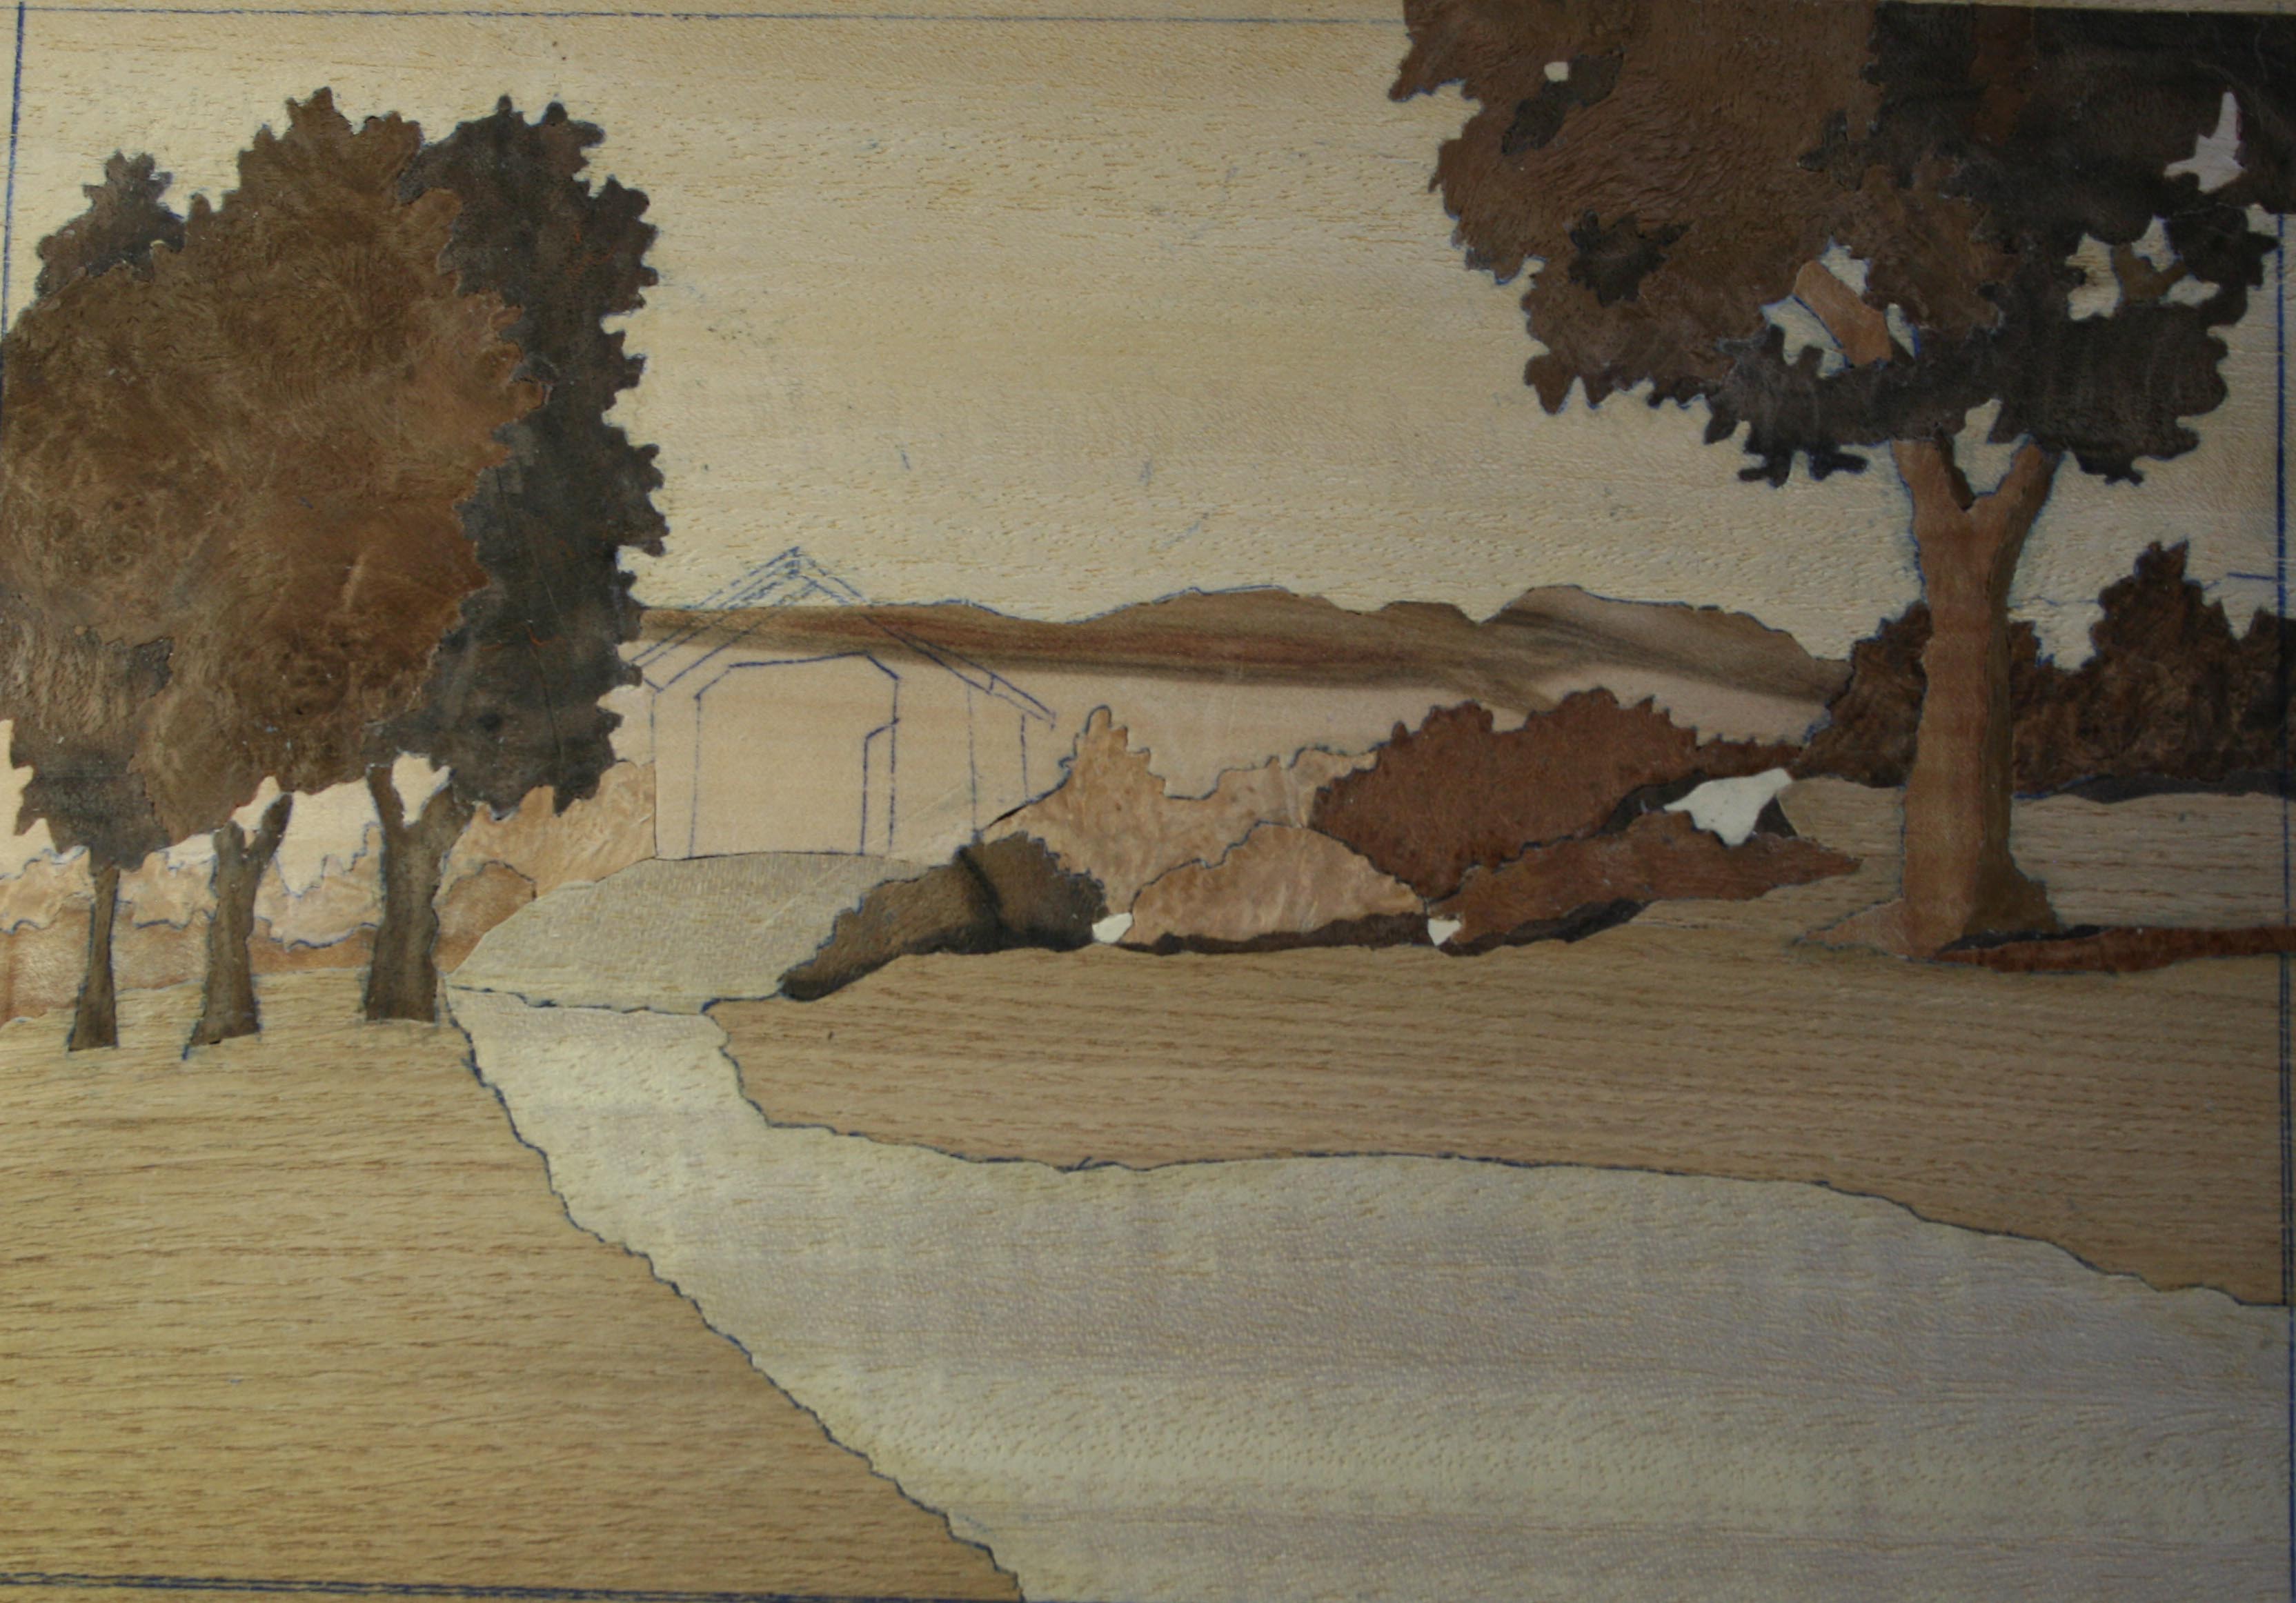
Figure 8 – Bushes and tree trunks on left
At this stage I completed the bushes on the left underneath the trees and the tree trunks in front of them.
Again, I complete the bushes first and then cut through them to insert the tree trunks.
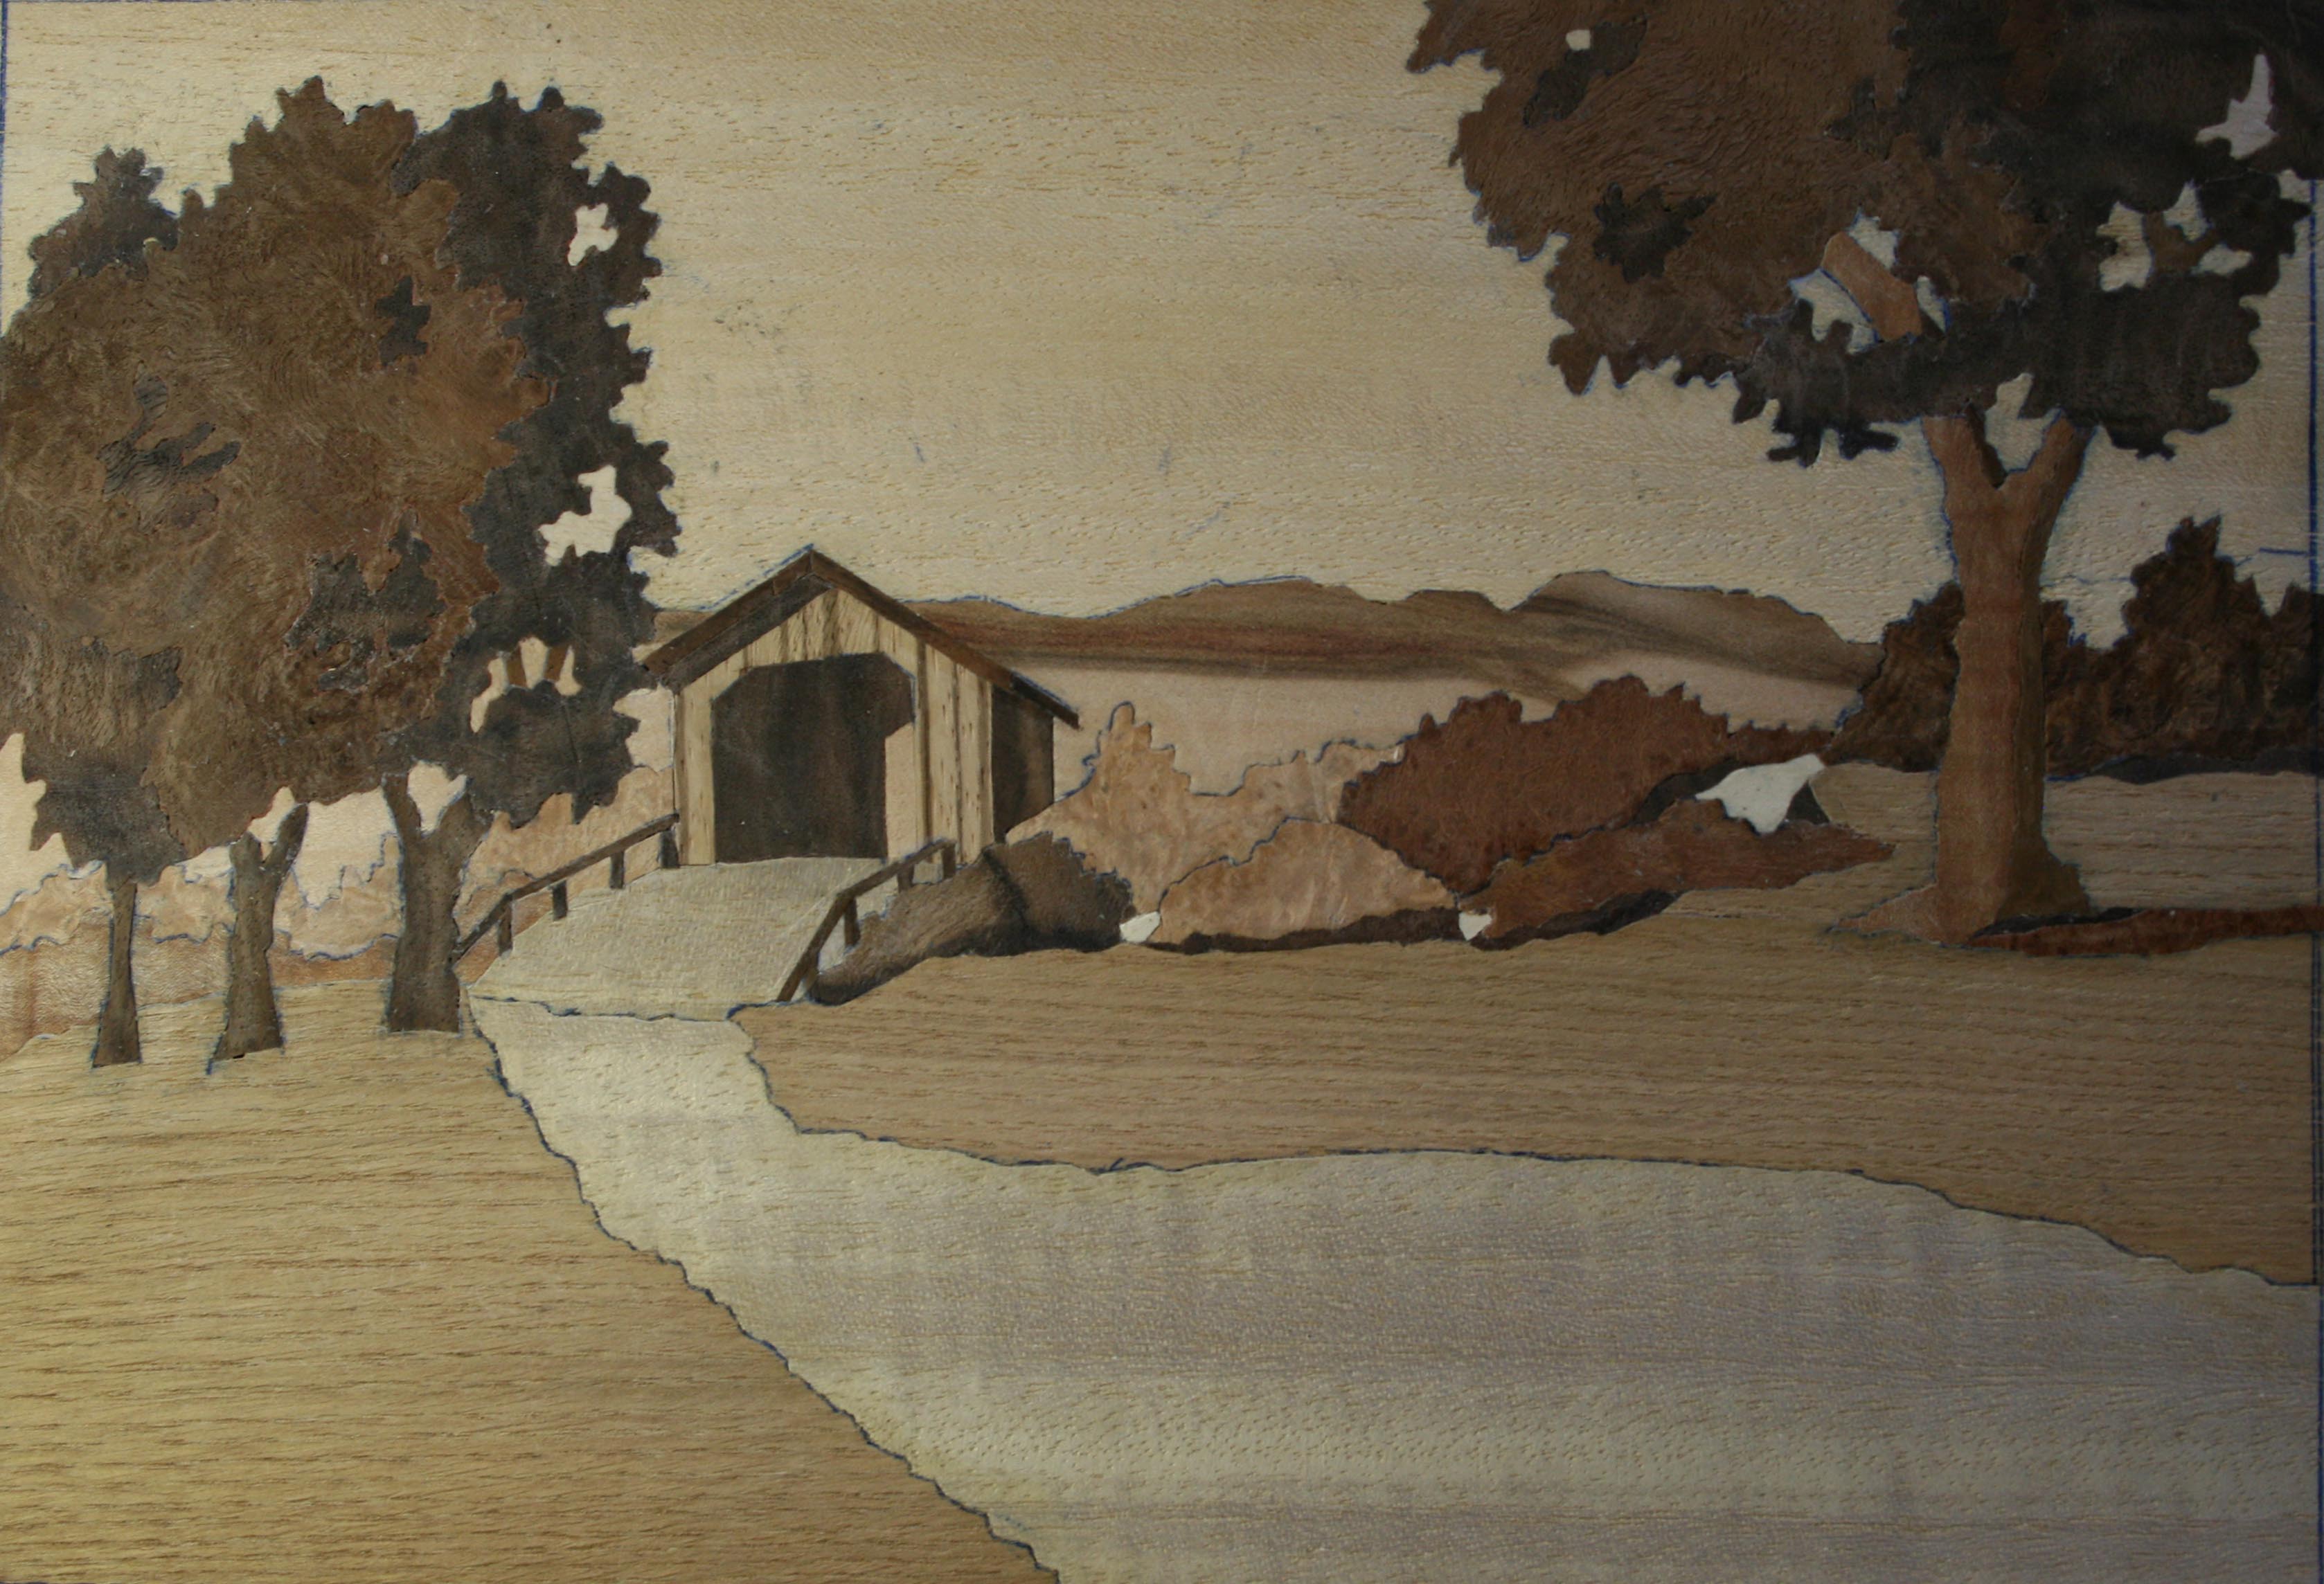
Figure 9 – Railings on bridge and shed
Next the railing on the bridge are added along with the wooden shed over the bridge. The front of the shed was cut out of a piece of Zebrawood to give the impression of it being made out of planks of wood.

Figure 10 – Bushes on left and shadows
The bushes on the left foreground are added next with their shadows. Notice that the shadows are a different shade as they cross the road and cover the grass on the left and right side of the road.

Figure 11 – Boys with fishing rods and dog
Finally the boys are added with their fishing rods. The last piece I add was the dog. Dave amazingly managed to create the image of a dog out of one piece of veneer with just a few squiggly lines.
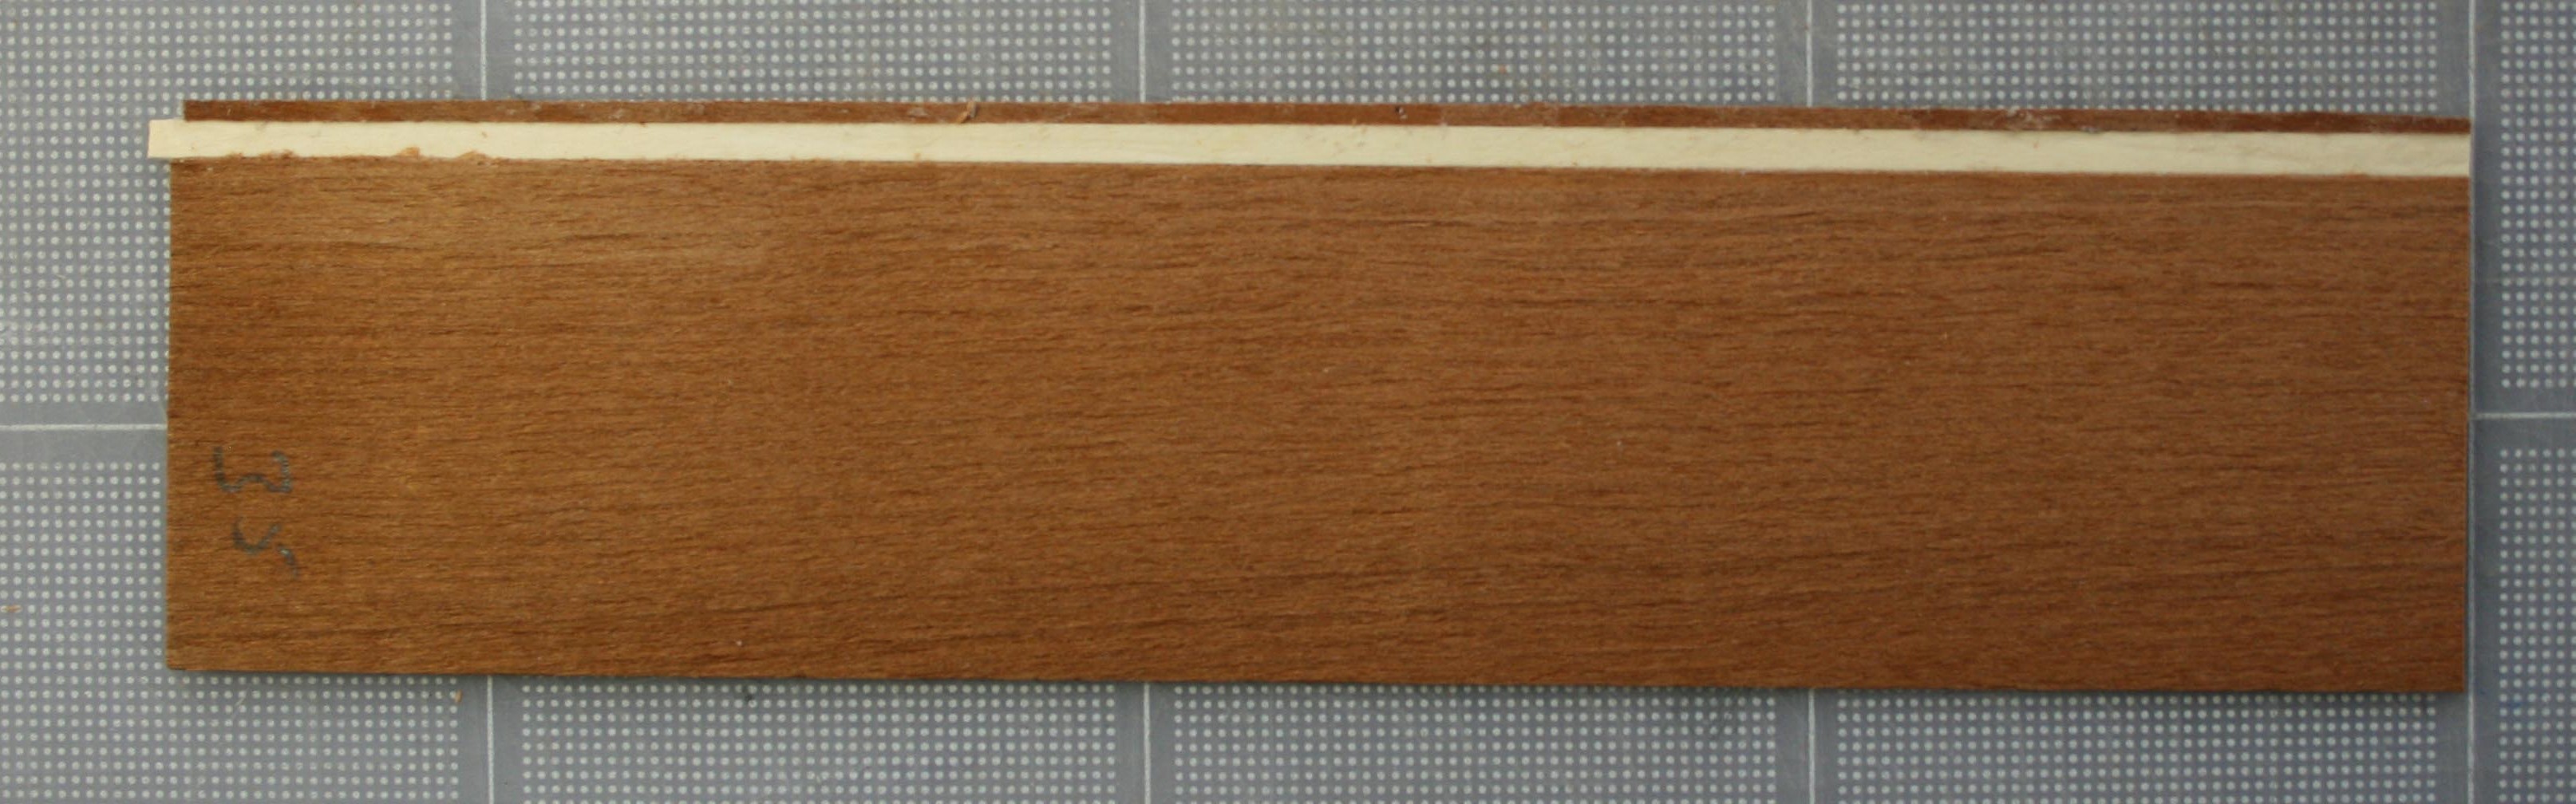
Figure 12 – Banding for framing picture
Following instructions from Peter Whites DVD “Geometric Marquetry”, I made a simple border out of sycamore and mahogany.
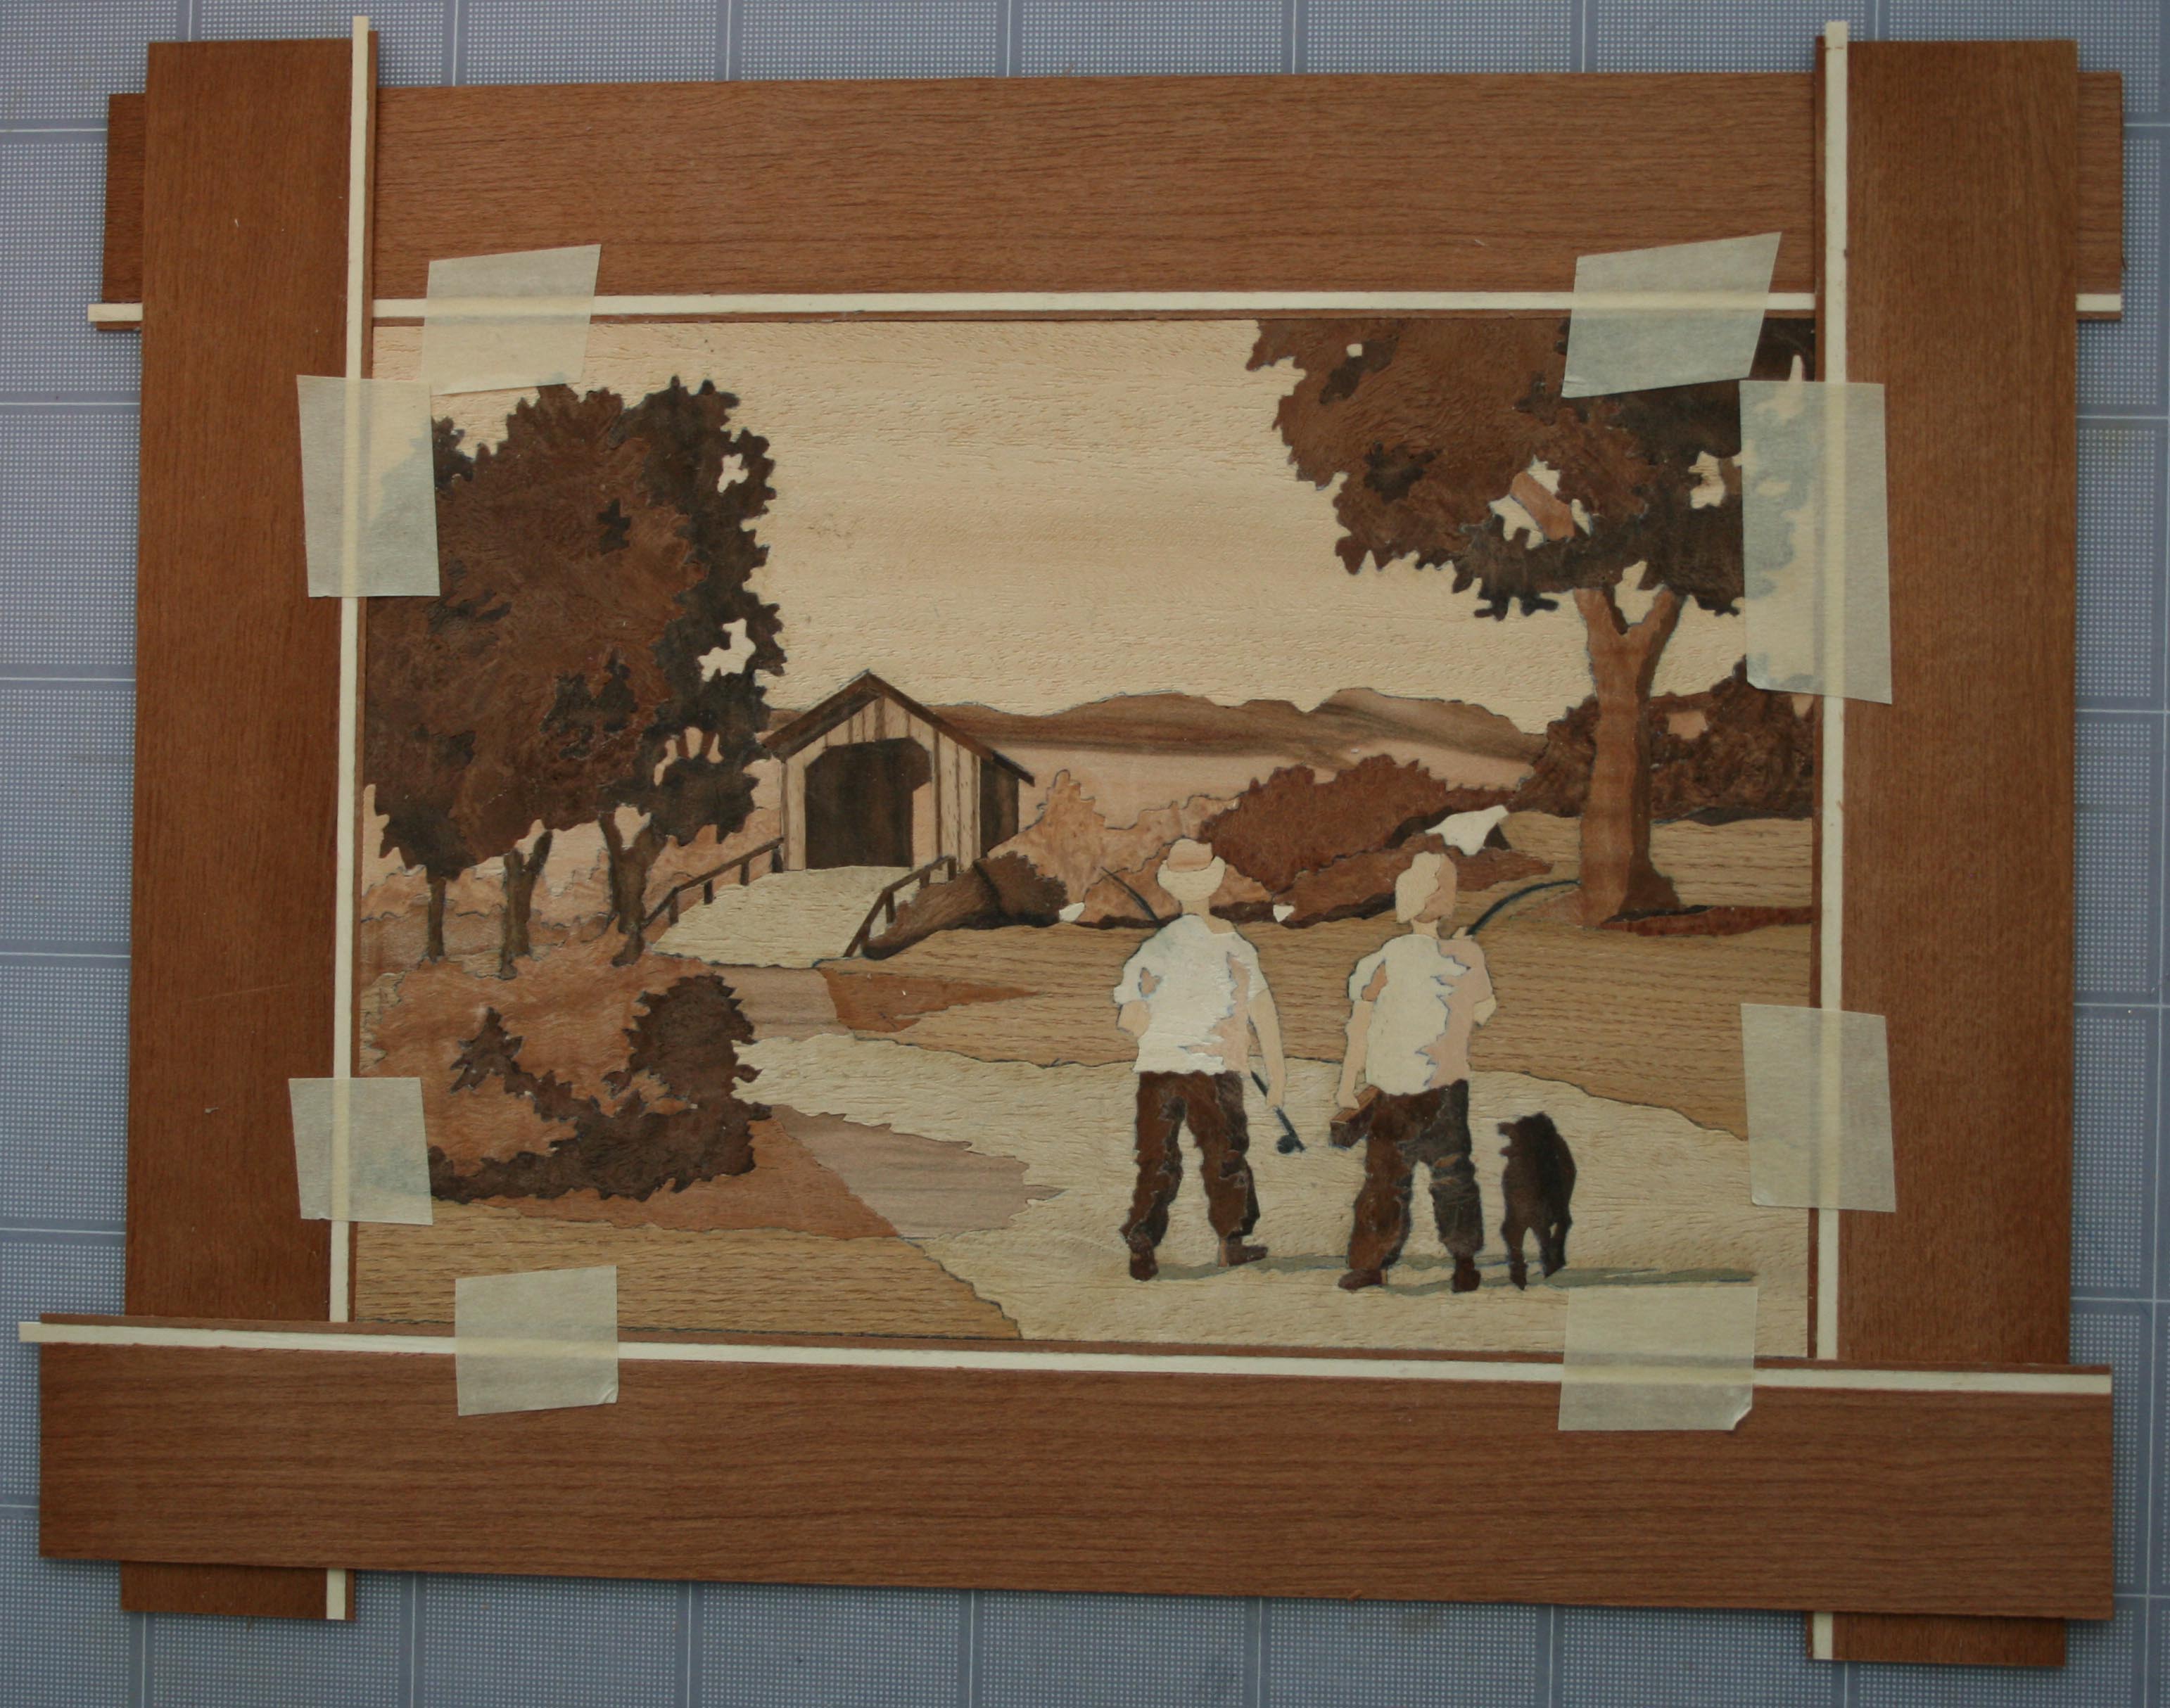
Figure 13 – Four pieces of frame
To frame the picture I cut the rough edges off the picture, making sure that the four sides were square. Then I place four pieces of the banding around the picture.
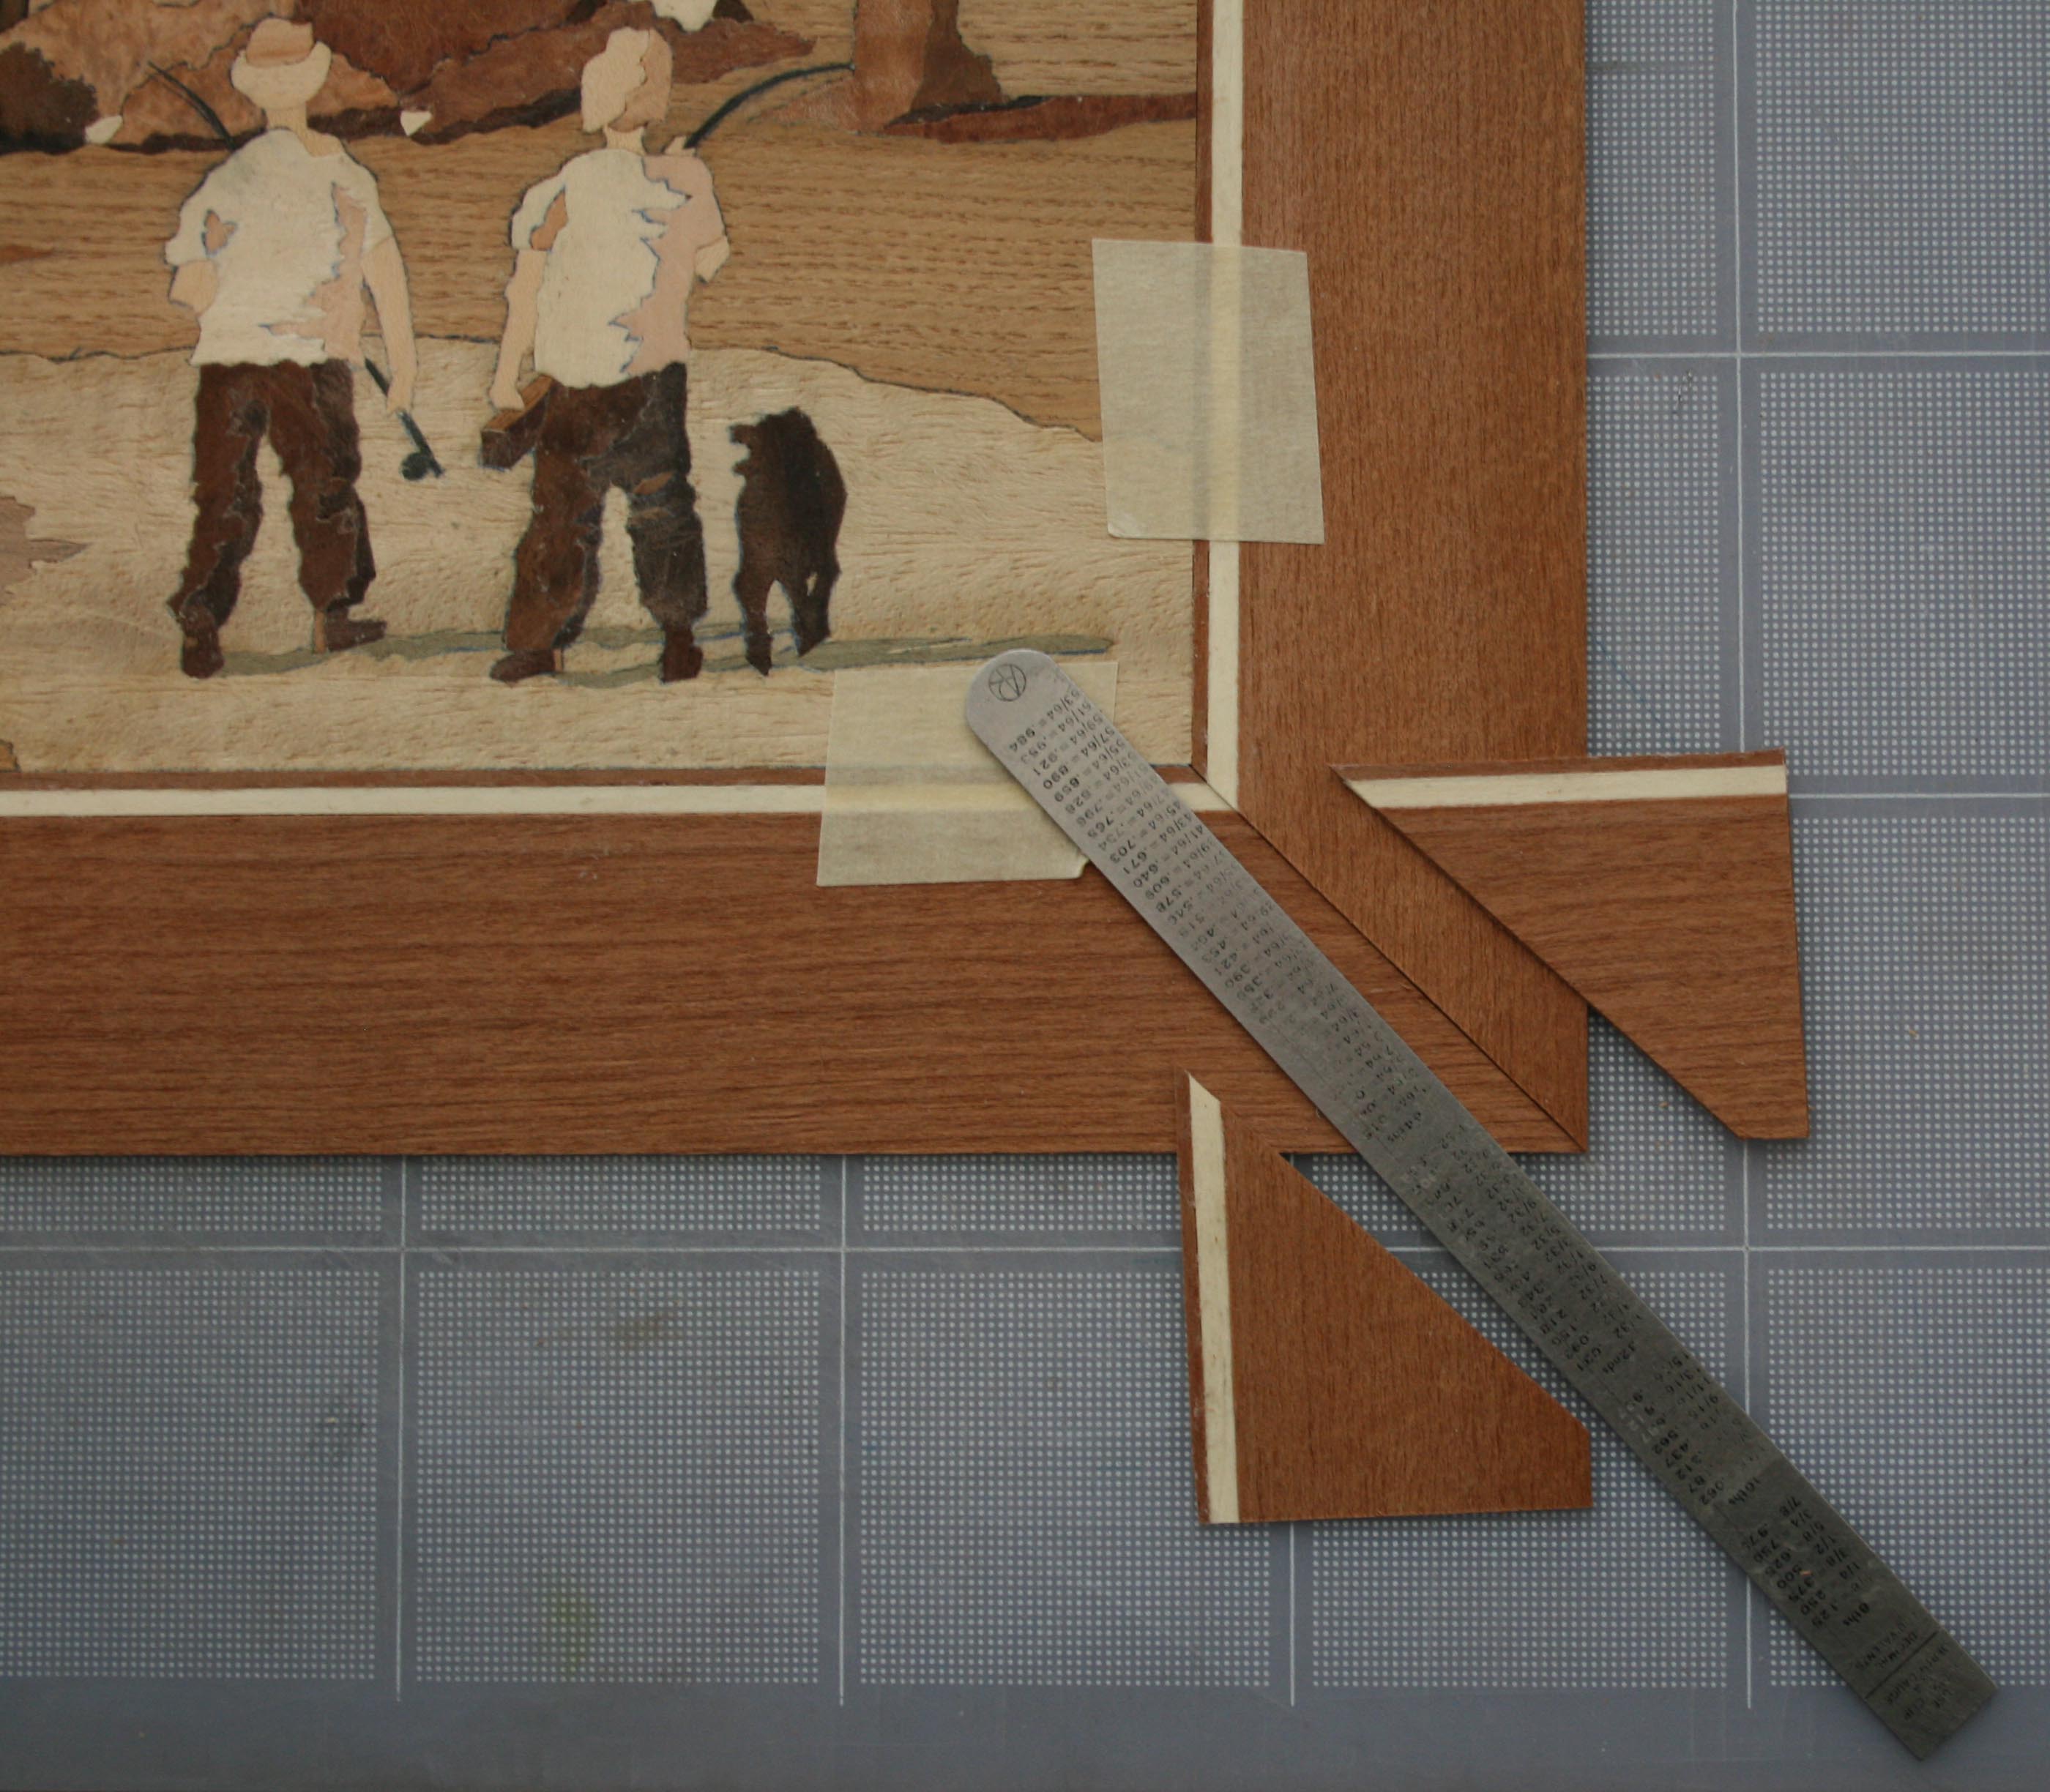
Figure 14 – Miter corner of frame
I then made the four miter cuts and glued the edge of the frame to the picture.
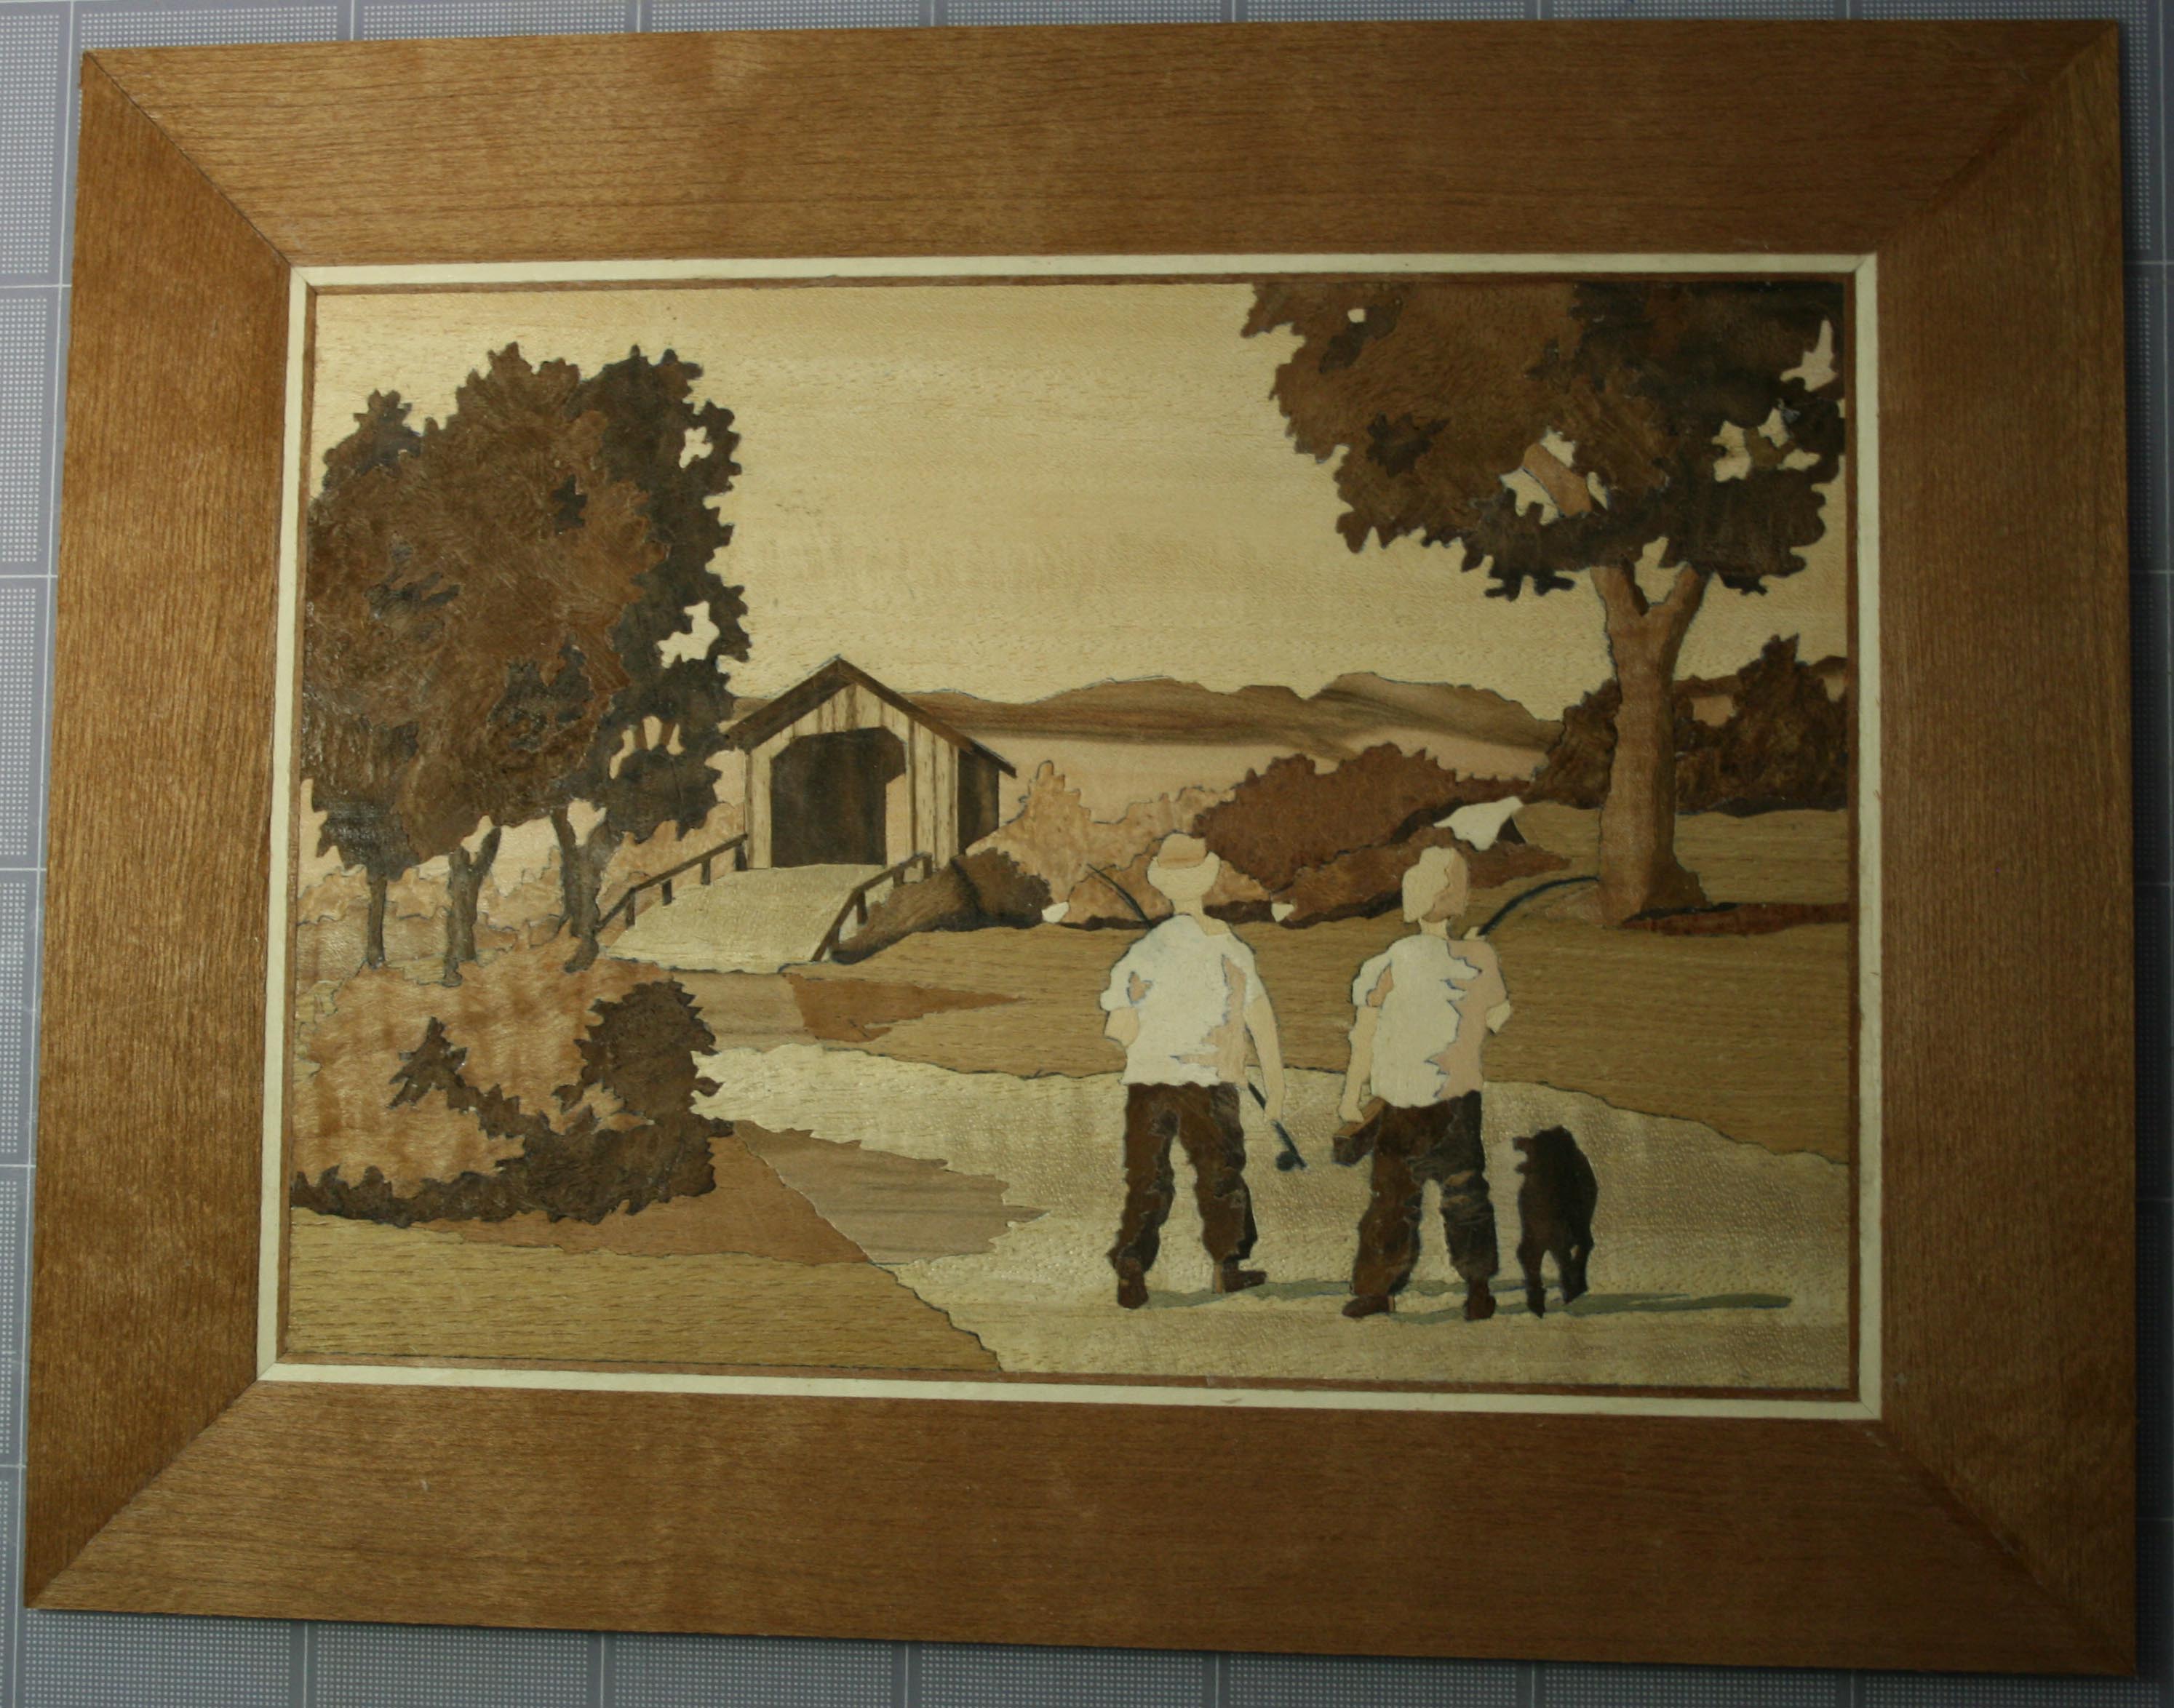
Figure 15 – Completed picture with frame
This image shows the frame and picture together.
One of the difficult part of framing a picture is to make sure the all the boarder lines match up at the miter points.
The best way to ensure this is to take the time to make the boarders. Peter White’s instructions provides a simple but exact method of making a variety of bandings.
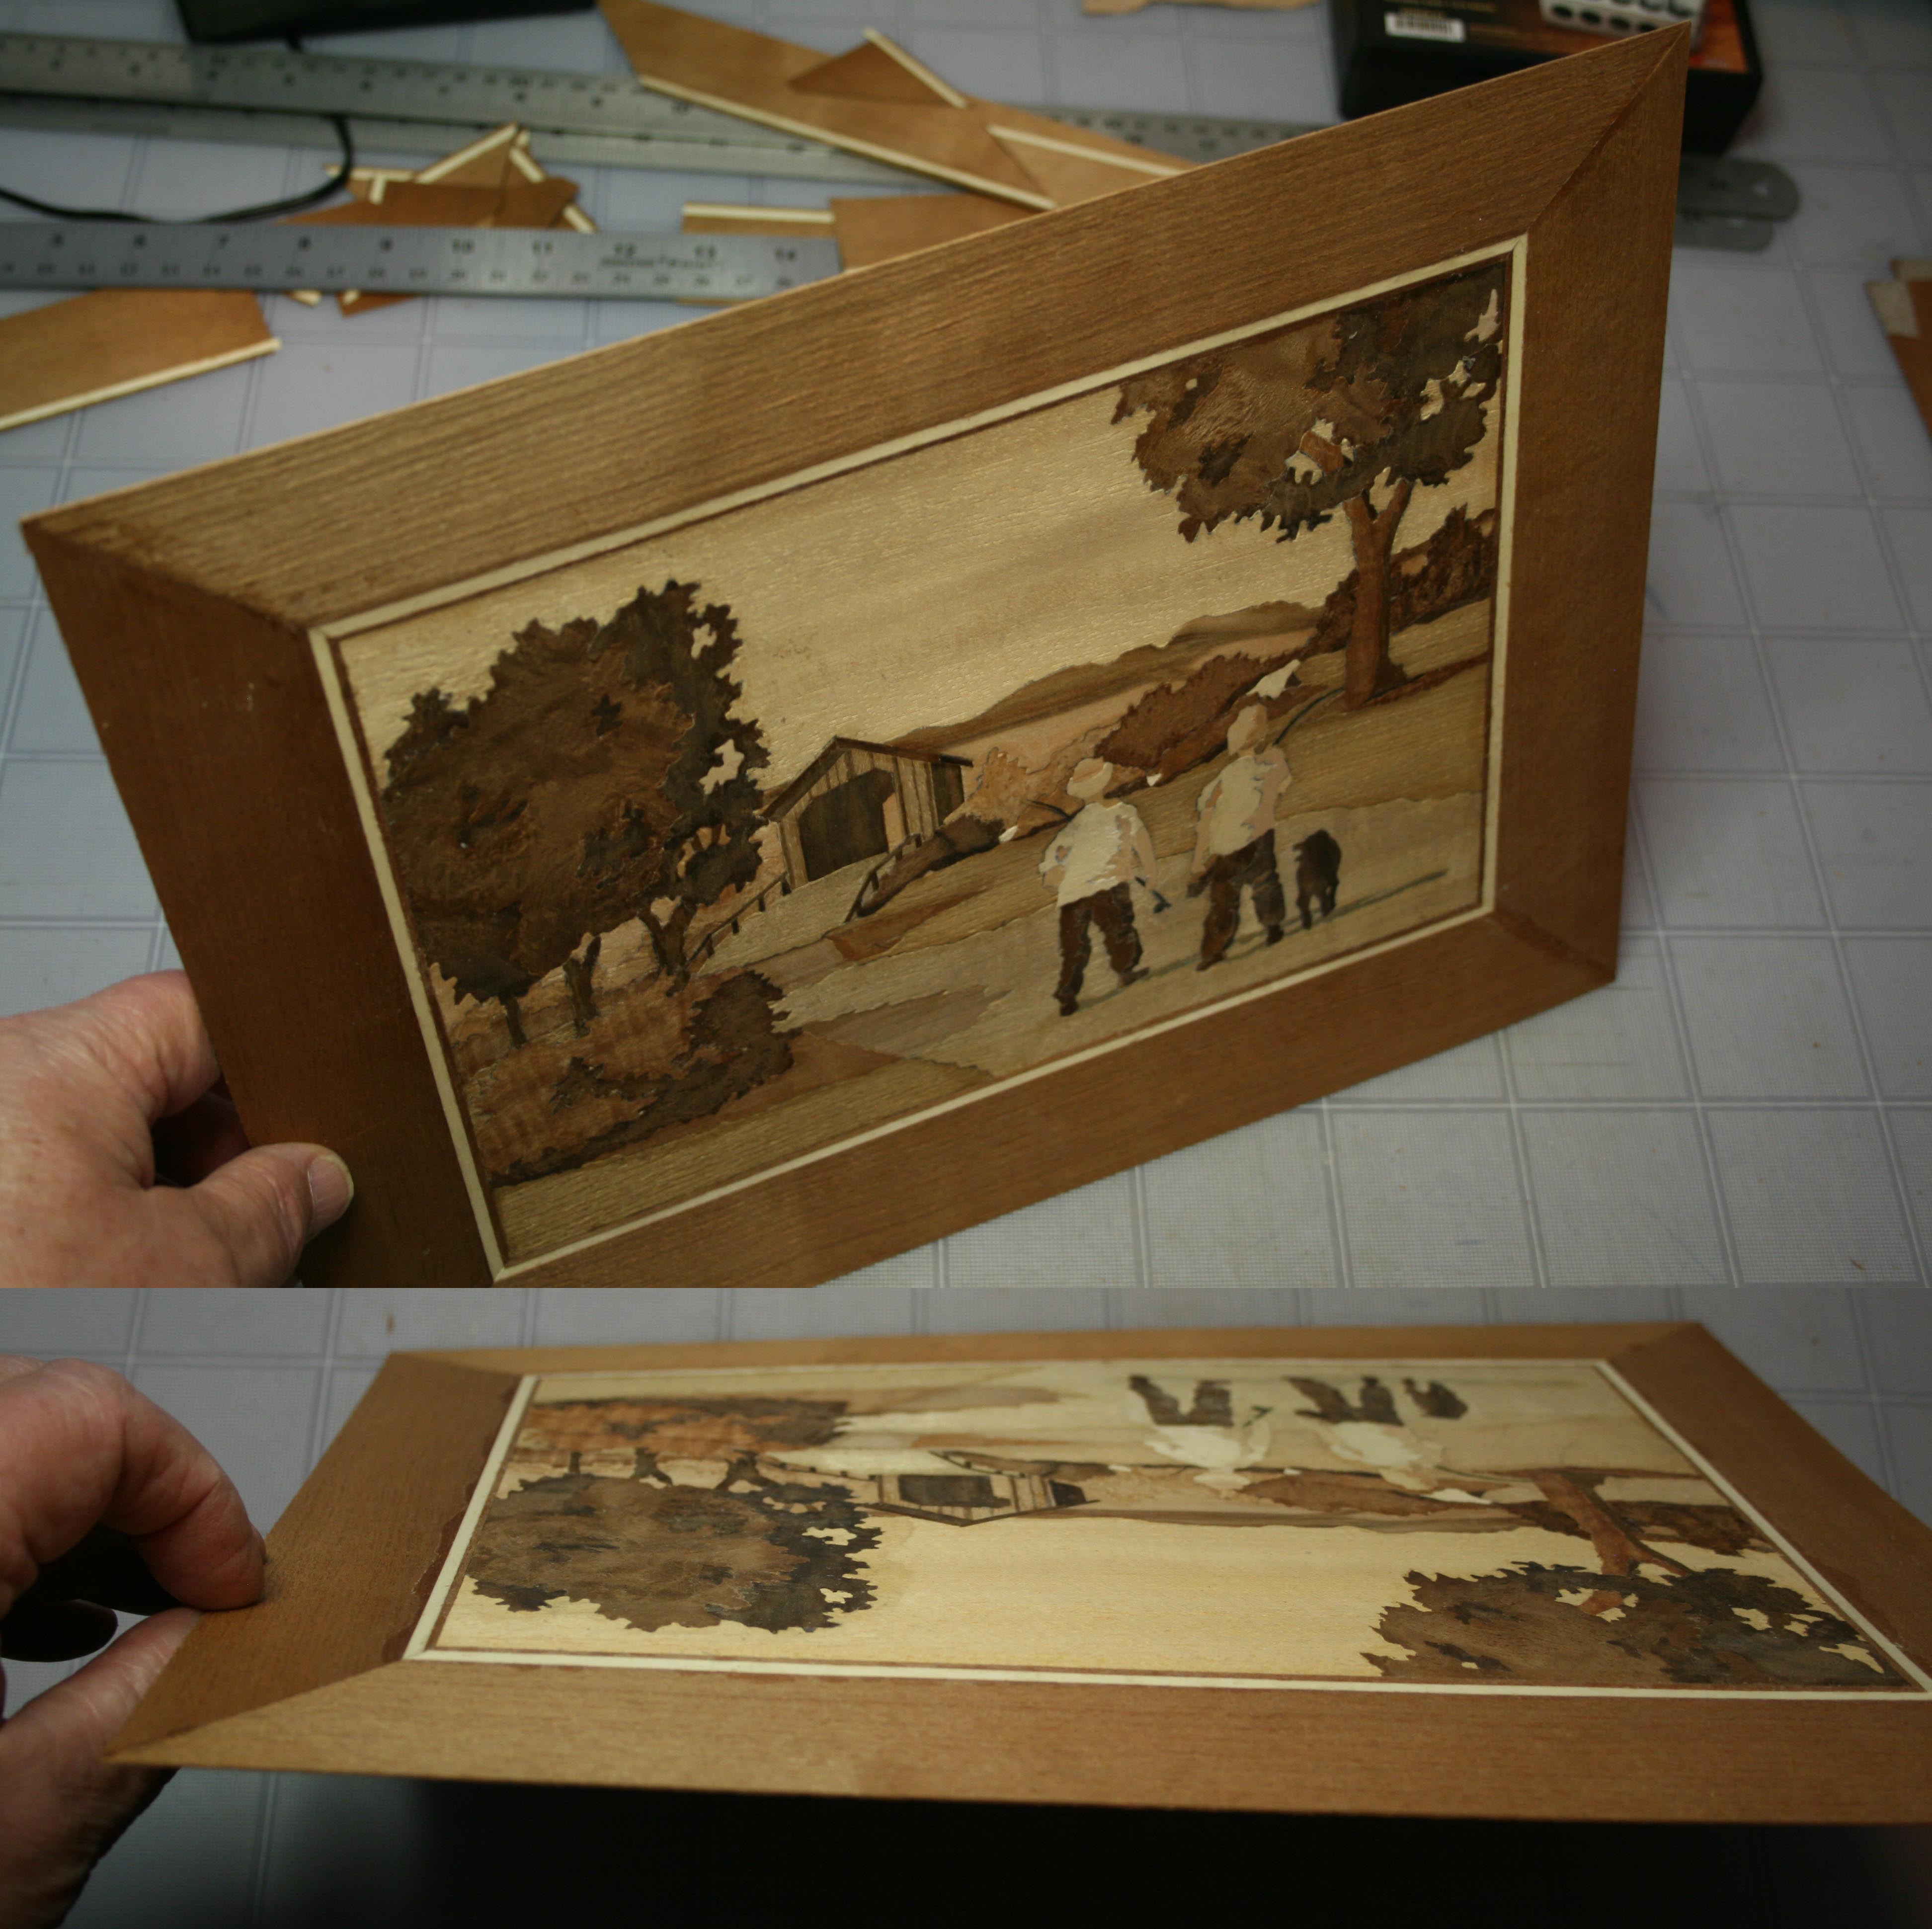
Figure 16 – Front and back of completed picture
This image shows the front and back of the picture. It is clean and free from any tape or glued paper. This makes it a lot easier to clean and finish a picture as there is no paper to scrape off.
Also, this method offers one the opportunity to use the front or the back as the finished picture. Some Marqueterians work the picture from the reverse side and turn it over as they glue to the front of the backing board.
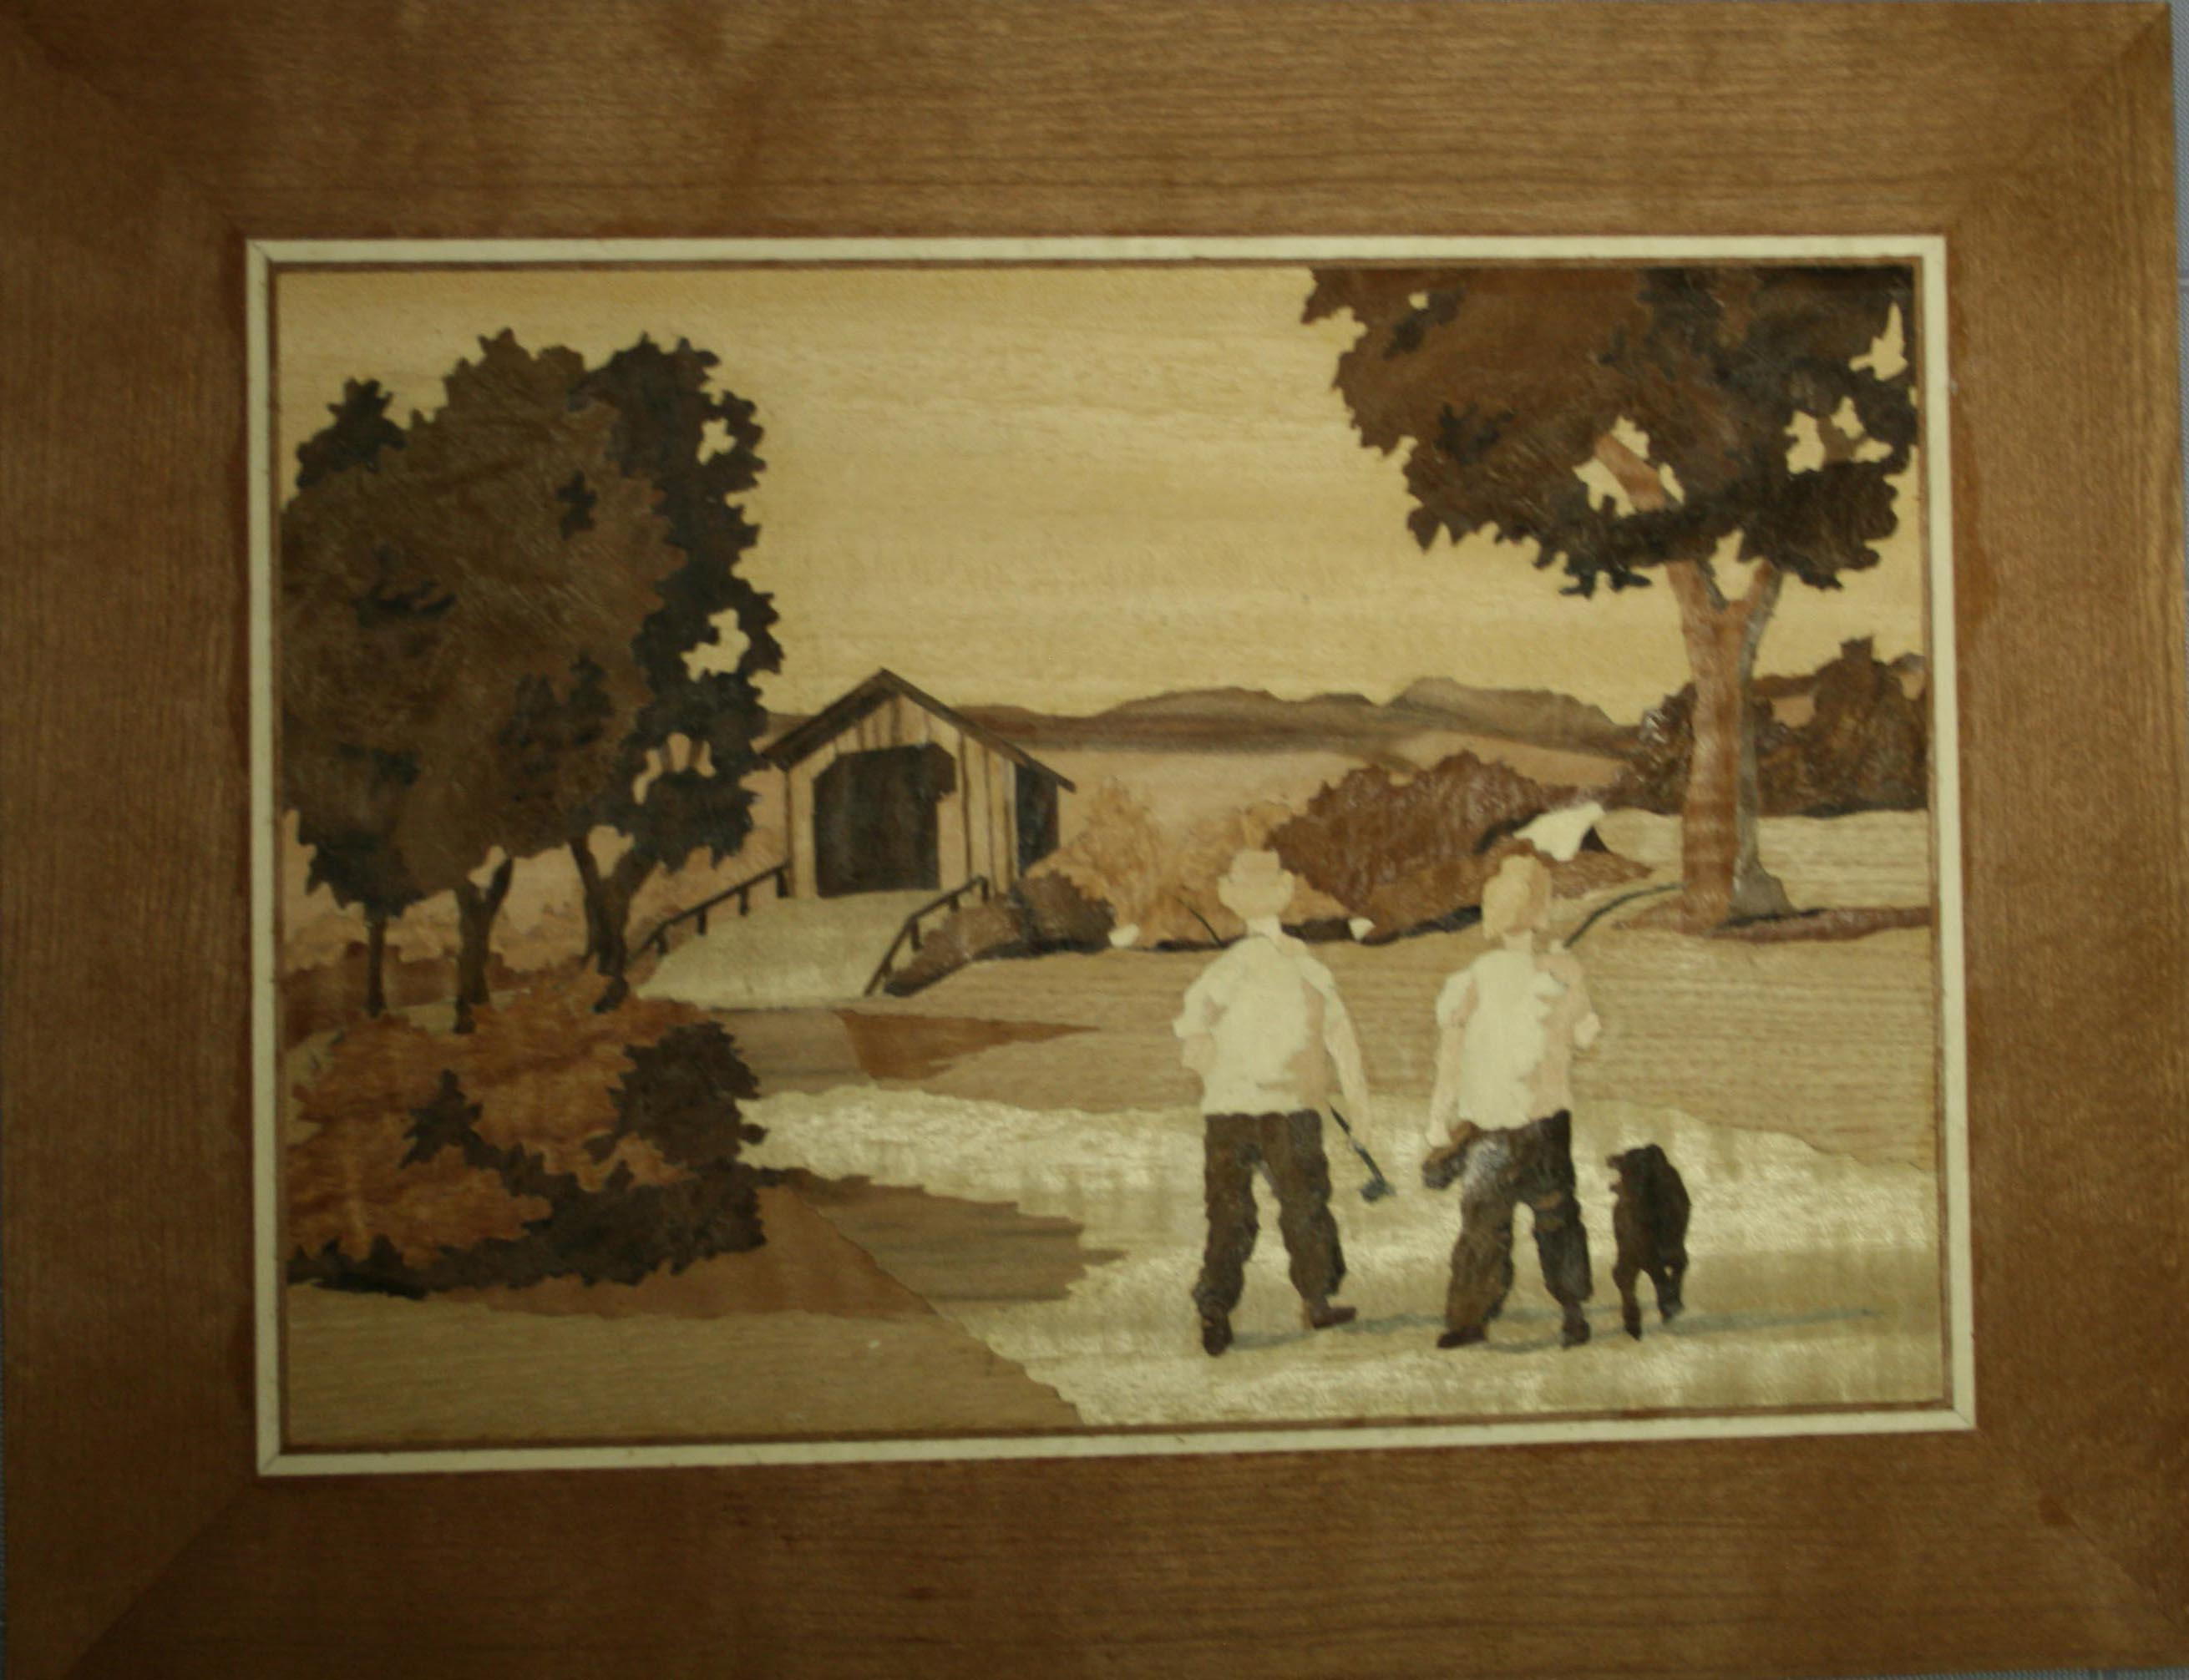
Figure 17 – Finished Marquetry picture
This is an image of the Marquetry picture glued on to the backing board of MDF. The back and sides of the backing board were already veneered. I follow the procedure of veneering the back of the MDF first, then the four sides and then gluing the picture to the front.
Later I will sand and varnish the picture with polyurethane.
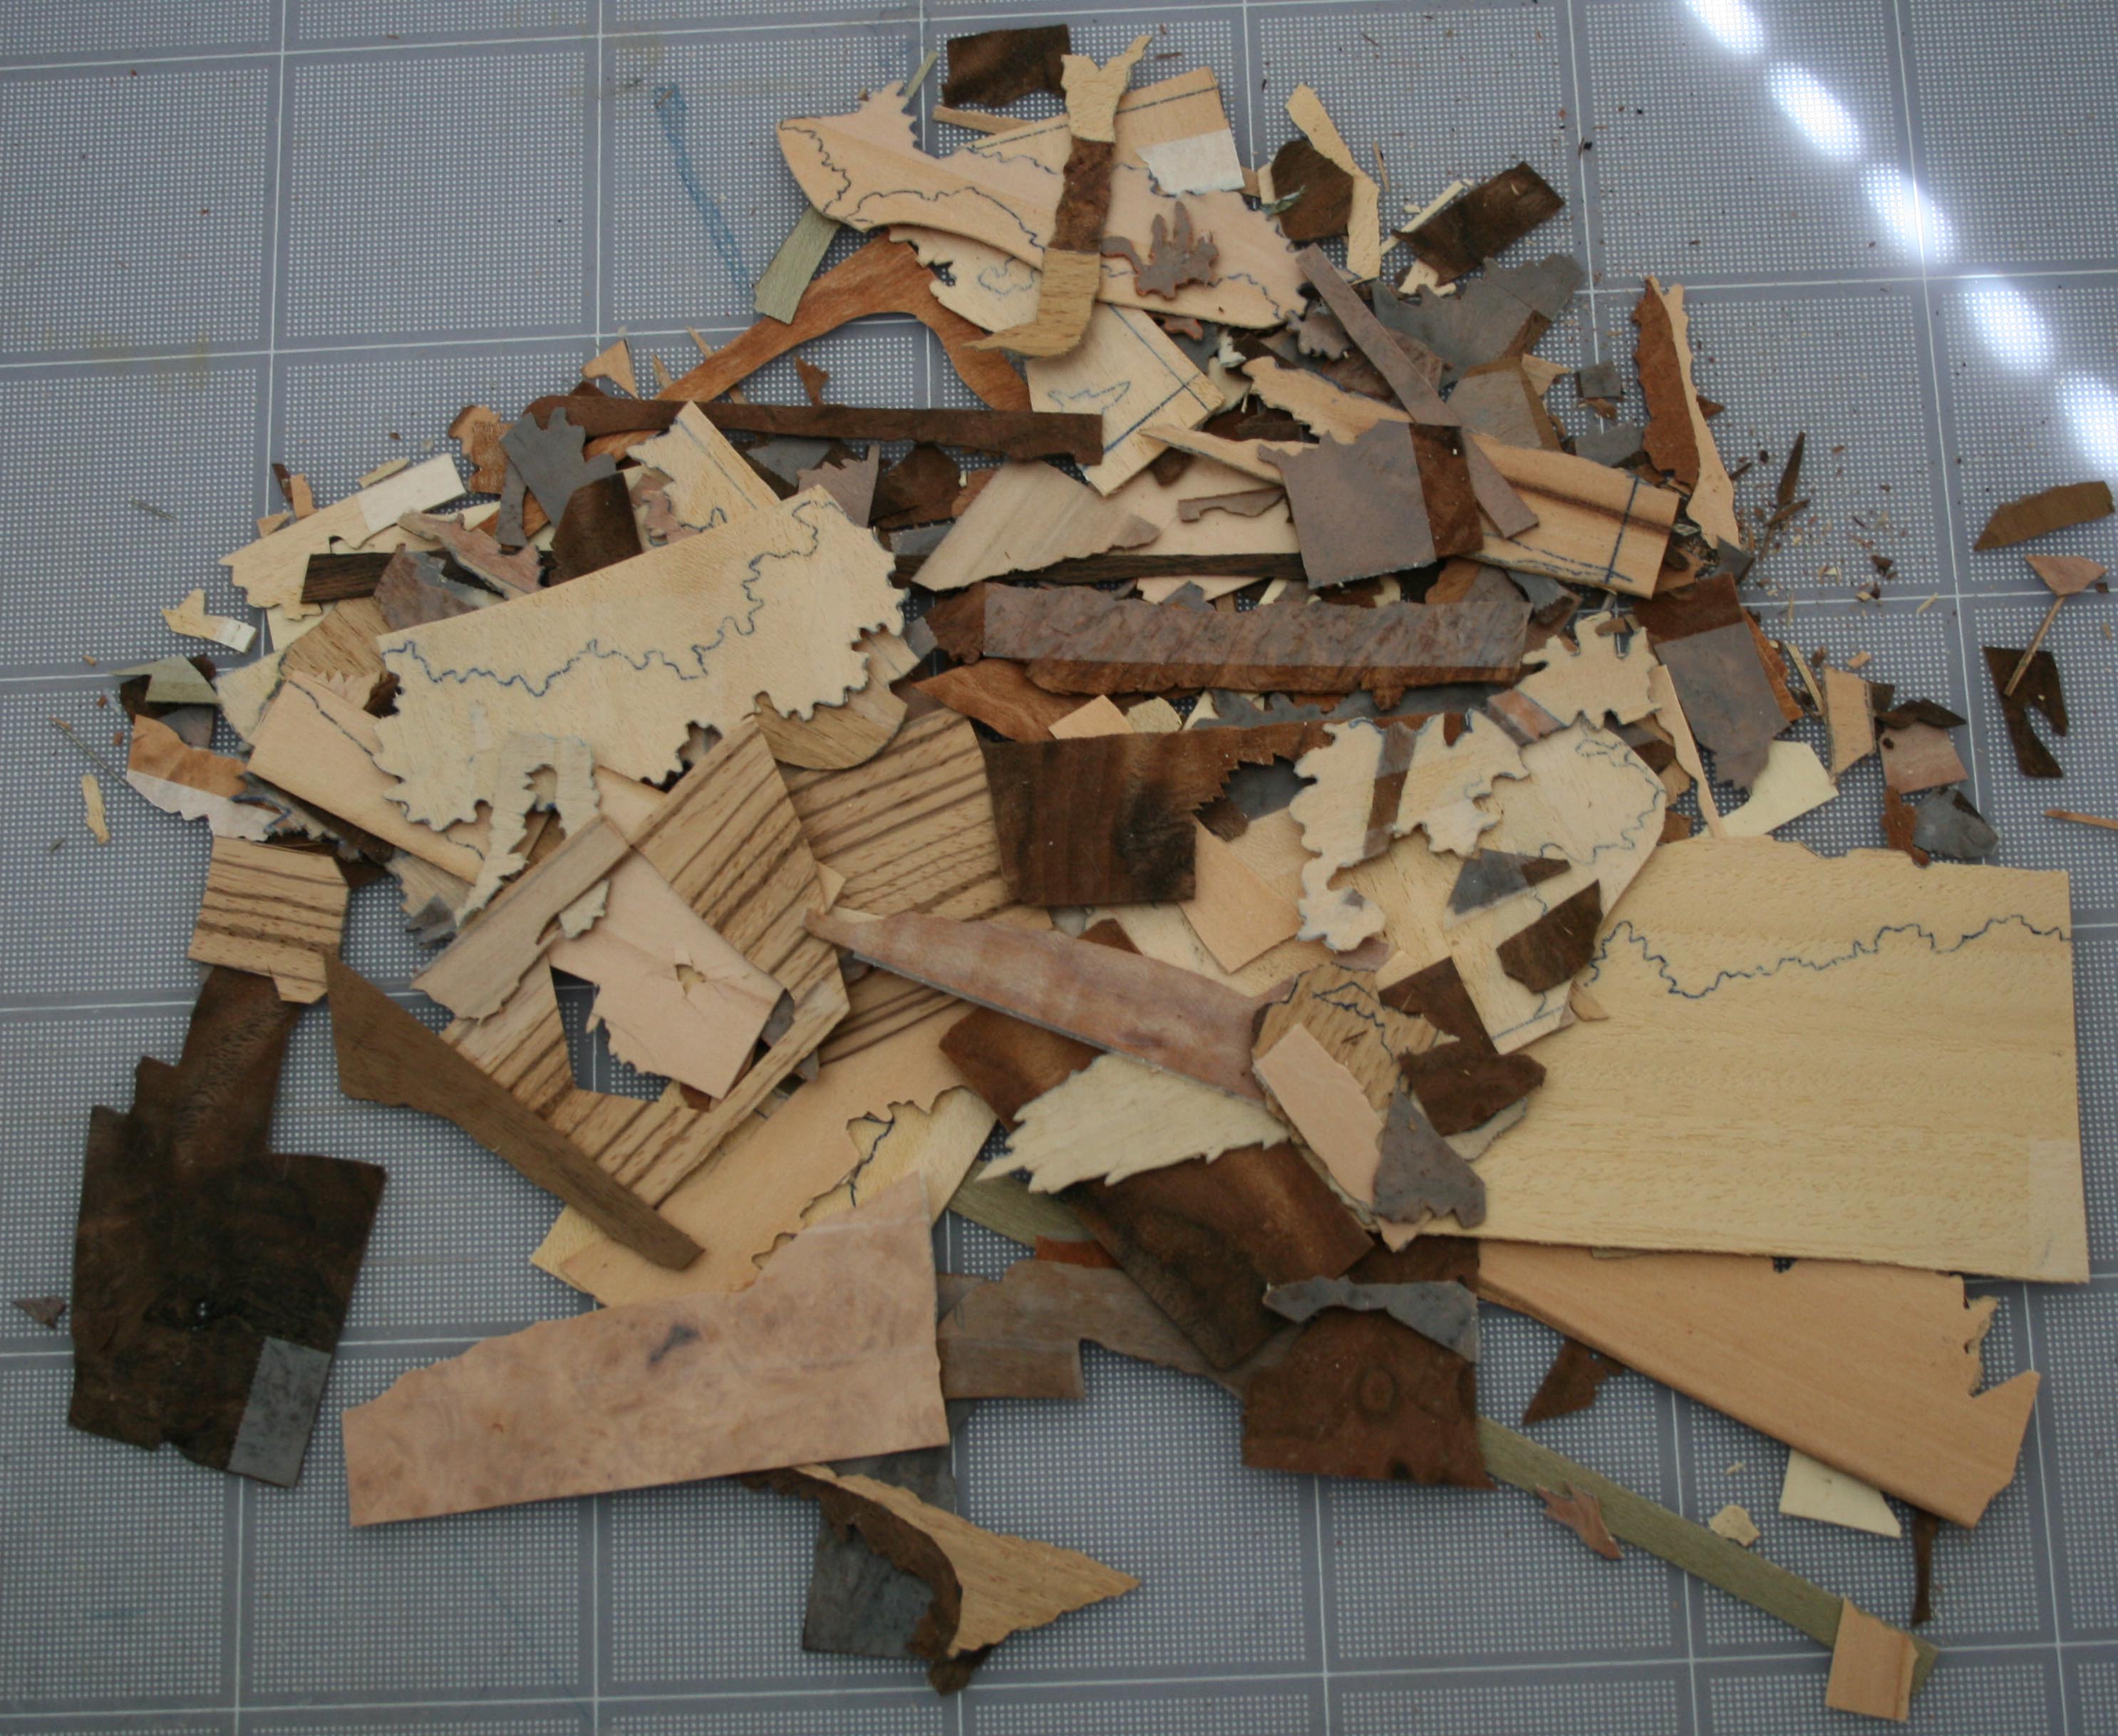
Figure 18 – Scraps left-over pieces
The final thing I like about the window method and cutting with a knife is that there is little scrap left-over after finishing a picture.
This photograph shows the waste that was left over after I had finished the picture.
I hope these photographs and my description shows how this method resembles the process of painting a picture. There are a number of methods used in the making of Marquetry pictures. No one is the right way and they all have their benefits. I hope I have explained clearly why I like the window method and using a knife to cut the veneers.