Next on my list of pictures to do for family was a Marquetry picture of an orchid for my daughter Tegan. Over the years she has a number of orchid plants now that they have become more available. There are numerous types of orchids and they come in a variety of colors. I took a number of photographs over a period of time and eventually settled on this picture.
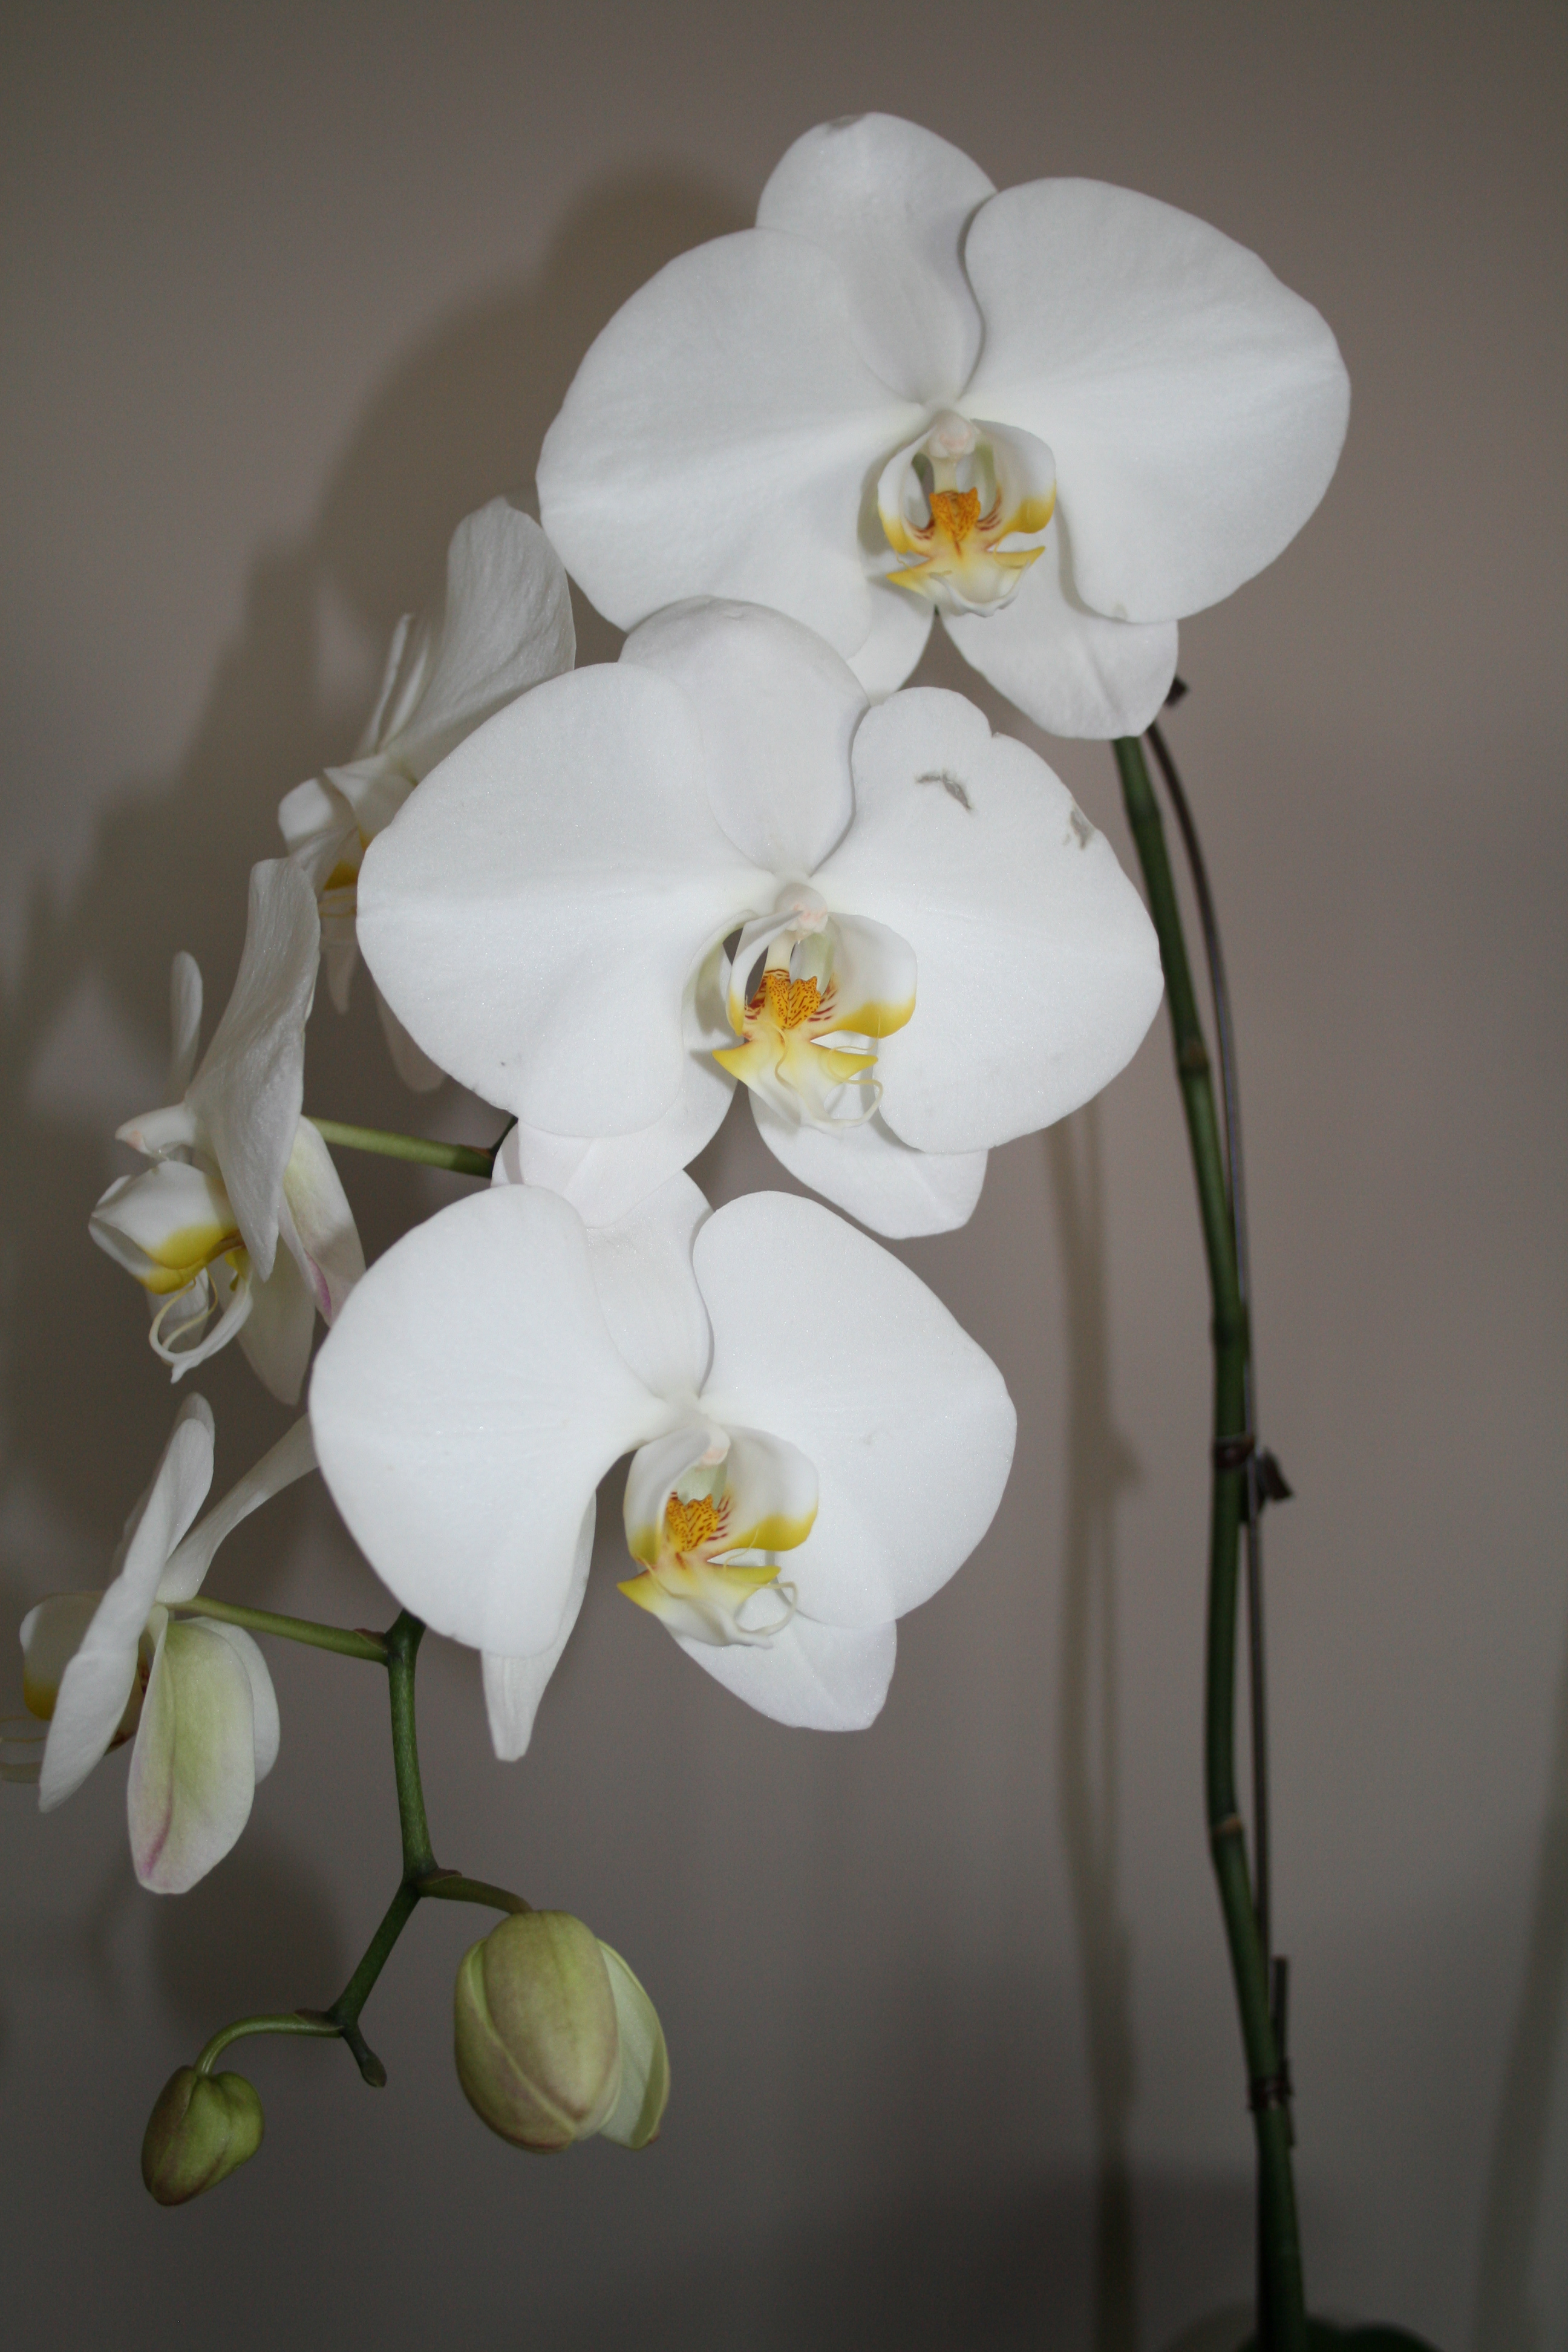
Figure 1 – Photograph of Orchid
I imported the picture from my digital camera into Photoshop. I then cropped it to the size I wanted. I had decided to make the overall dimension of the picture to be 18” wide x 24” high, including a 3” border.
I have a Wacom Cintig screen which allows me to draw freehand on the screen and interacts with most graphics programs. I opened the photograph in Photoshop, created a new layer and then started to trace the outline of the flowers and stem with the pencil tool.
I was then able to “hide” the layer of the photograph and being left with the tracing layer I printed the drawing. I only have an 8” wide x 11” high and I wanted the picture (excluding the boarder) to be 12” wide x 18” height, so I used the squared grid method (http://m.wikihow.com/Scale-Drawing-Using -the-Grid-Method) to transfer the drawing to a larger sheet of paper.
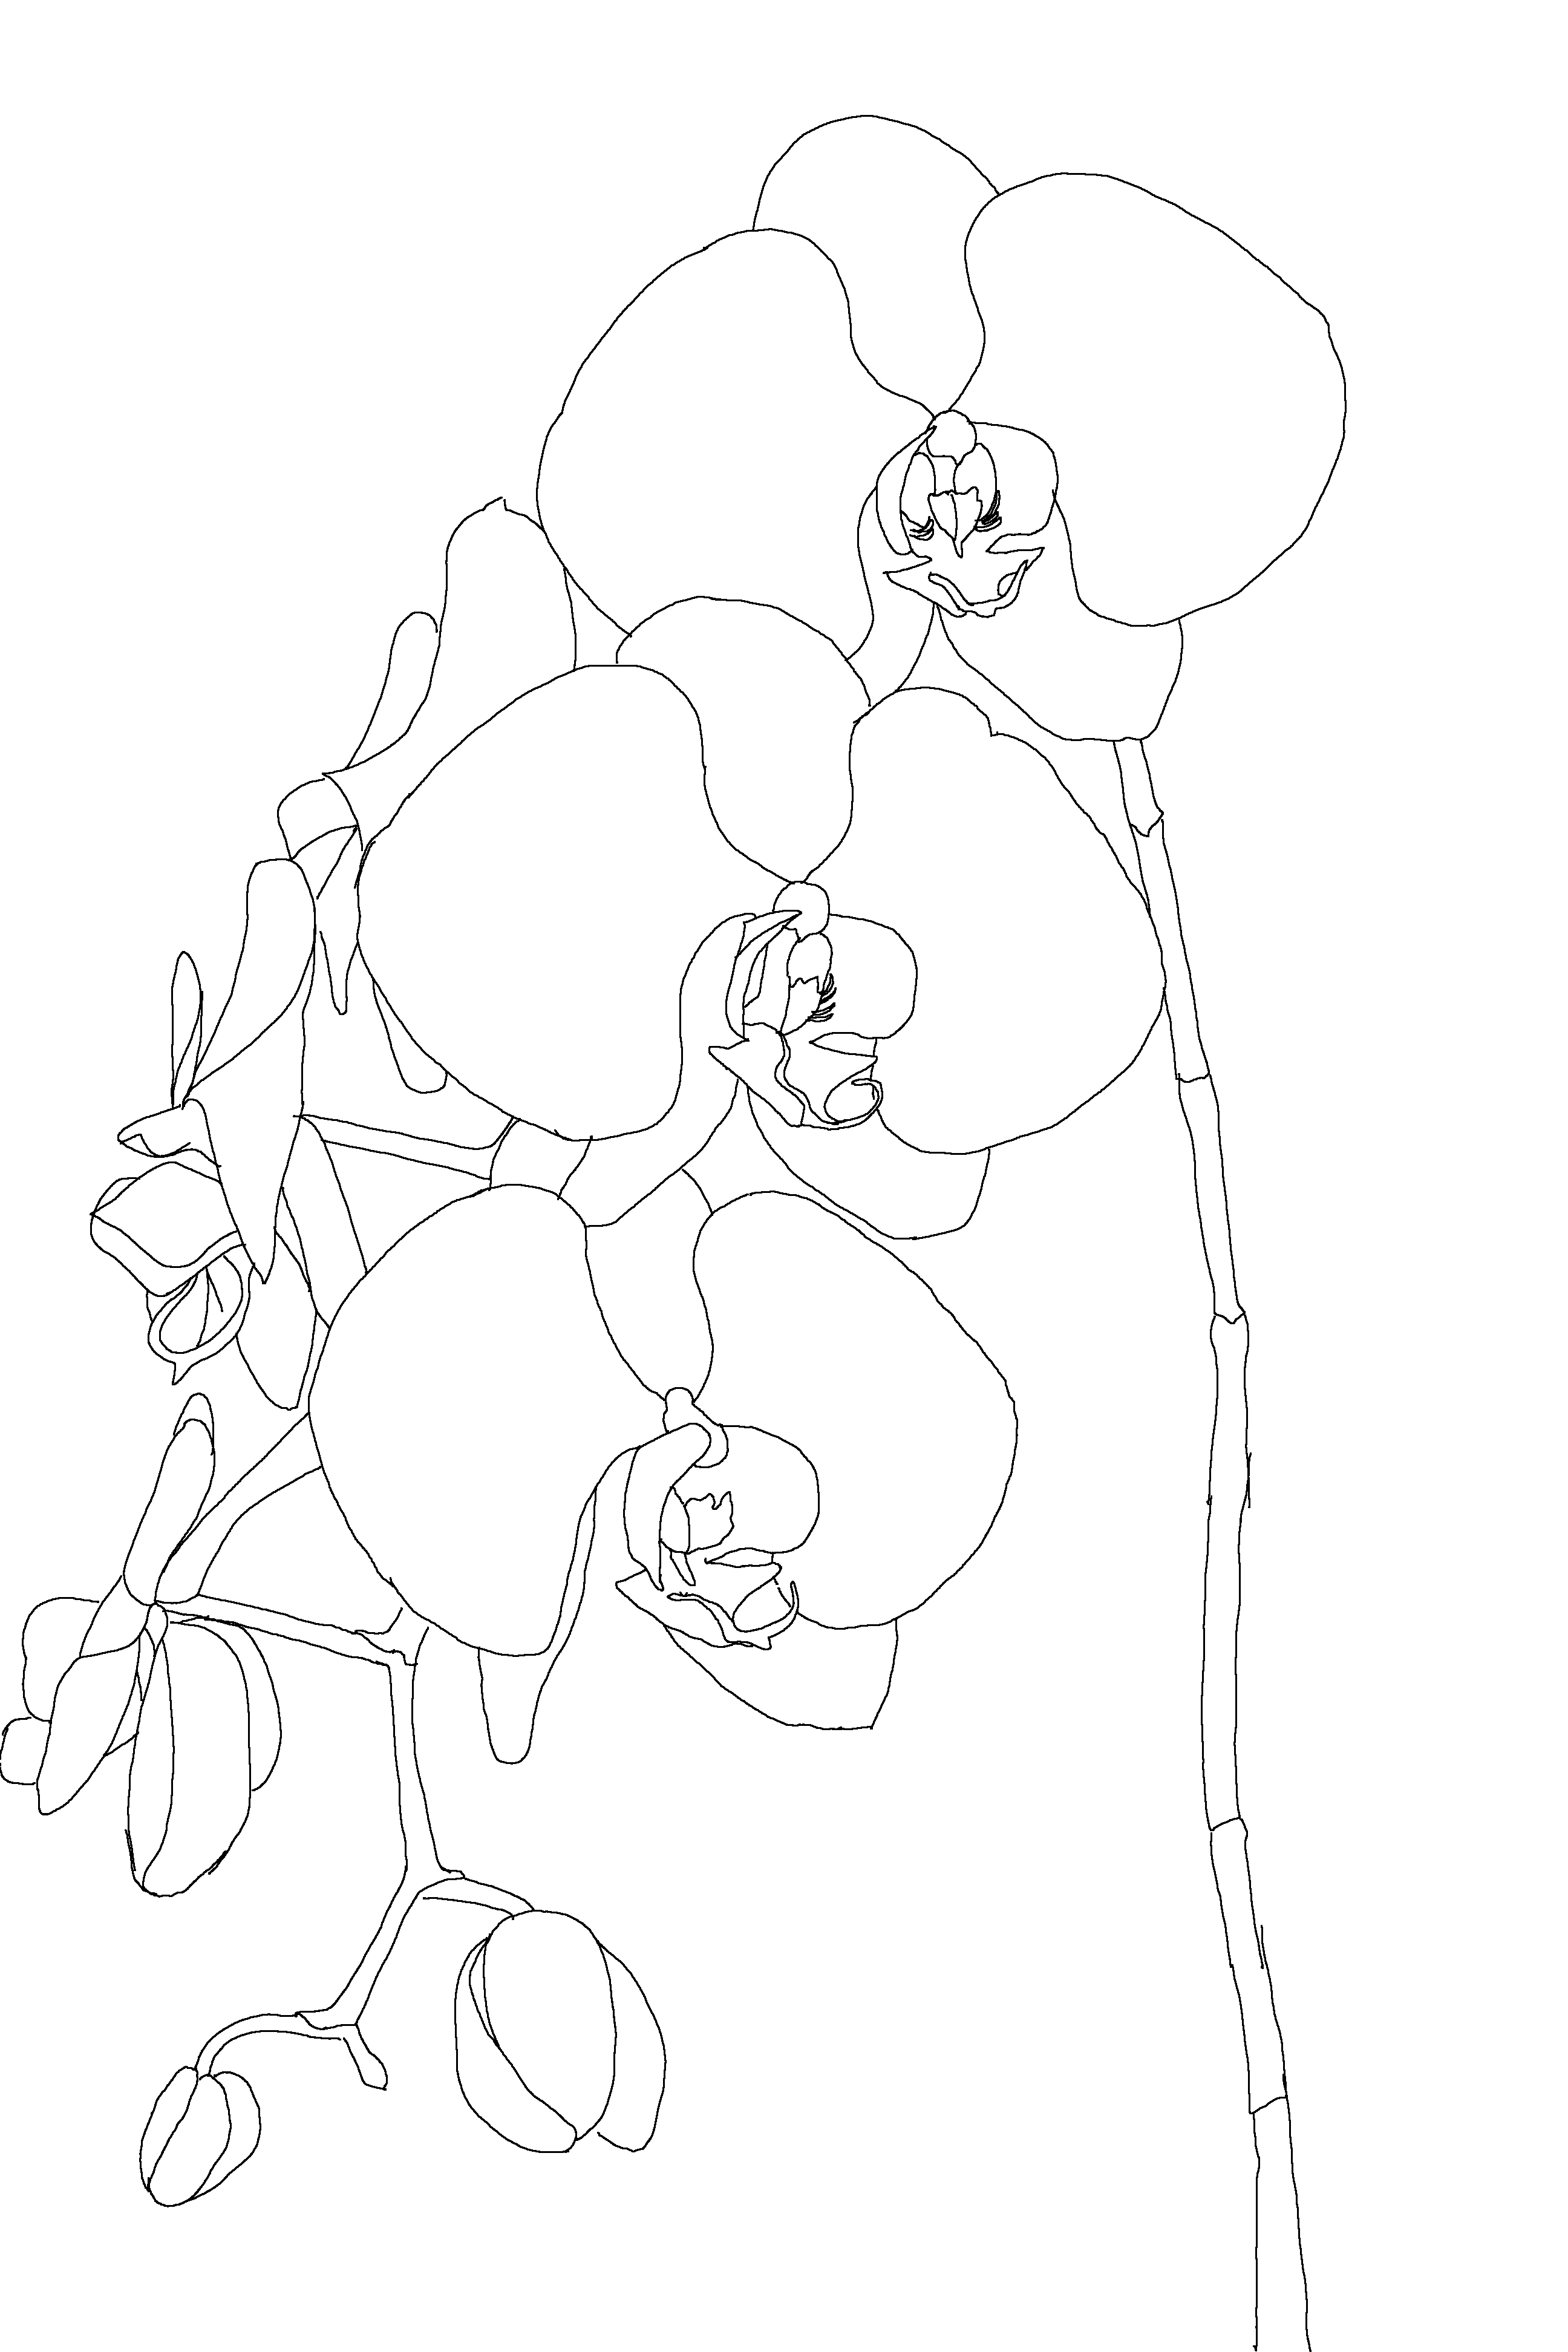
Figure 2 – Line drawing of orchid
See Figure 2. I then added a 3” boarder to make the final picture 18” x 14”. I chose an orange/brown burl for the background and for the leaves on the orchids in the foreground I used Horse Chestnut. These leaves had very little definition to them other than the outline. For the orchids in the background I used a grey harewood. Although the orchid in the photograph has a yellow colored center I wanted to use a purple color as this was Tegan’s favorite.
I used the window method and a knife to cut the veneers. I did a little sand shading around some of the edge of the white leave to make enough contrast to see the different petals.
After I finished the picture of the orchid I started on the border. I decided to add a banding that included some of the colors in the picture. I then followed the method described by Peter White in his DVD on Geometric Marquetry.
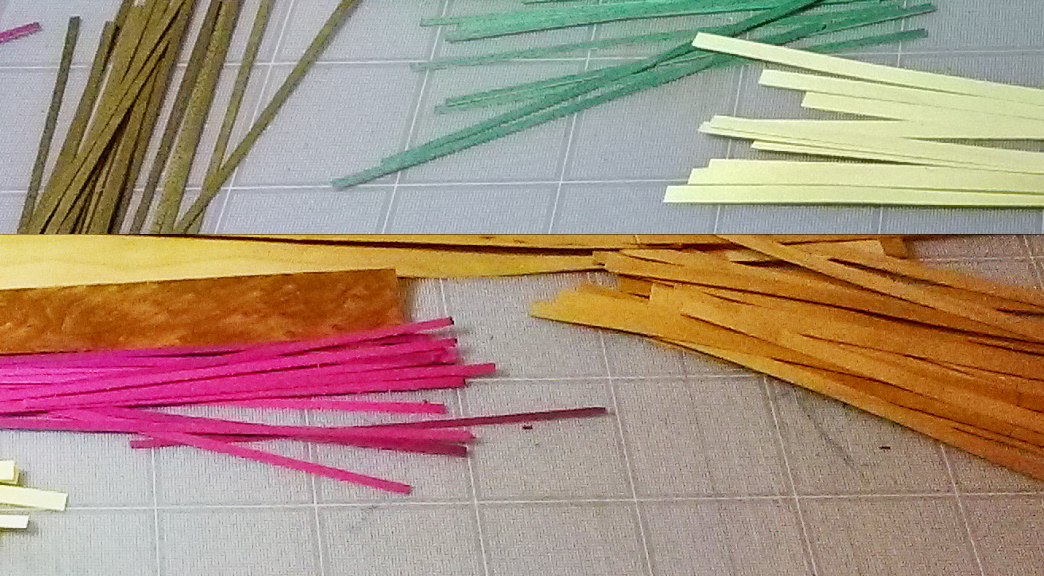
Figure 3 – Variety if sticks of different widths
I chose the main colors from the picture, horse chestnut (1/4”), walnut (1/8”), green (1/8”) and purple (1/8”) dyed harewood. I tried the burl but it did not cut into thin length well so I substituted lengths cut (1/8”) from the cedar veneer that I was using for the boarder. I cut length of an arbitrary 6” – enough to cut at least 4 pieces of banding ½” wide.
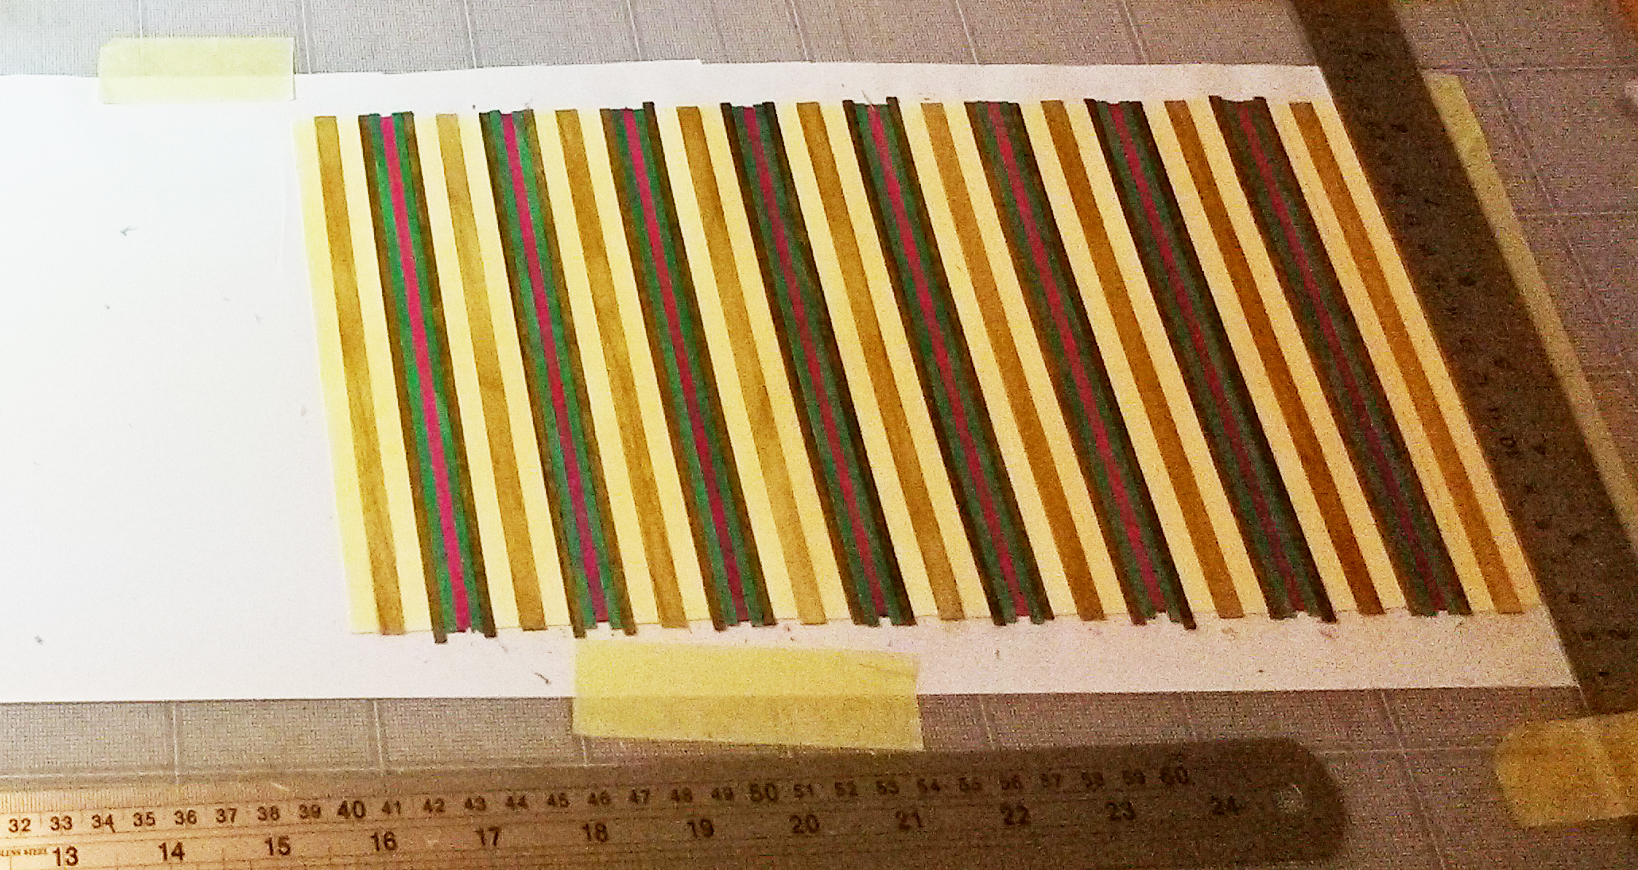
Figure 4 – Stick layout
I then laid a piece of adhesive paper on my cutting board. At the right end of this I placed a steel rule to give me a straight edge to start building the banding. I created a pattern of horse chestnut-cedar-horse chestnut-walnut-green-purple-green-walnut. I repeated this until I had a length of 25”. As I laid each stick of veneer down I glued the edges together with a small amount of white glue, Figure 4.
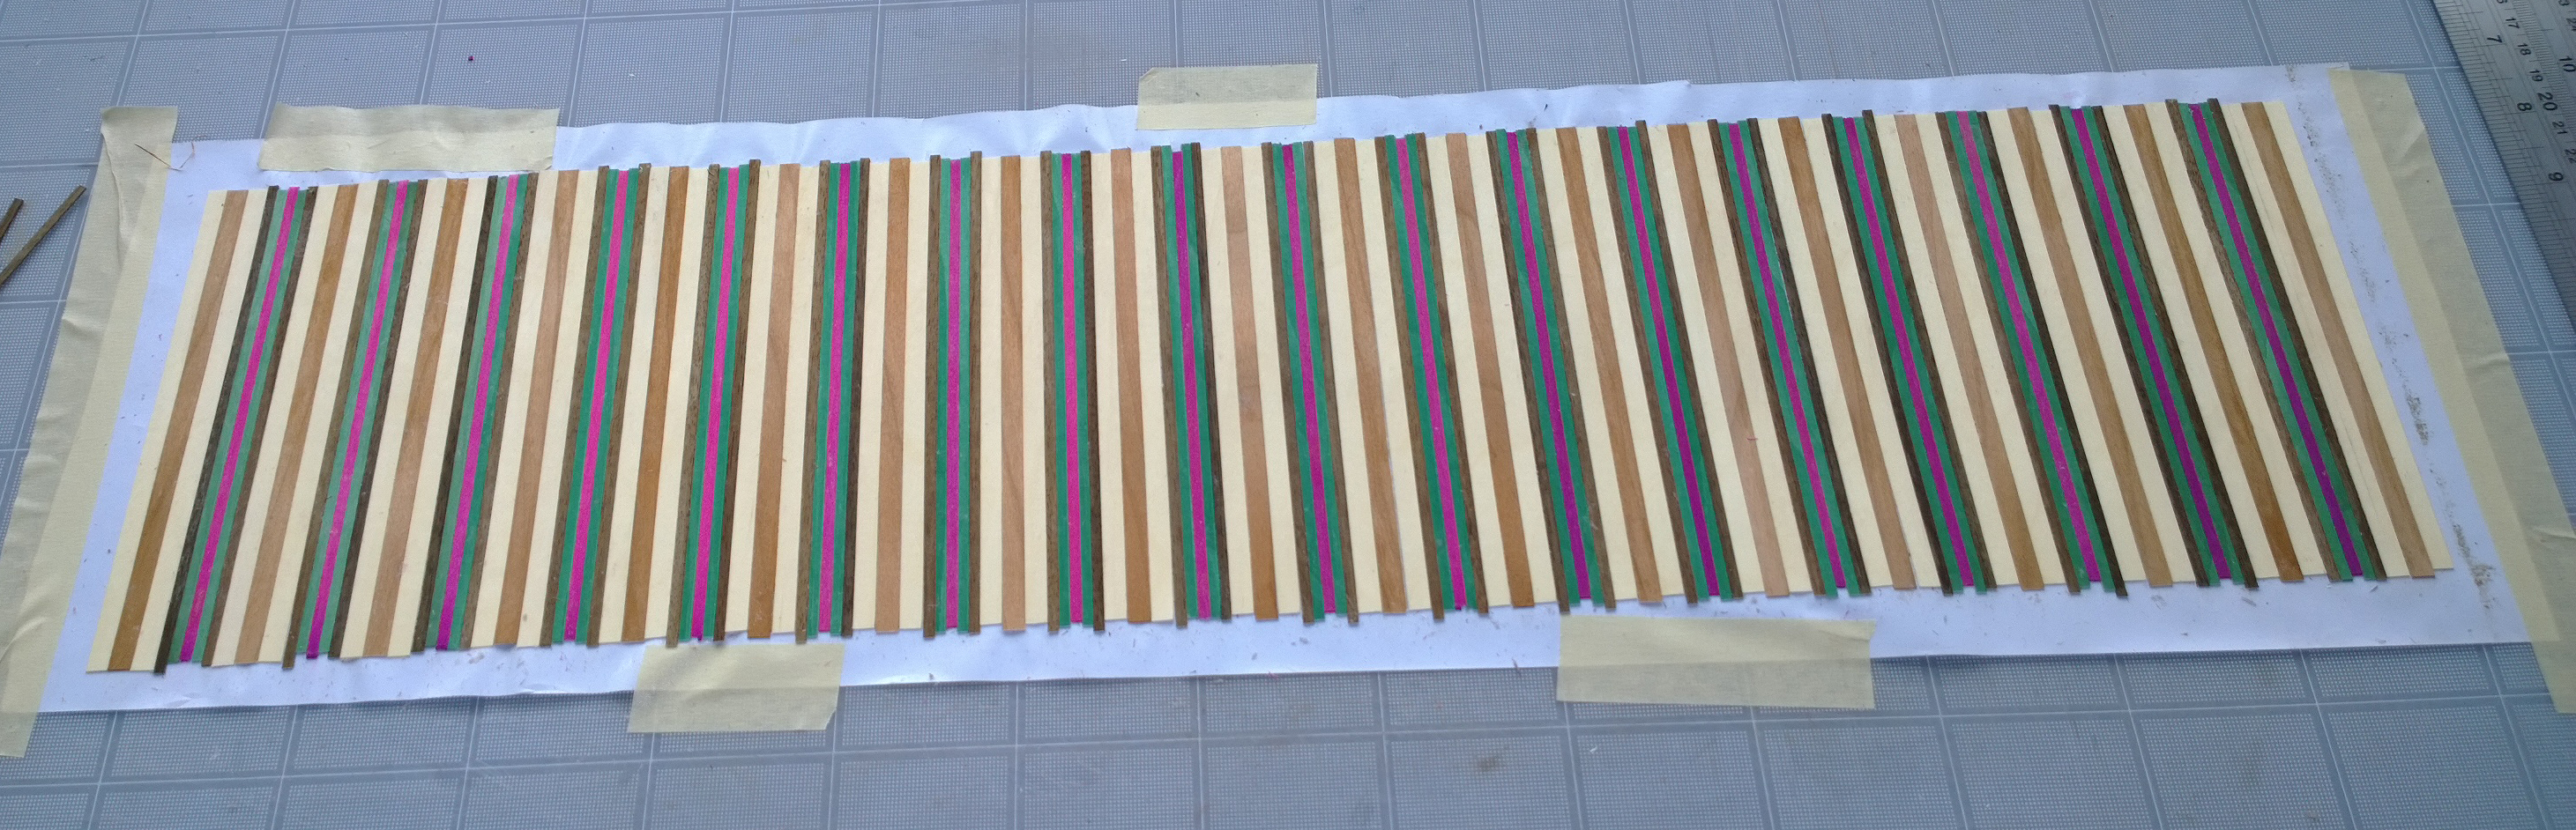
Figure 5 – Completes set longer than the longest boarder
This is an image of the completed banding 25” in length, Figure 5.
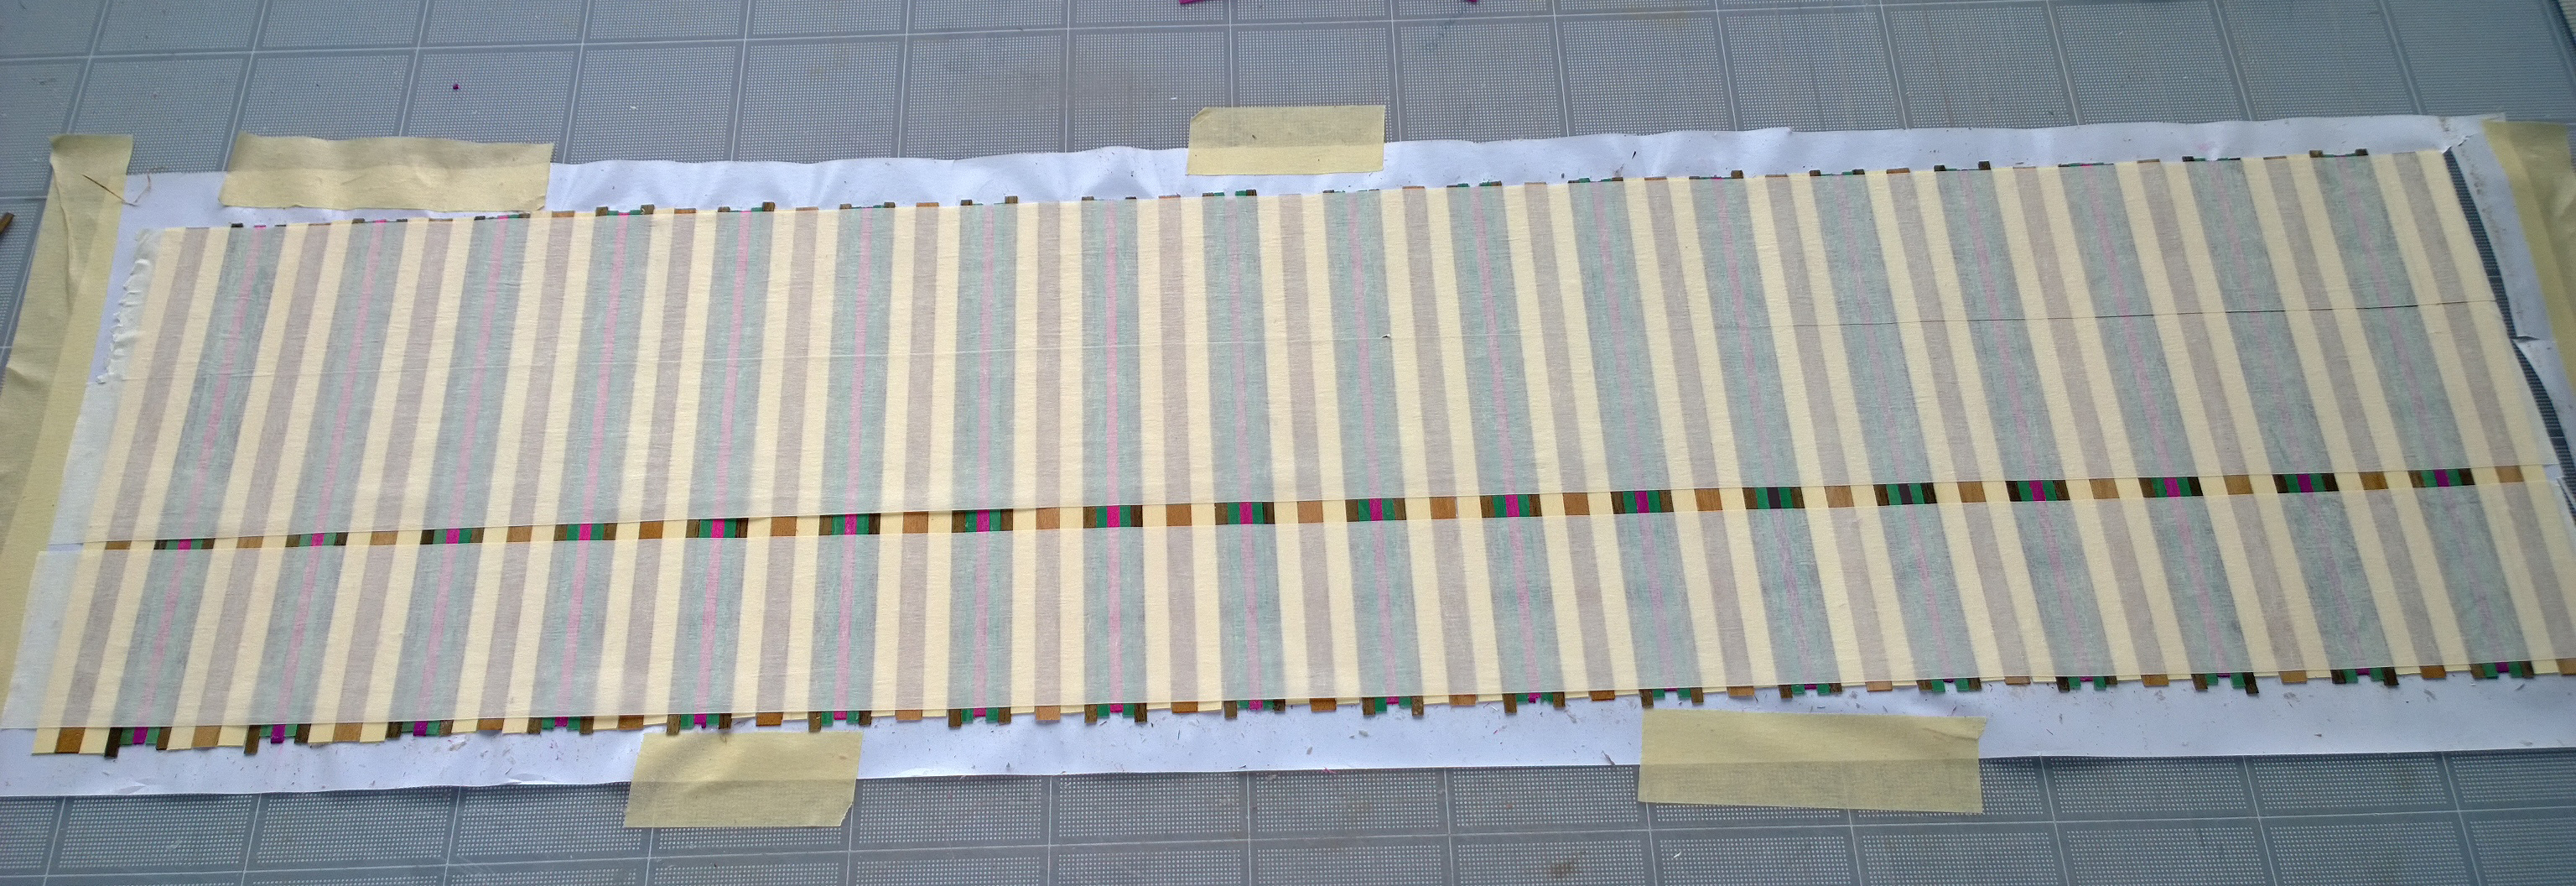
Figure 6 – Put tape on the front
I then covered the banding with a broad masking tape, Figure 6.
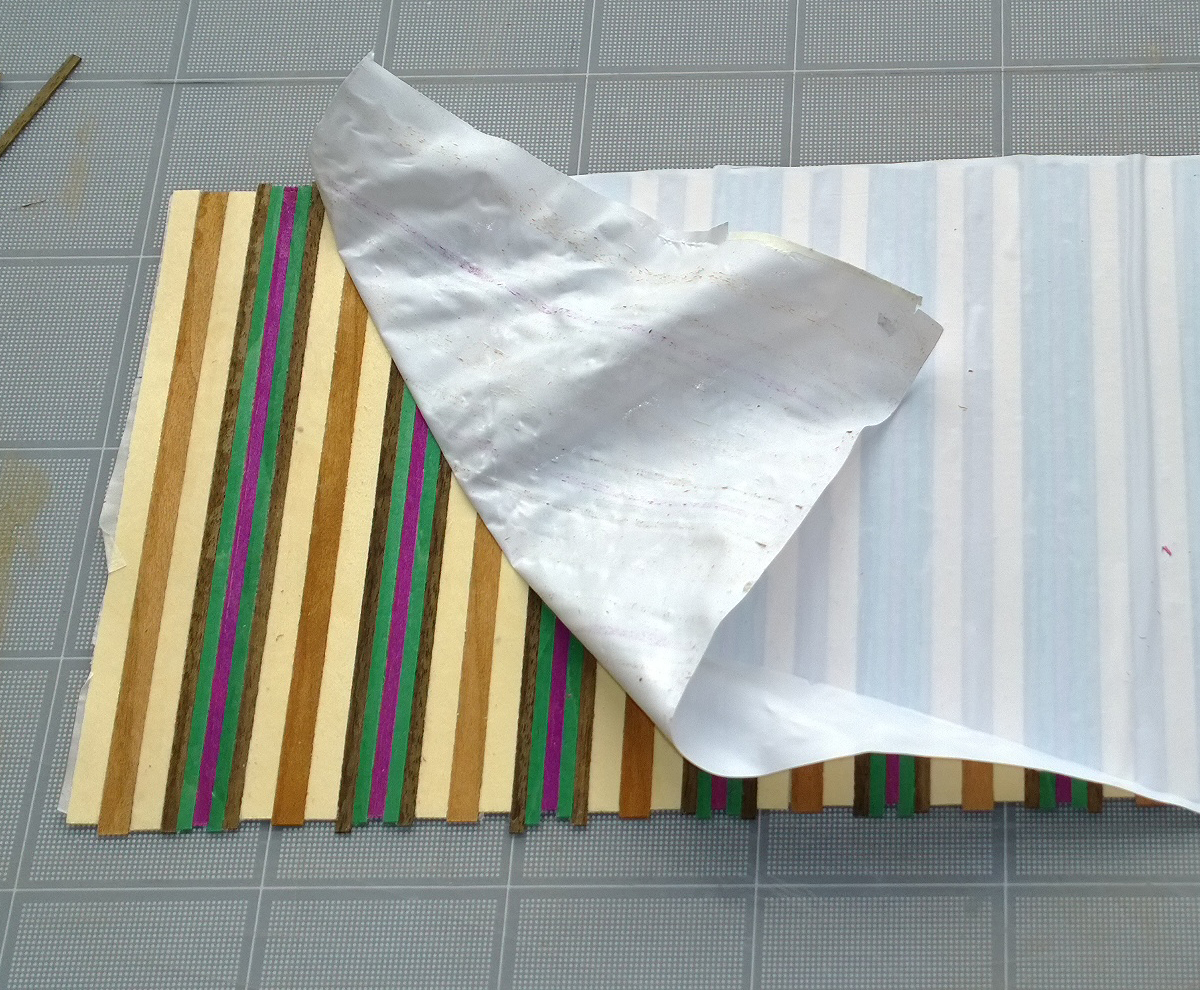
Figure 7 – Remove the backing
I then removed the adhesive backing that held the banding in place as it was built.
When the banding is included in the boarder it will be much easier to remove the masking tape from the back then the adhesive paper, Figure 7.
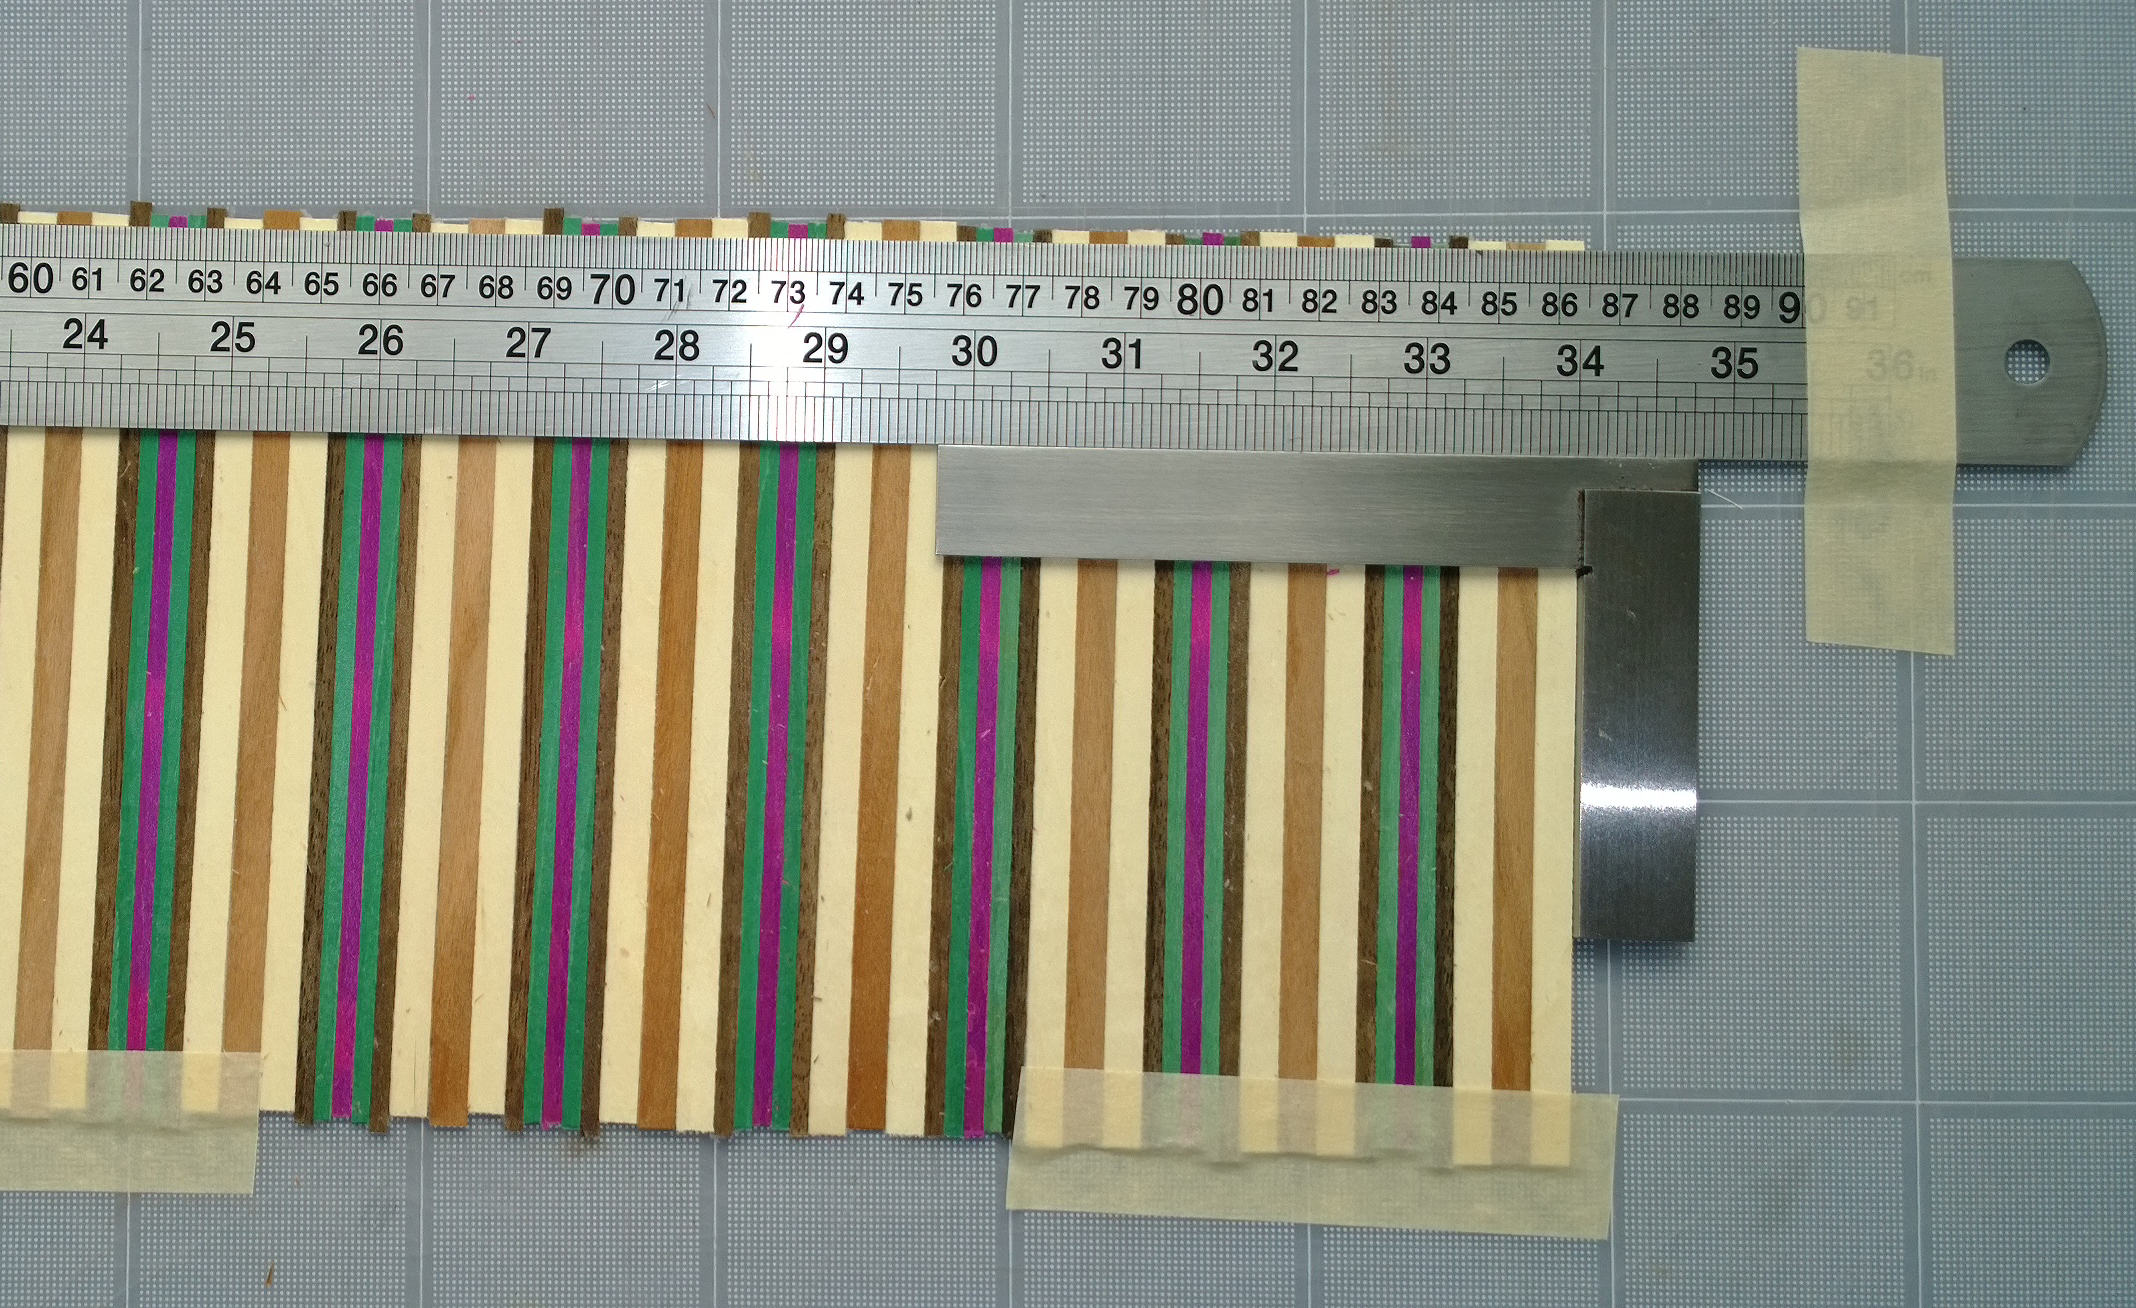
Figure 8 – Trim the long edge of the set using a square
I then used a square and steel ruler to cut a straight edge along the length of the banding, Figure 8.

Figure 9 – Cut 4 lengths of the set
I then cut four lengths of the banding ¼” wide, Figure 9.
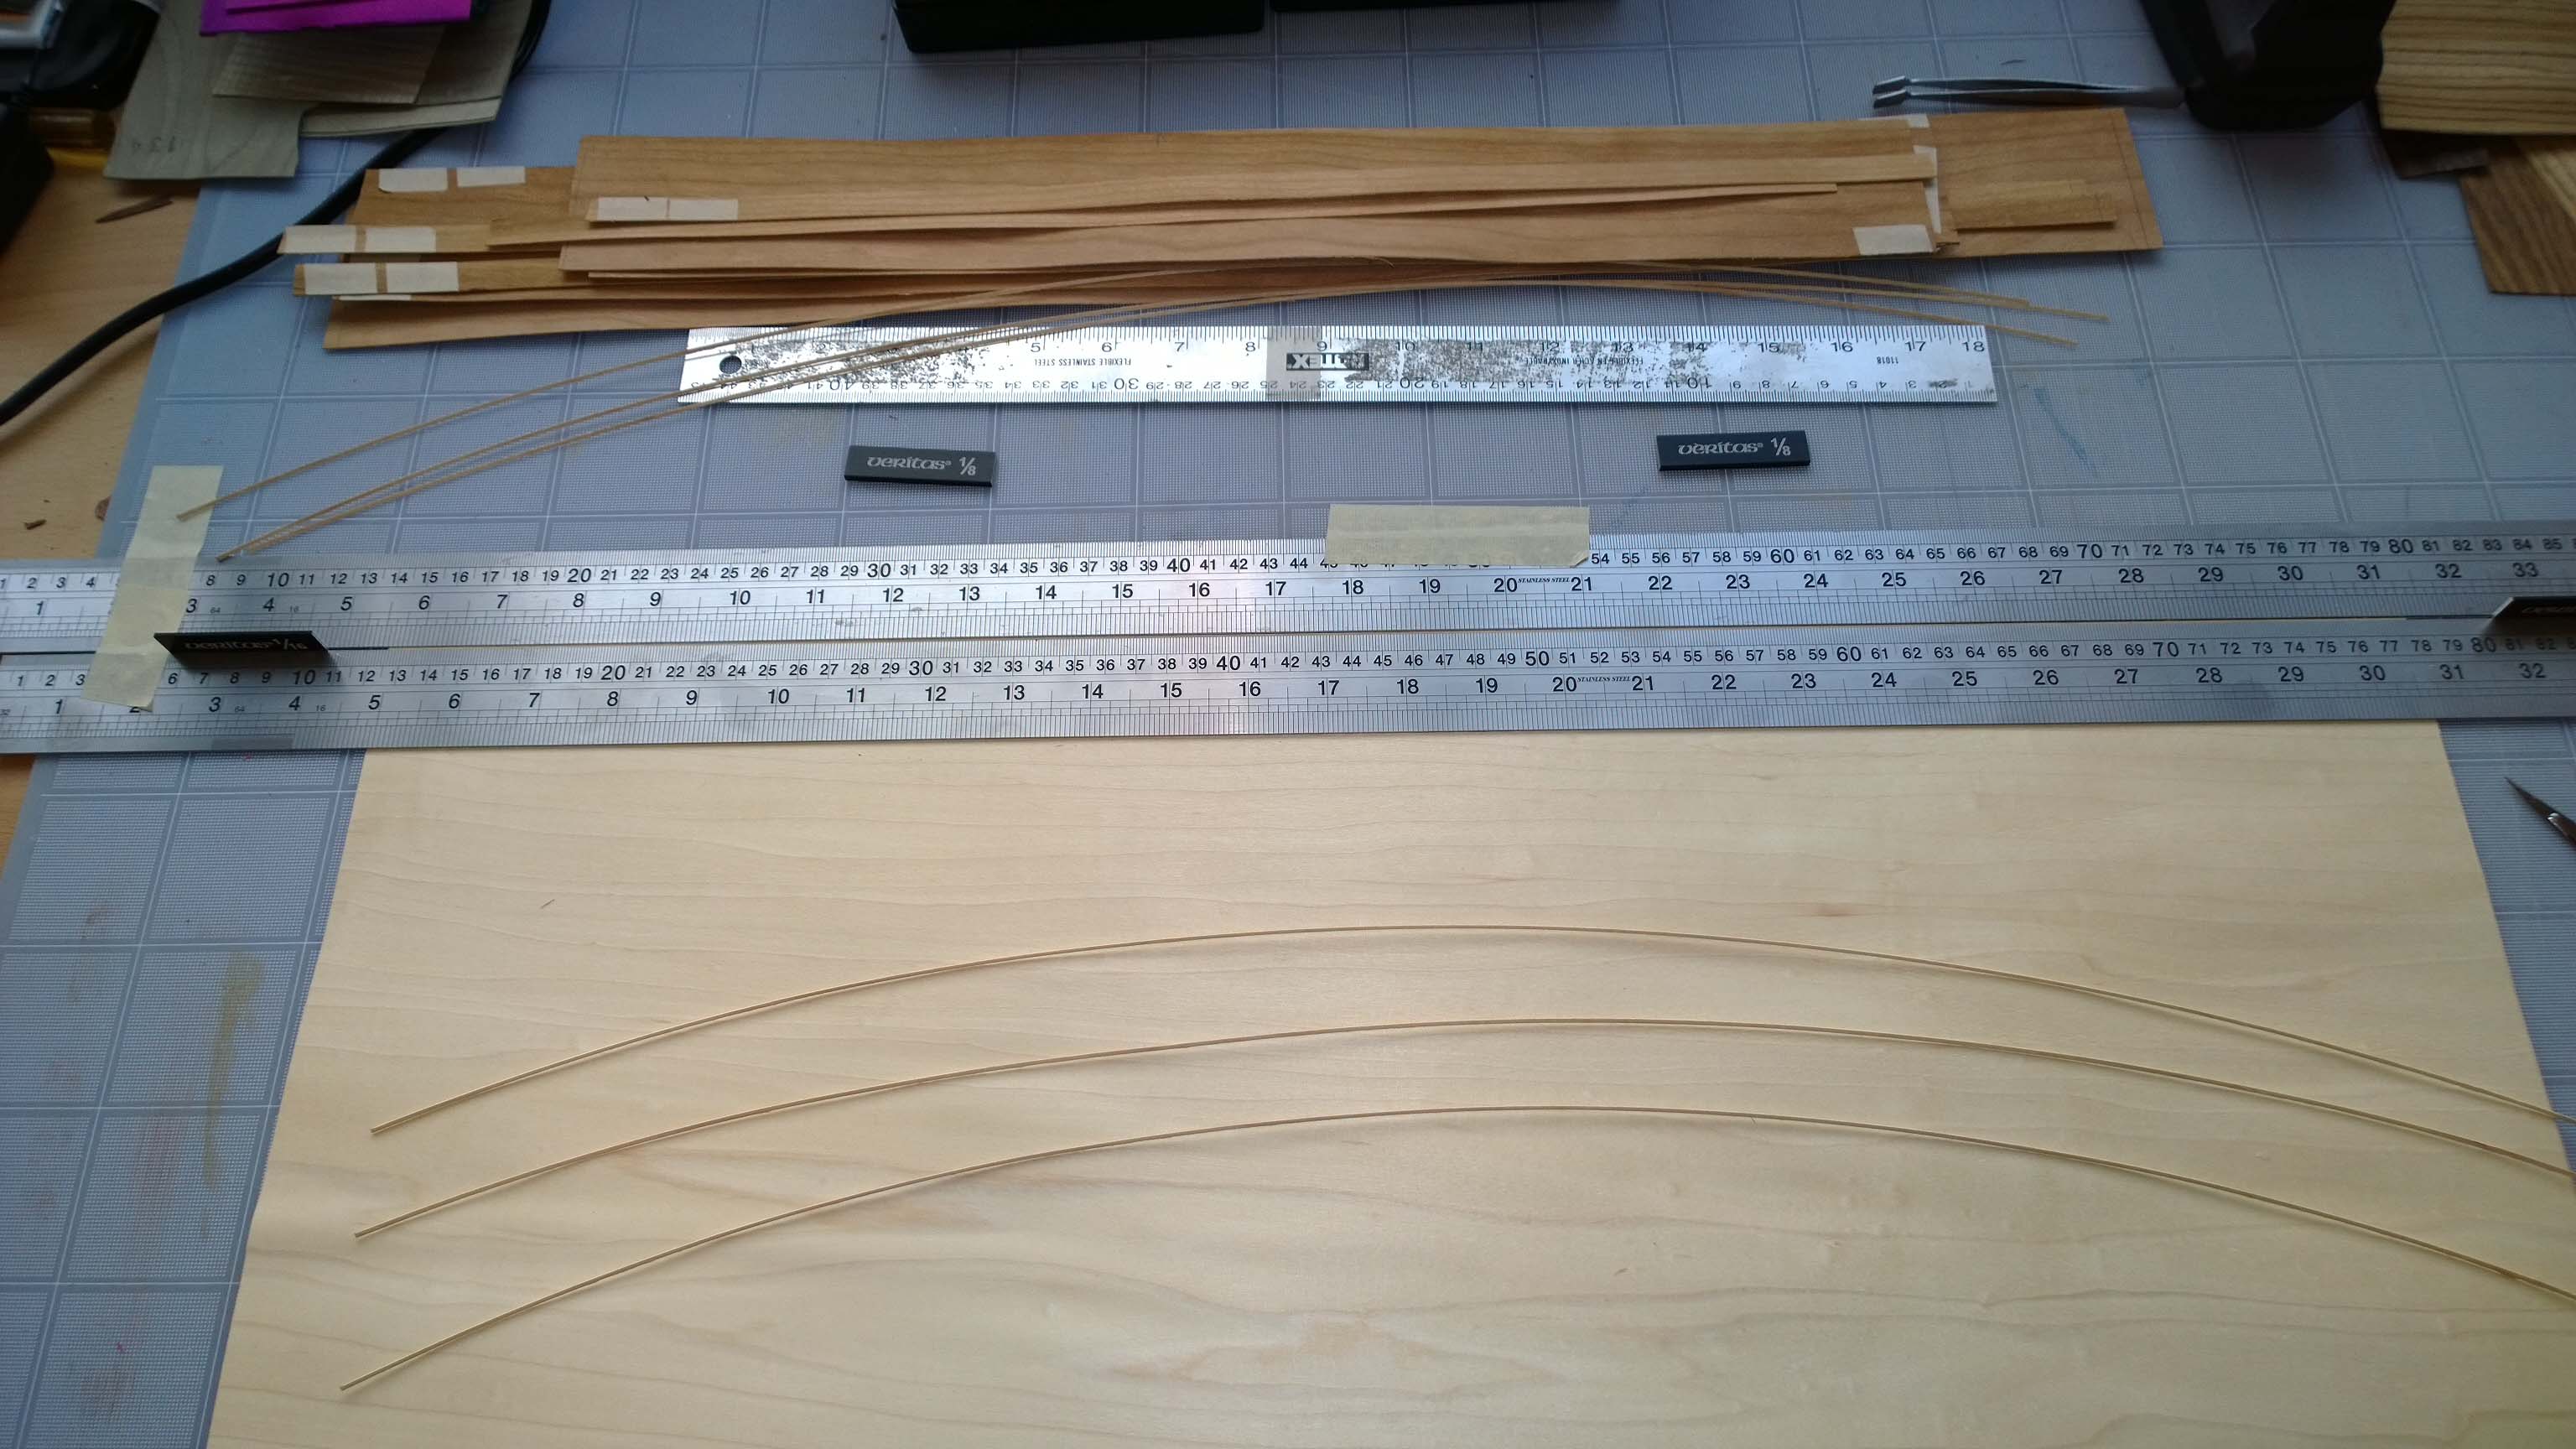
Figure 10 – Cutting Stringers for Boarder
I cut the various stringers that I needed to create the rest of the boarder.
½” Cedar
1/16” Sycamore
1/16” Walnut
¼” Banding
1/16” Walnut
1/16” Sycamore
2 ½” Cedar
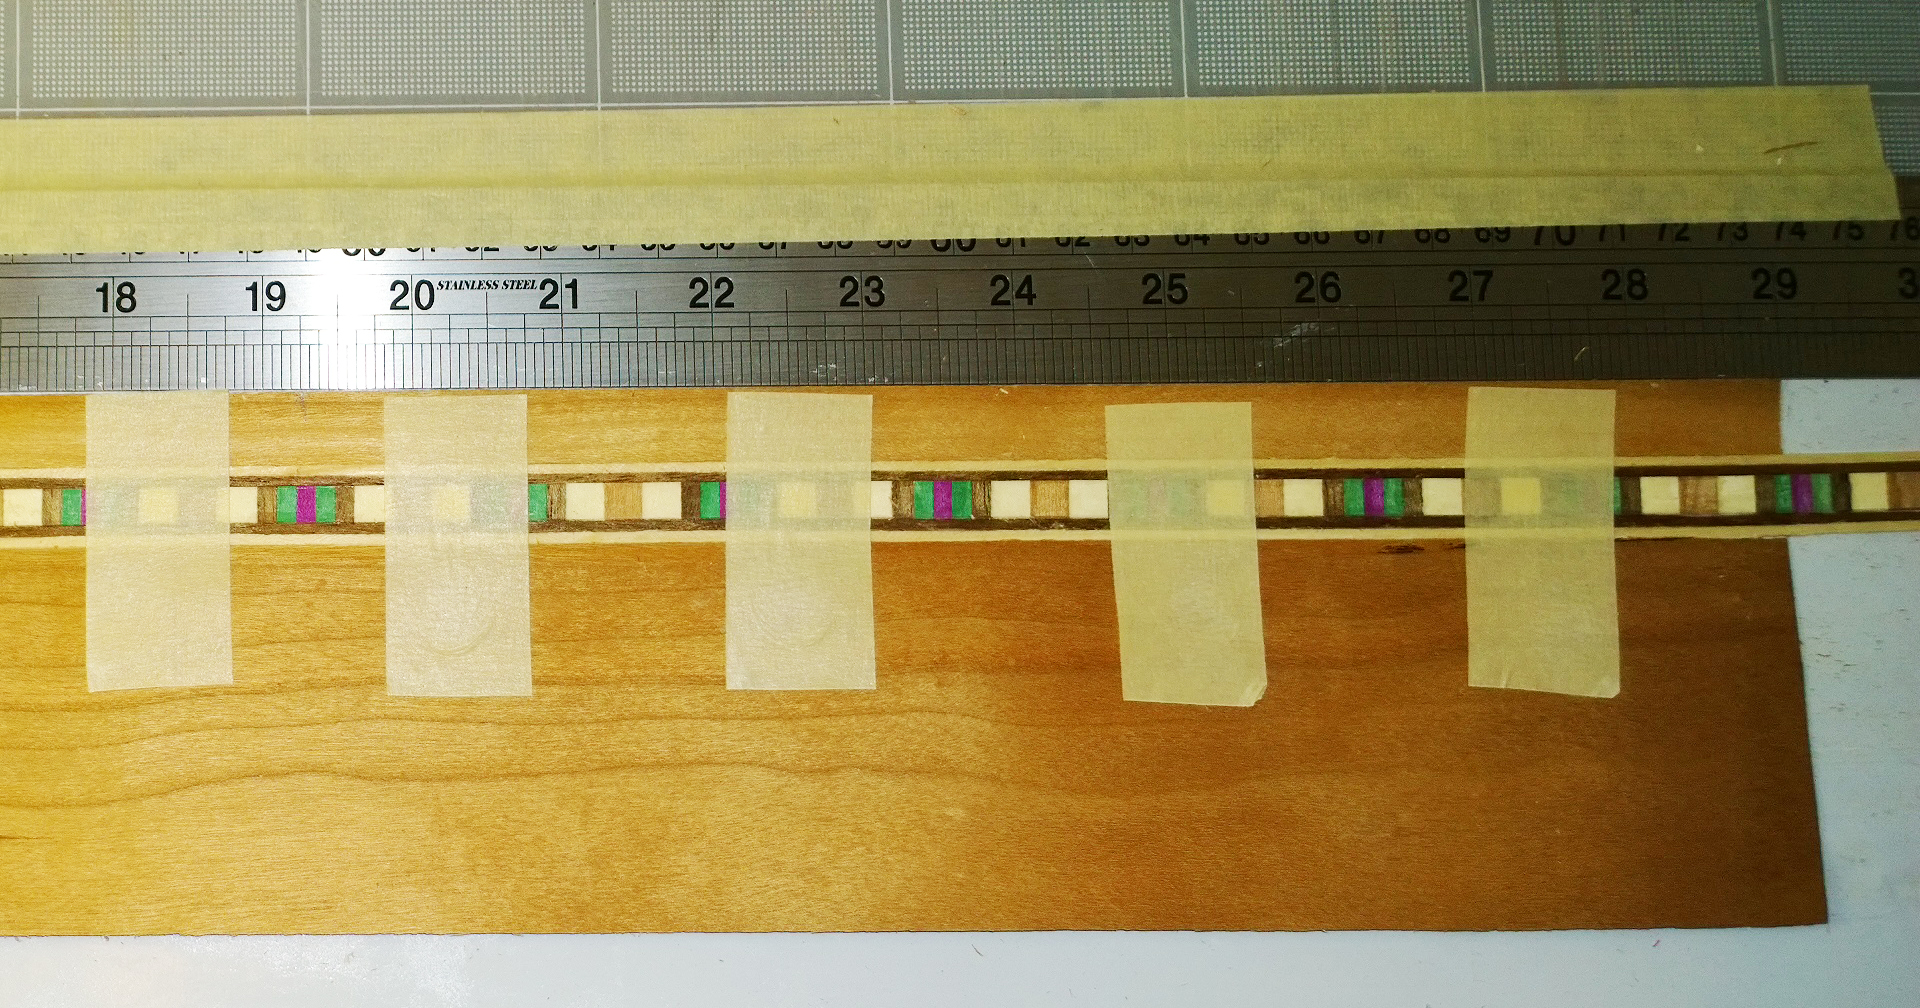
Figure 11 – Build the boarder
Using another piece of adhesive paper I then assembled the boarders.
Total width of boarder 3 ½” which will allow for some cut off after adding to the picture.
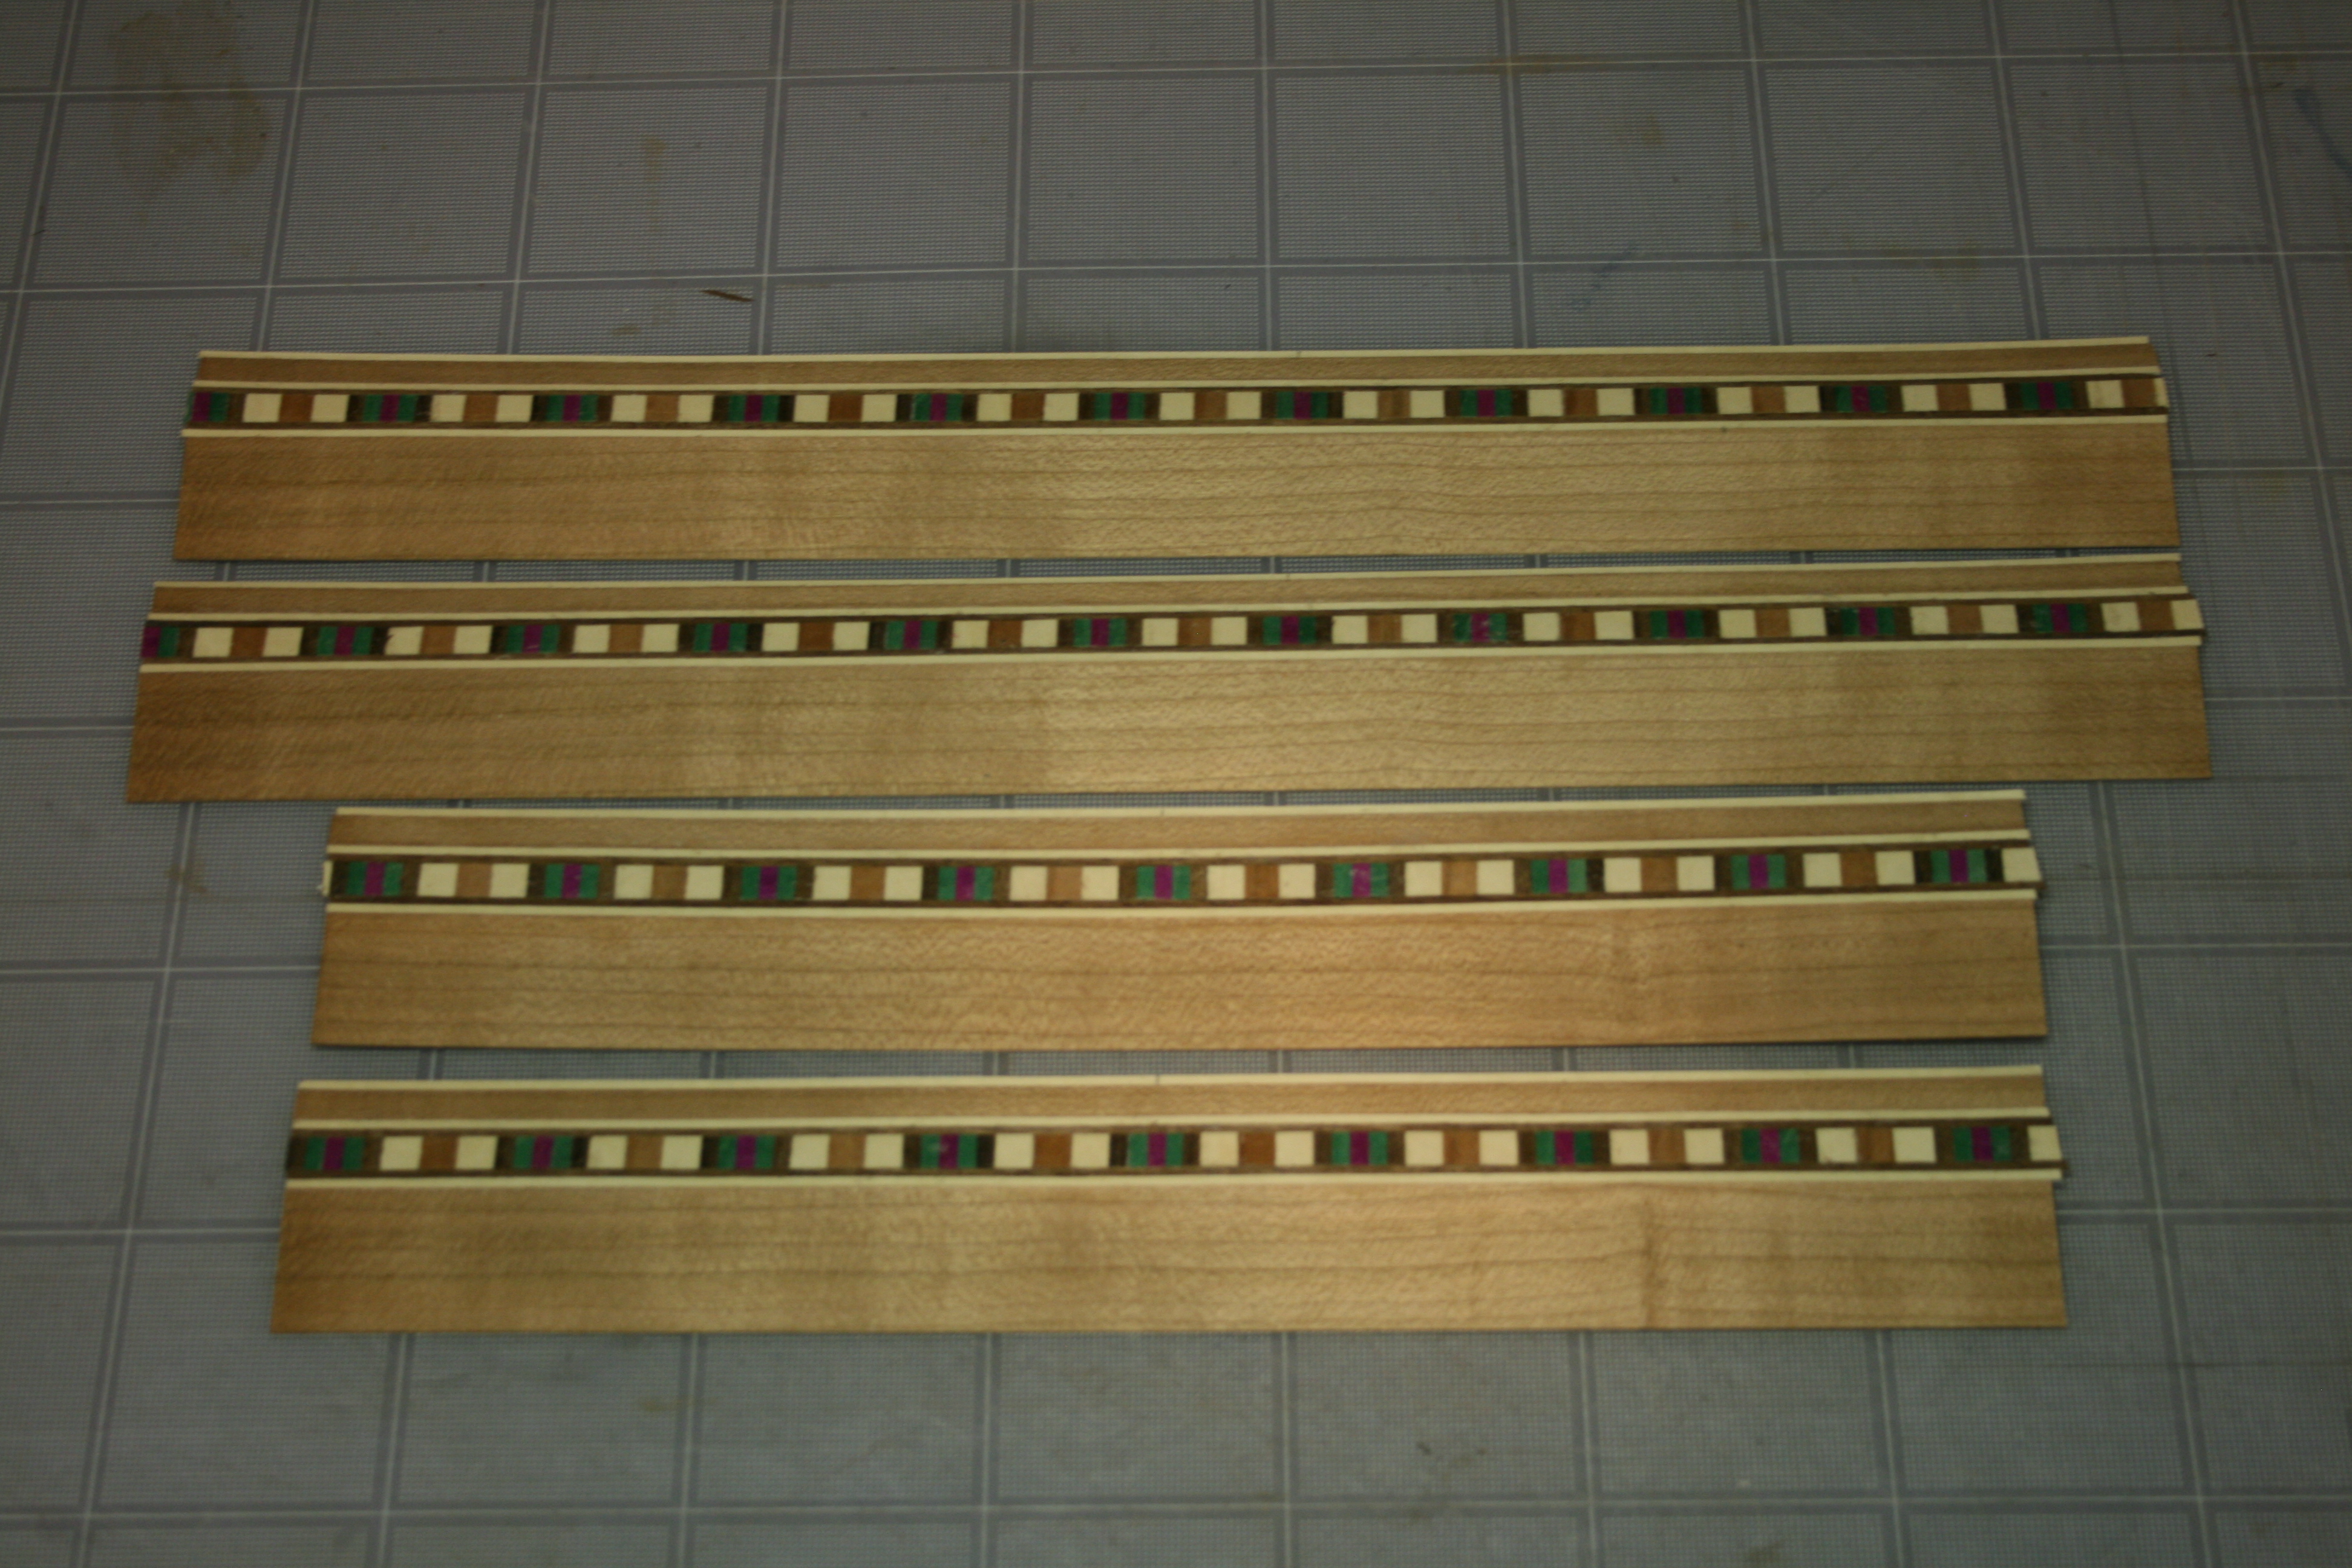
Figure 12 Finished bandings
These are the finished 4 bandings to be used to frame the picture of the orchid.
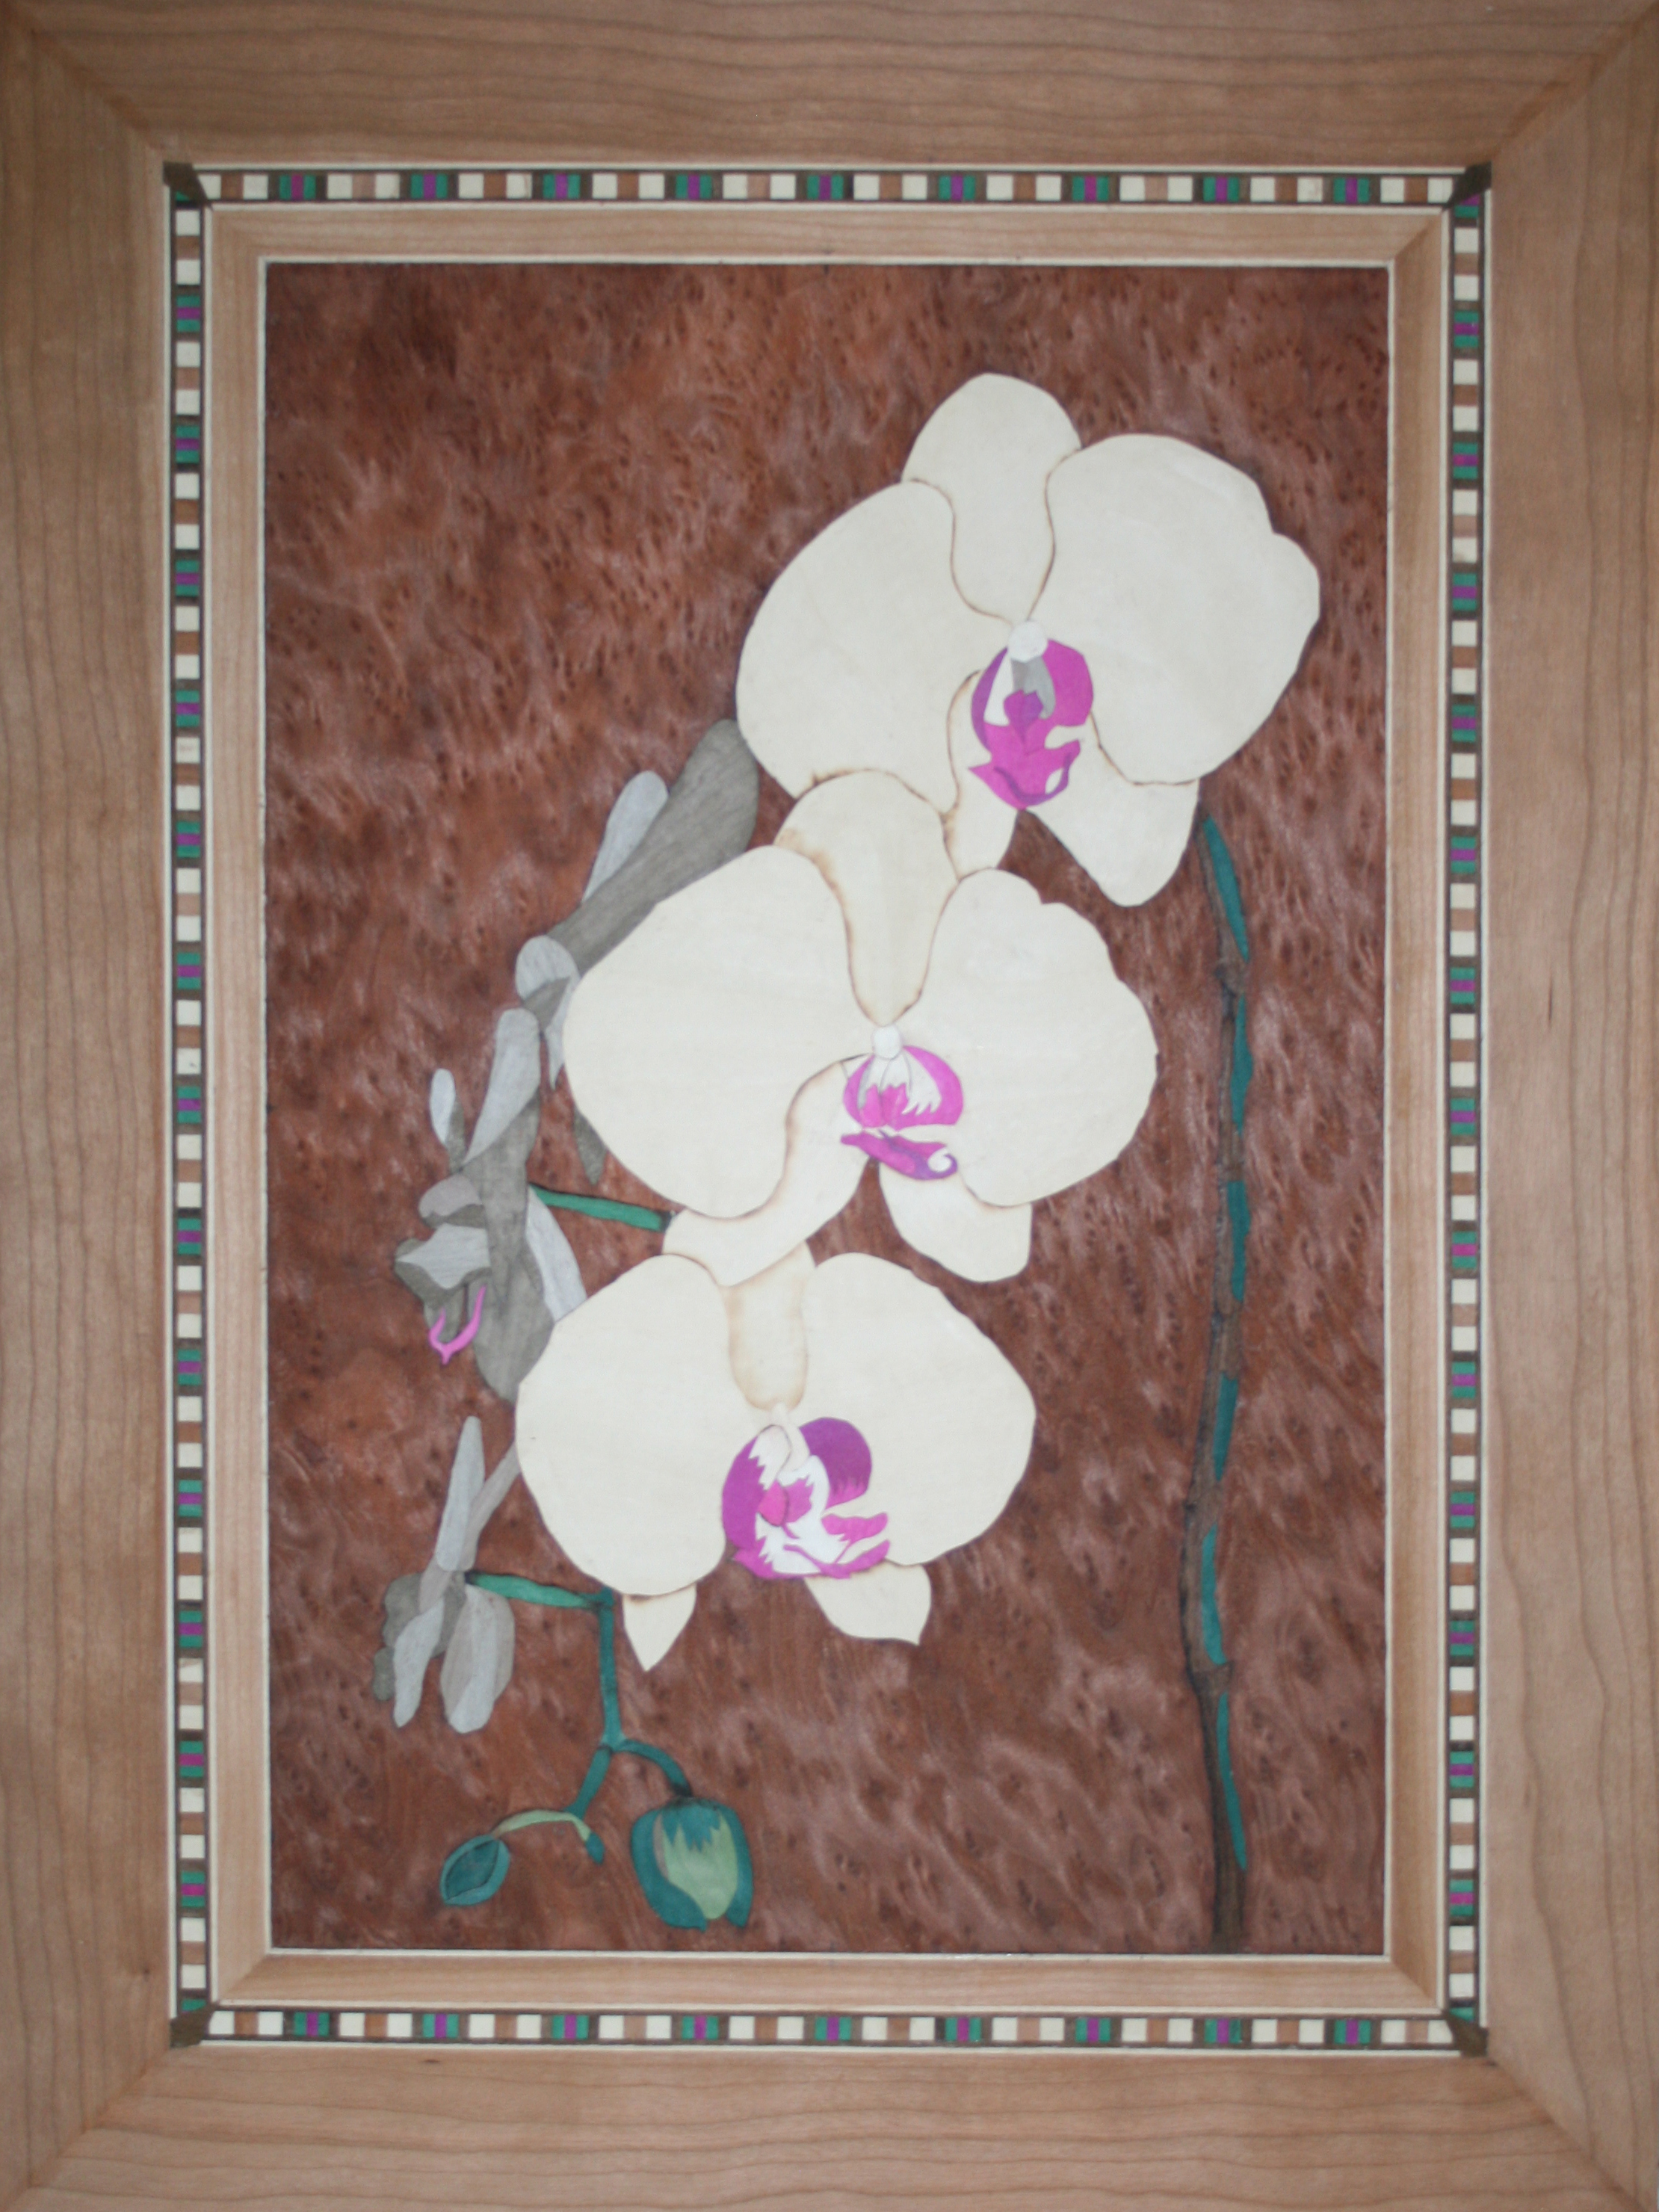
Figure 13 – Finished picture of orchid
The finished picture with the frame made of the custom banding.
I was pleased with the finish picture as I had tried to represent the petals of the orchid with a very white flat finish as in the photograph. The use of horse chestnut veneer seemed to achieve this.
However, I has seen other pictures of orchids that had a lot more texture to the petals. So I decided to make a second picture using the same form of the orchid but adding a lot more texture to the petals. The result of this is shown in figure 13.